Custom Group Names
The following steps will show you how to edit custom columns and define custom data in Clash Manager.
STEP 1:
Run or Update Clash Test(s) in the Clash Detective.
STEP 2:
Go to Standard tools in iConstruct panel and run the Clash Manager tool.
STEP 3:
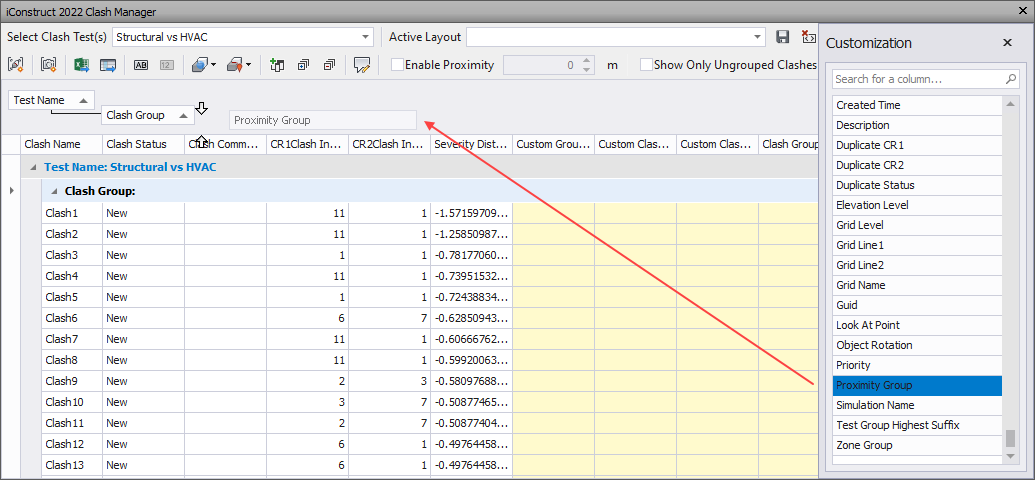
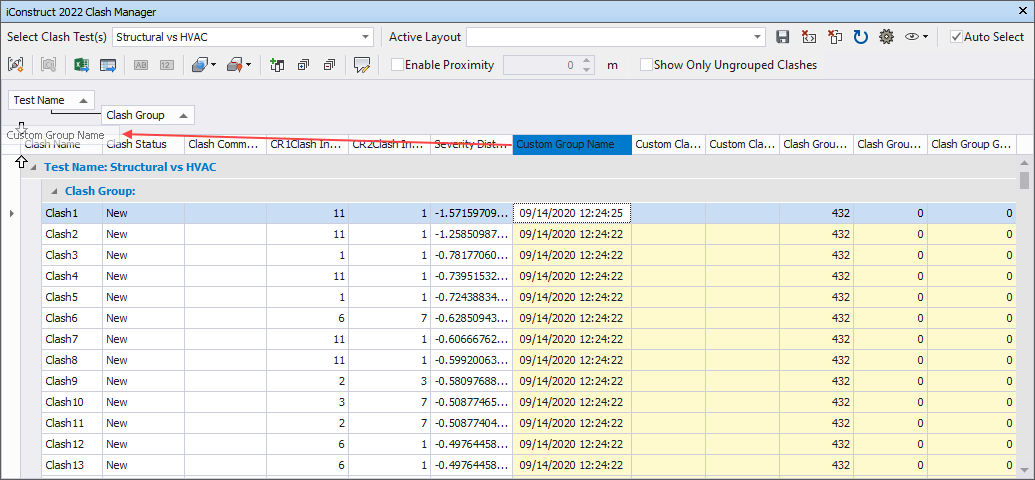
Select Clash Test from the drop-down menu to pull in the clashes from Clash Detective.

STEP 4:
Drag and drop desired grouping property from Column Chooser to the tree structure in Clash Manager dialogue to group the clashes (Proximity Group in our example).
STEP 5:
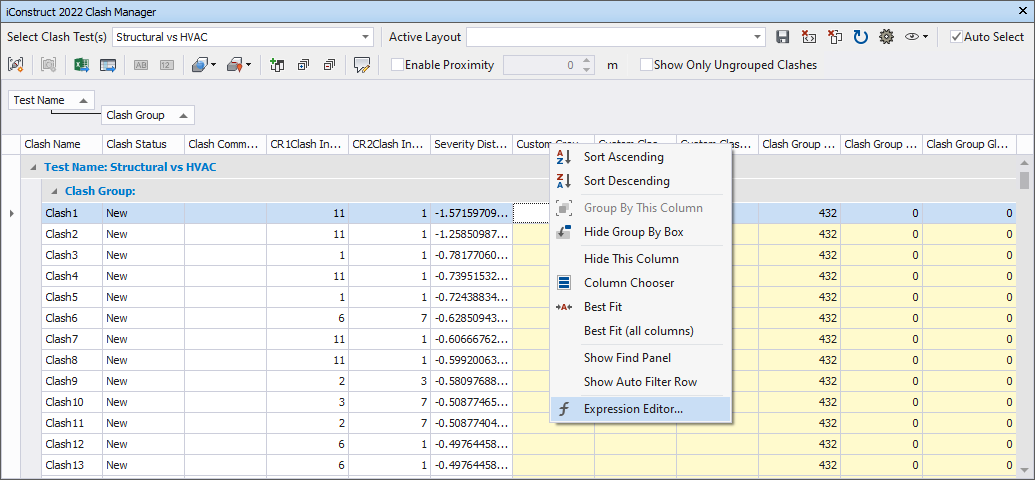
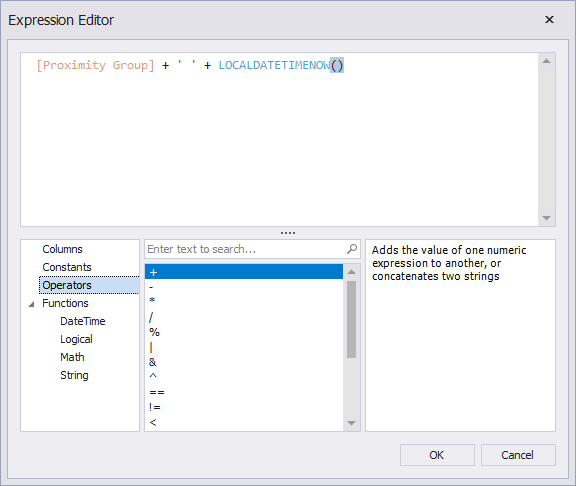
Right-click on the yellow, customizable column and select Expression Editor.
STEP 6:
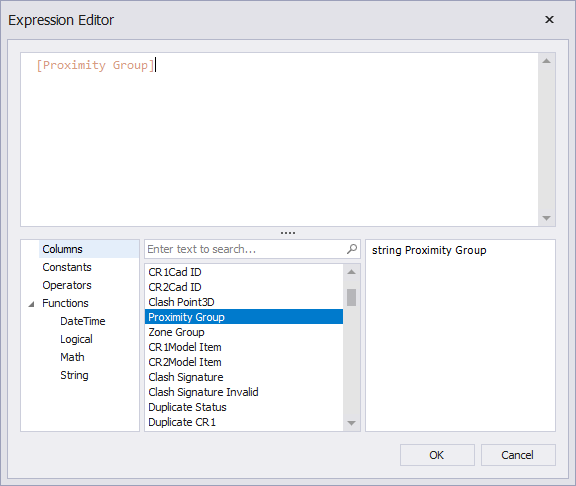
Double-click the desired data to add to the expression.
STEP 7:
Multiple data entries can be added using the Plus operator.
STEP 8:
With drag and drop, columns can be reordered as needed.
STEP 9:
Click on the Create Clash Detective Group icon in the ribbon to update the grouping in the Clash Detective. Click OK.


STEP 10:
Clashes in Clash Detective are updated and grouped, including new data, according to Clash Manager layout and Customized Columns.
Quick Overview:
Go to iConstruct panel ➤ Run Clash Manager tool ➤ Select your test ➤ Drag&Drop desired grouping property ➤ Select Expression Editor ➤ Edit the expression ➤ Reorder columns if needed ➤ Click Create Clash Detective Group ➤ Click OK