Configuration
The following steps will show you how to configure Colour Code tool to apply colours to elements based on its property and external data base.
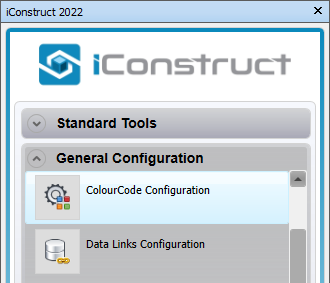
STEP 1:
Go to General Configuration tab in the iConstruct menu. Click Colour Code Configuration button.
STEP 2:
Create a new Template by clicking the + button and name it.
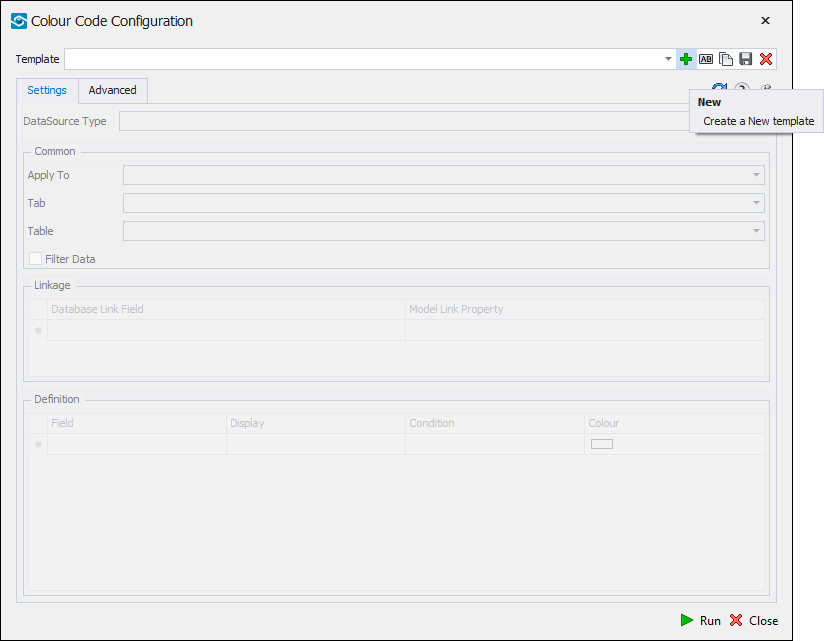
STEP 3:
Select an item in the background and click Refresh to pull in the data.
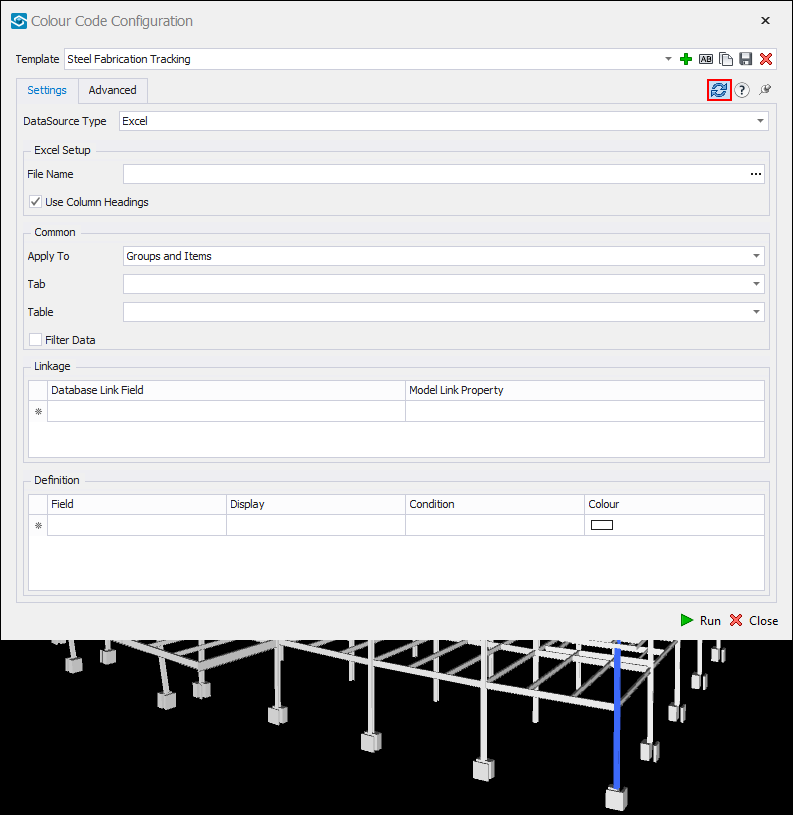
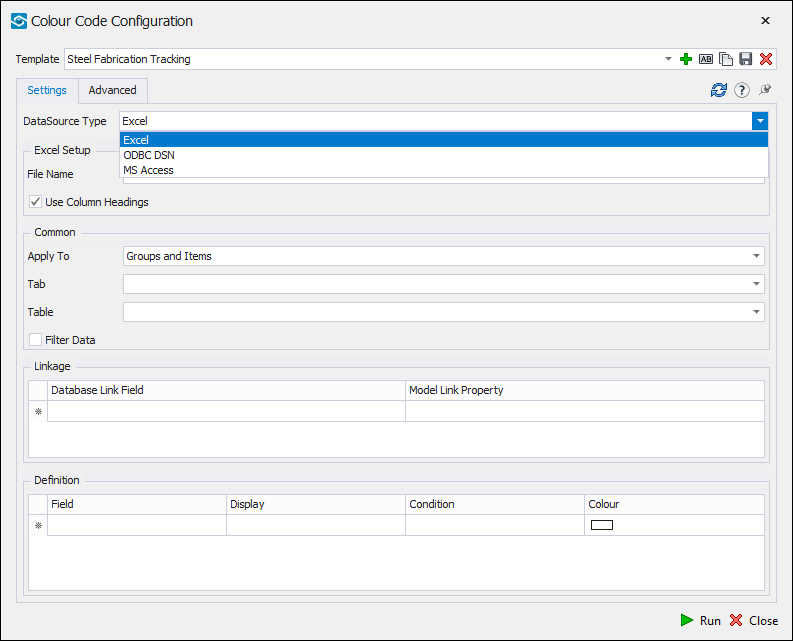
STEP 4:
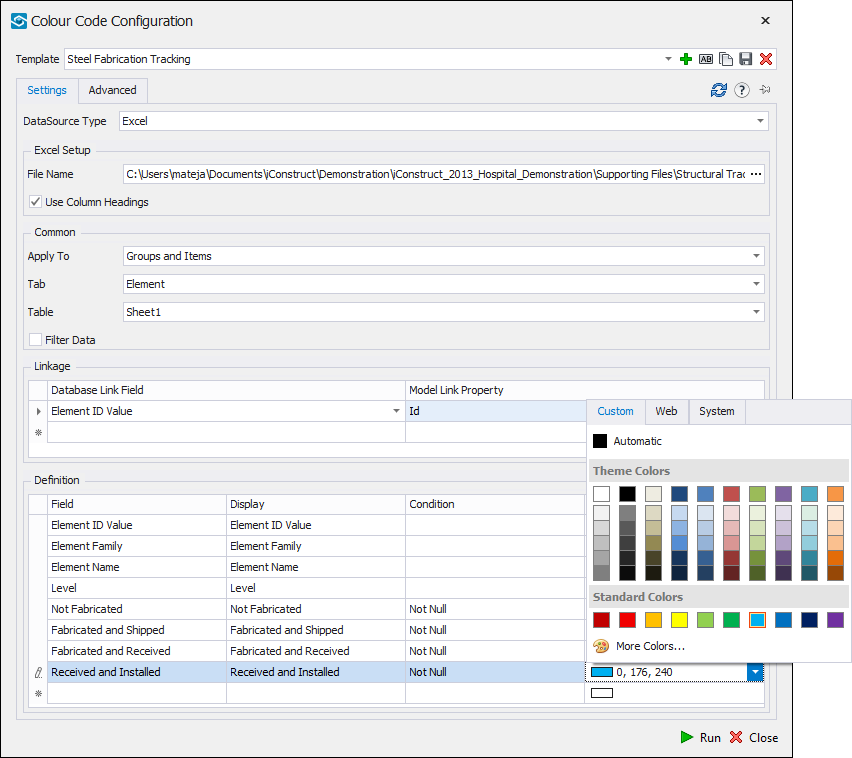
Select DataSource Type from the drop-down list and browse for the file under File Name.
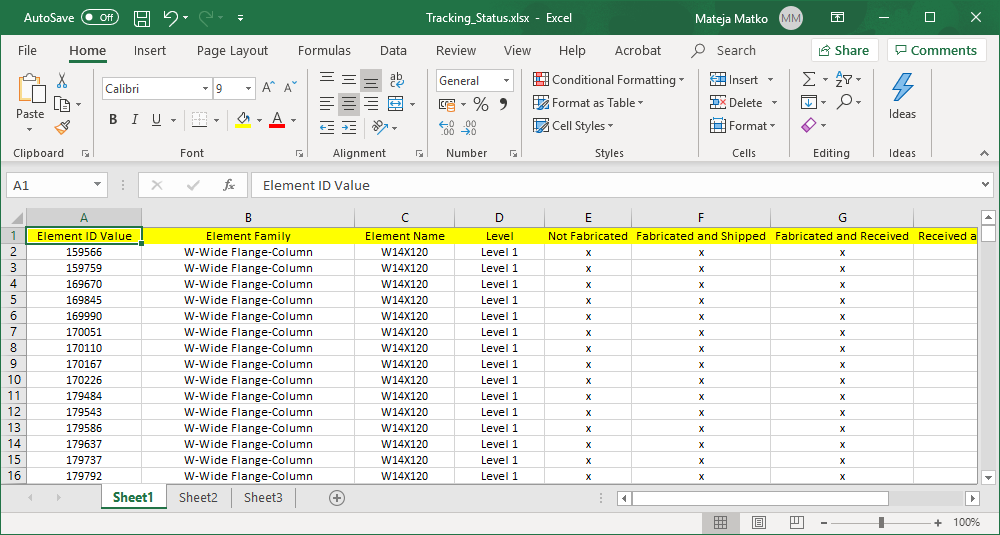
Excel spreadsheet example.
STEP 5:
Select Groups or Items or both to apply colours to.
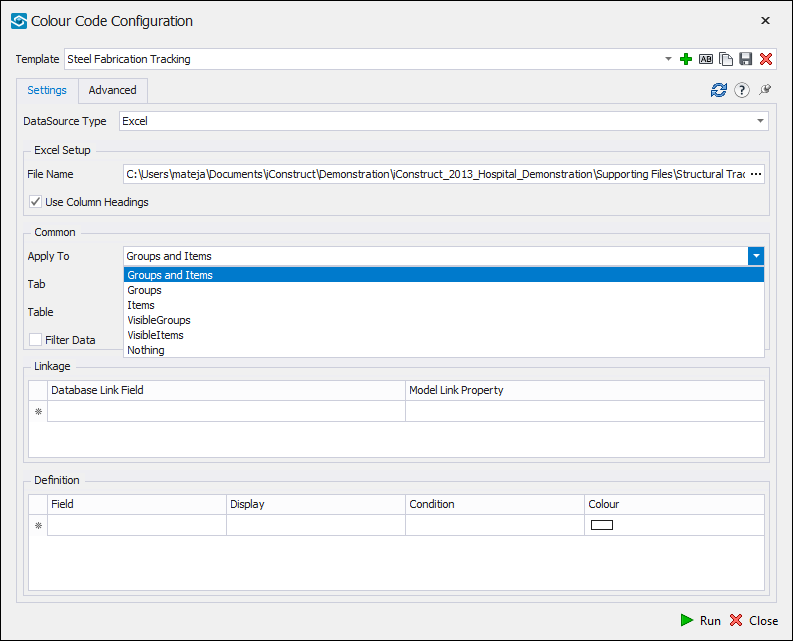
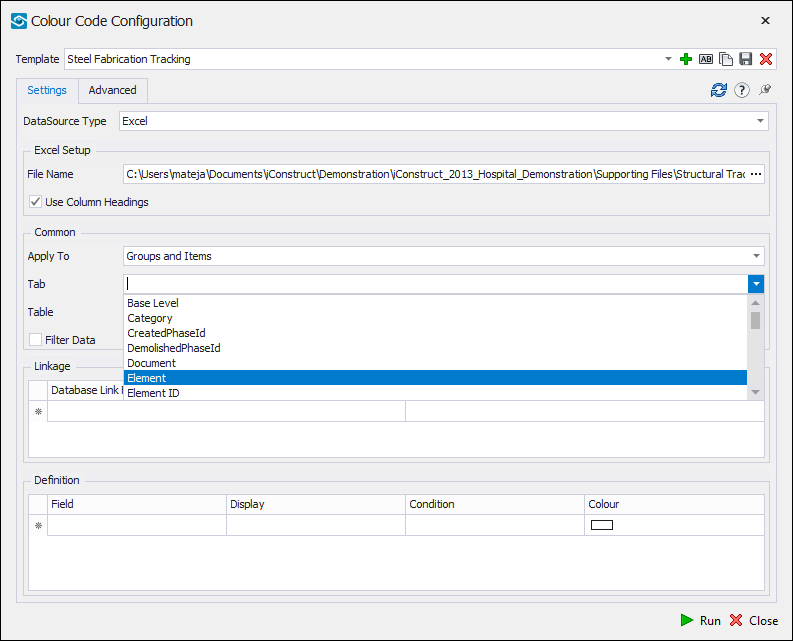
STEP 6:
Define Tab where the linking property is found and select a Table from the spreadhseet.
STEP 7:
Choose the linking properties between the database and the model.
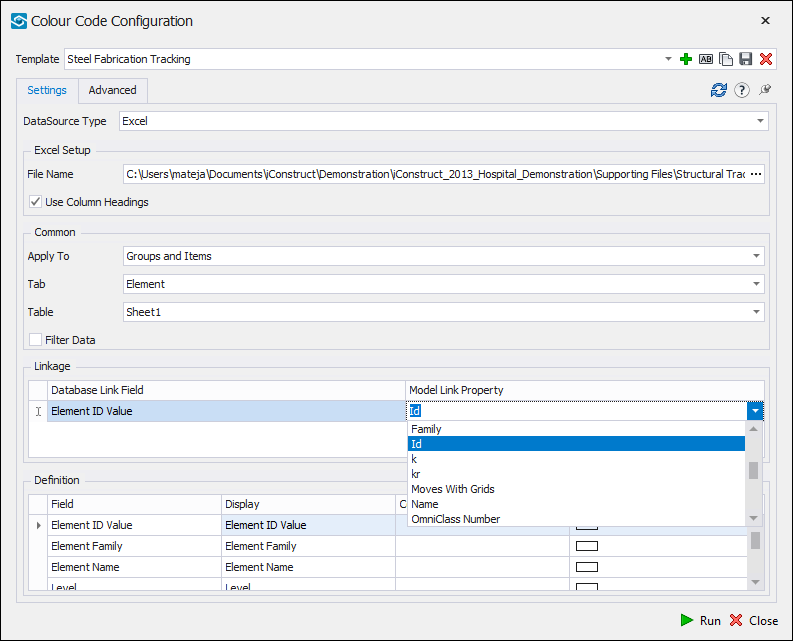
STEP 8:
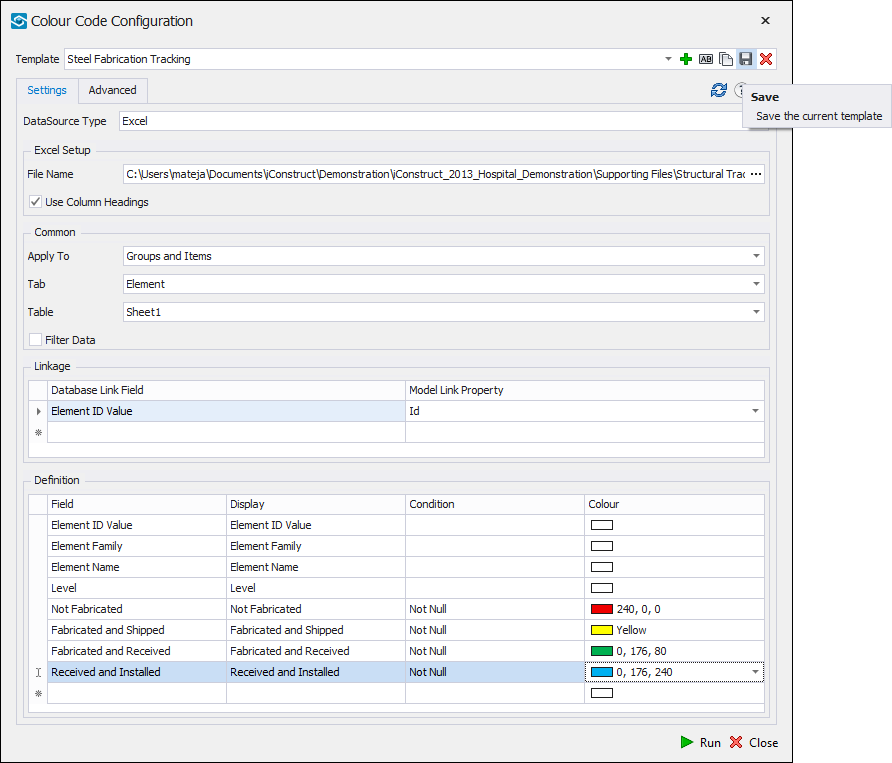
Define Condition and Color for specific Field from the drop-down list.
STEP 9:
Save the template.
STEP 10:
If the model is selected you can colour it by clicking Run button in the bottom or simply Close the dialgue to run the command later.

To use the template later, select the elements/model, go to Colour Code tab in iConstruct menu and run the saved configuration.

Quick Overview:
➤ Go to General Configuration tab ➤ Click Colour Code Configuration ➤ Create New Template ➤ Refresh the Properties ➤ Select Data Source Type ➤ Choose Apply To, Tab and Table ➤ Define linking properties ➤ Specify Condition and Colour ➤ Click Save and Run