Configuration
The following steps will show how to configure the Data Links tool. This example will show you how to load information from your external data source (Excel spreadsheet) to your user-defined Properties tab.
STEP 1:
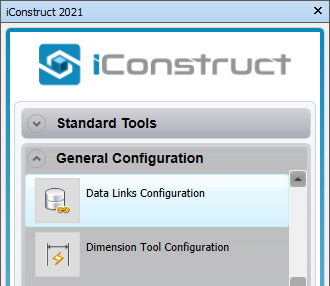
Go to the General Configuration tab in iConstruct menu and run the Data Links Configuration tool.
STEP 2:
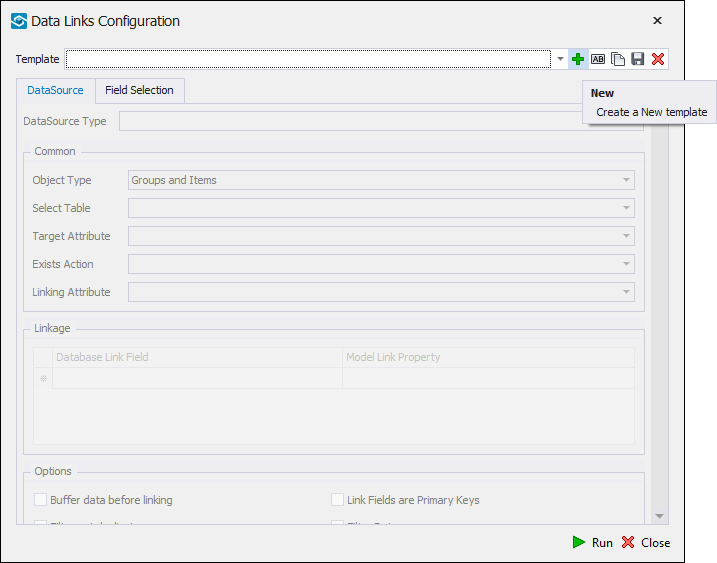
Create a new Template by clicking the + button and name it.
STEP 3:
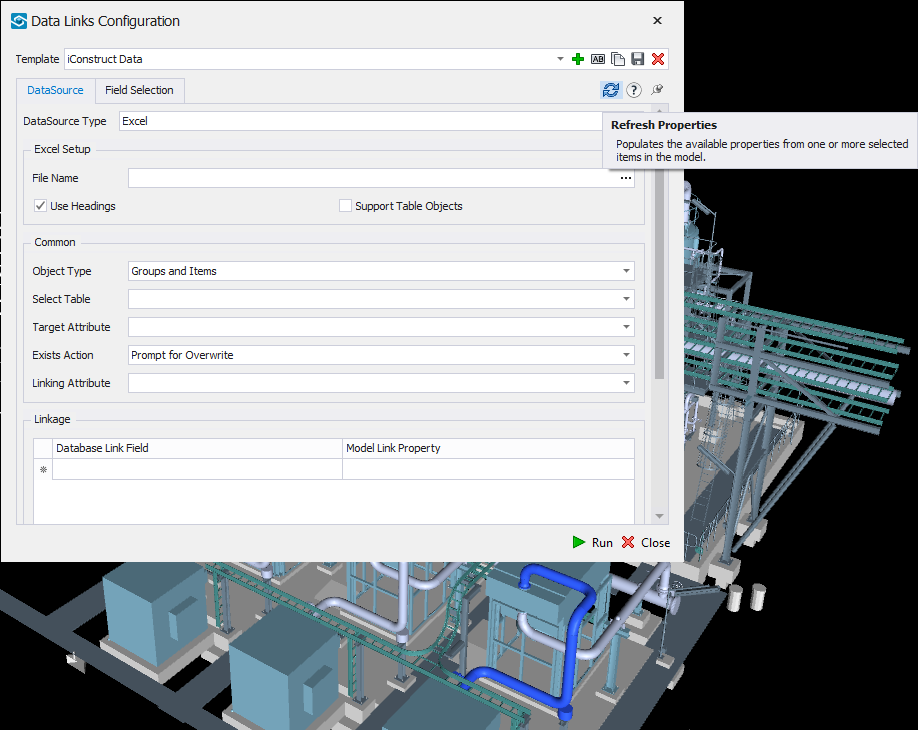
Select an item in the background and click Refresh Properties to pull in the data.
STEP 4:
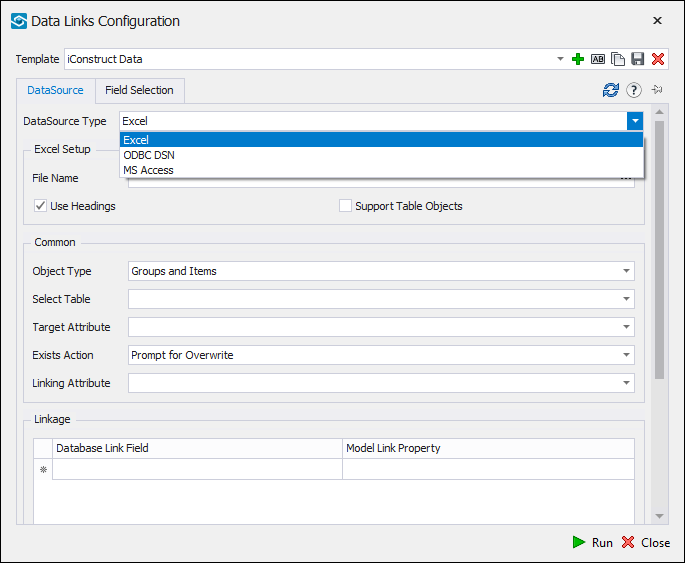
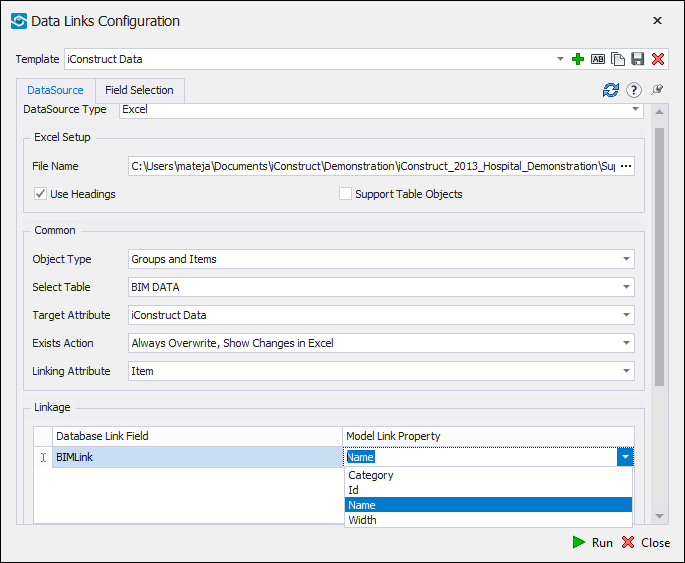
Select DataSource Type from the drop-down menu and define File Name.
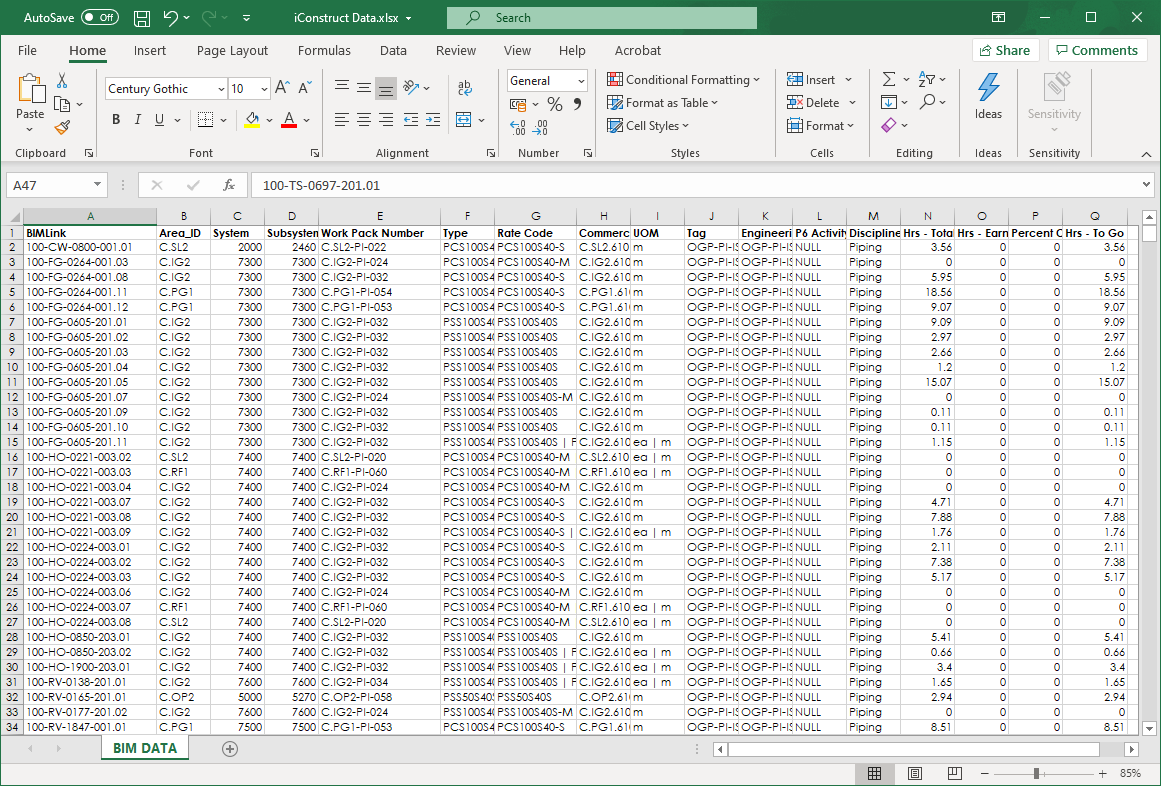
Excel spreadsheet example.
STEP 5:
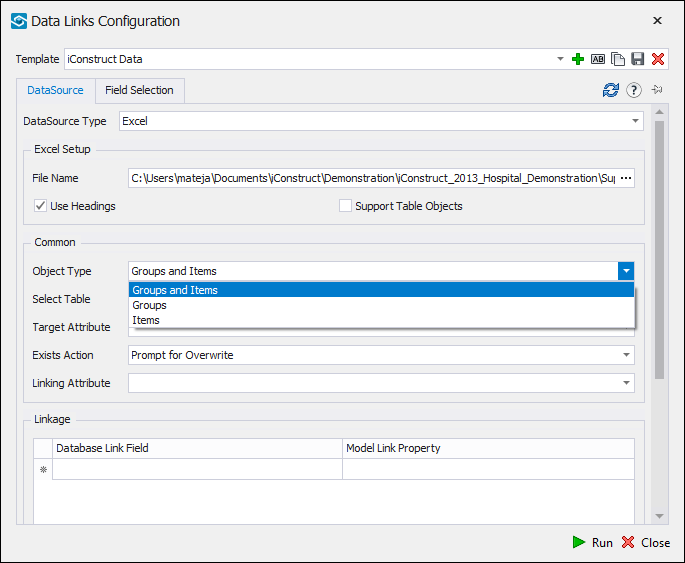
Define if you want to apply the information to Items or Groups or both (Apply to Object Types) and select a sheet in Excel where information are coming from (Select Table).
STEP 6:
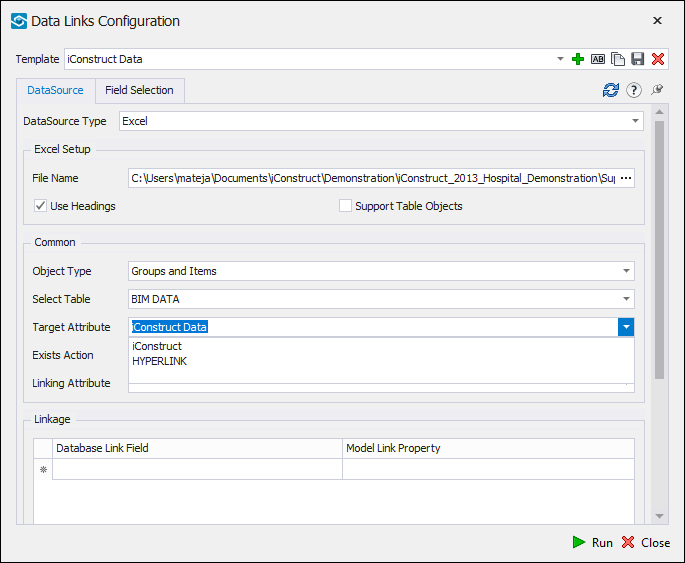
Choose a tab from drop-down menu under Target Attribute or type in the name to create a new tab. This is where you will write the data from external database.
STEP 7:
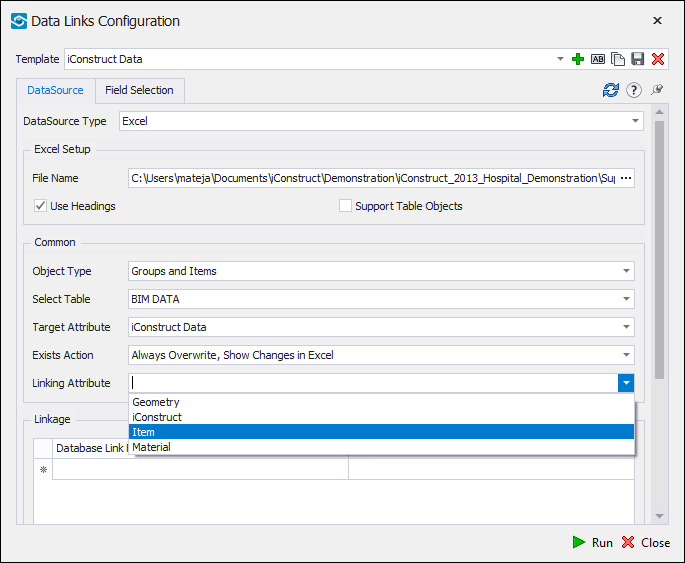
Select Exists Action and Linking Attribute. Linking Attribute can be any tab that will define a connection between a database and a model.
STEP 8:
Define linking property between the database and the model.

NW Link Property and Database Link Field.
STEP 9:
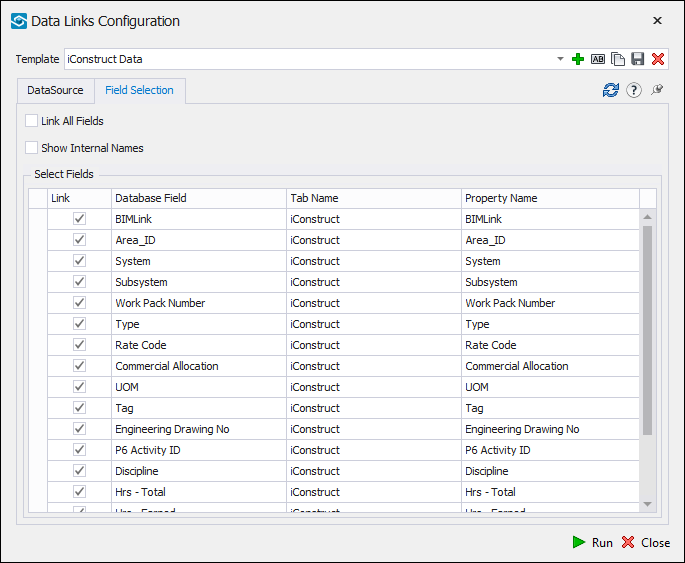
Go to Field Selection tab and check fields to import.
STEP 10:
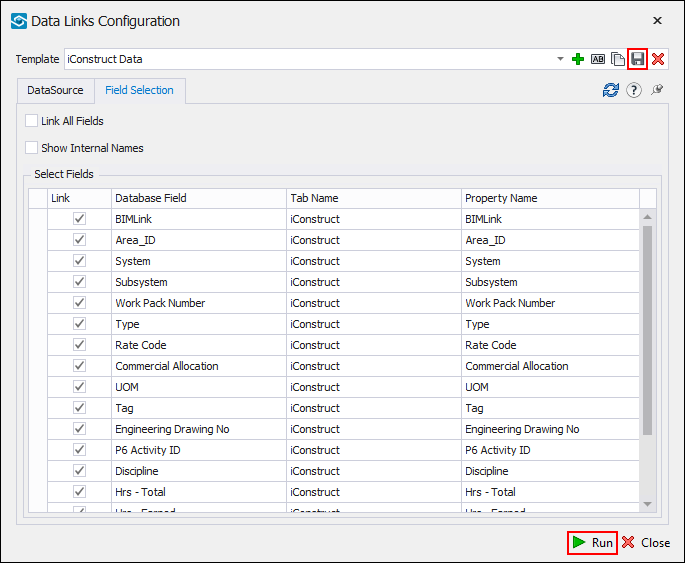
Save the template. Run the configuration directly or Close the dilague if you choose to run the template later.
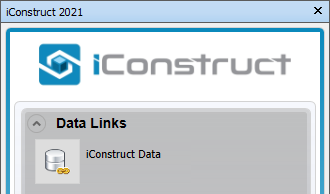
To use the template later, select the elements/model, go to Data Links tab in iConstruct menu and run the saved configuration.
Quick Overview:
Go to Data Links Configuration ➤ Create new Template ➤ Pick an item in the background ➤ Click Refresh Properties ➤ Select DataSource Type ➤ Define Object Types ➤ Select Table ➤ Choose Target Attribute, Exists Action and Linking Attribute ➤ Define linking property ➤ Select Fields ➤ Save Template ➤ Run or Close