Usage
The following steps will show you how to use the Dimension Tool for creating dimensions.
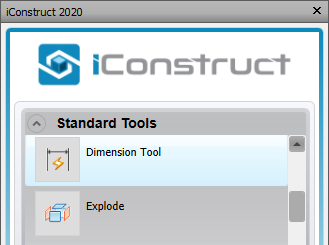
STEP 1:
Go to Standard Tools tab in the iConstruct menu and click Dimension Tool.
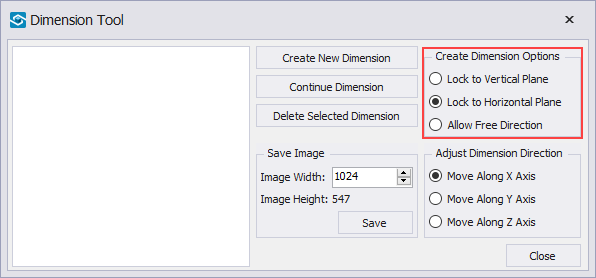
STEP 2:
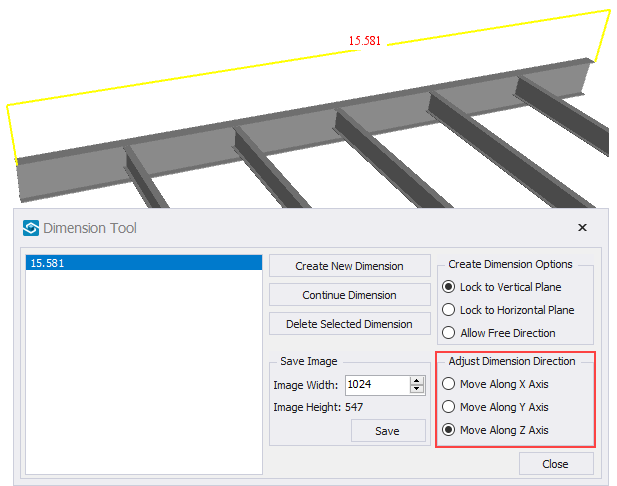
Lock the dimension to vertical or horizontal plane or allow free direction. In our example we’ll create a horizontal dimension line along the Beam element, so we choose to Lock to Horizontal Plane.
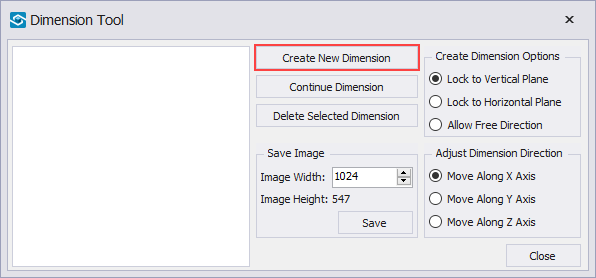
STEP 3:
Click the Create New Dimension button, the mouse cursor will change to a pencil icon.
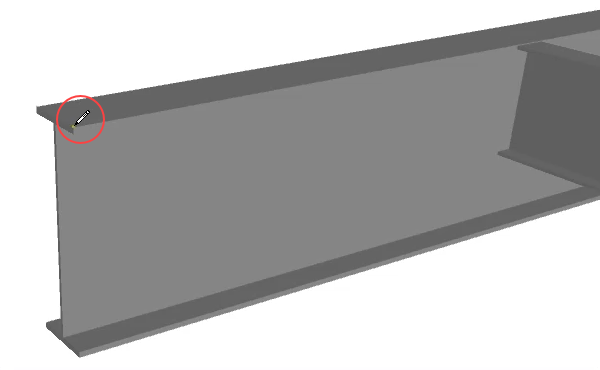
STEP 4:
Zoom into the area of the first dimension point that is required and click the left mouse button.
STEP 5:
Repeat Step 4 for the second dimension point and press Esc key to finish. Optional: click Continue Dimension for running dimensions. The dimension value will be listed in file units.
STEP 6:
Before moving the dimension line it’s important to choose the appropriate option under Adjust Dimension Direction (in the example, the dimension line was moved up, so we have selected Move Along Z Axis). To move the dimension simply switch to the select tool and drag&drop the dimension text.
STEP 7:
Specify the Image Width and Image Height will automatically be adjusted. To save the current view click on Save button.

NOTE: The tool is integrated with Export View Report also.
Quick Overview:
Go to Standard Tools ➤ Click Dimension Tool ➤ Create Dimension Options ➤ add dimension to the item ➤ Place the dimension ➤ Save Image