Usage
The following steps will show you how to use the InfoBin tool.
STEP 1:
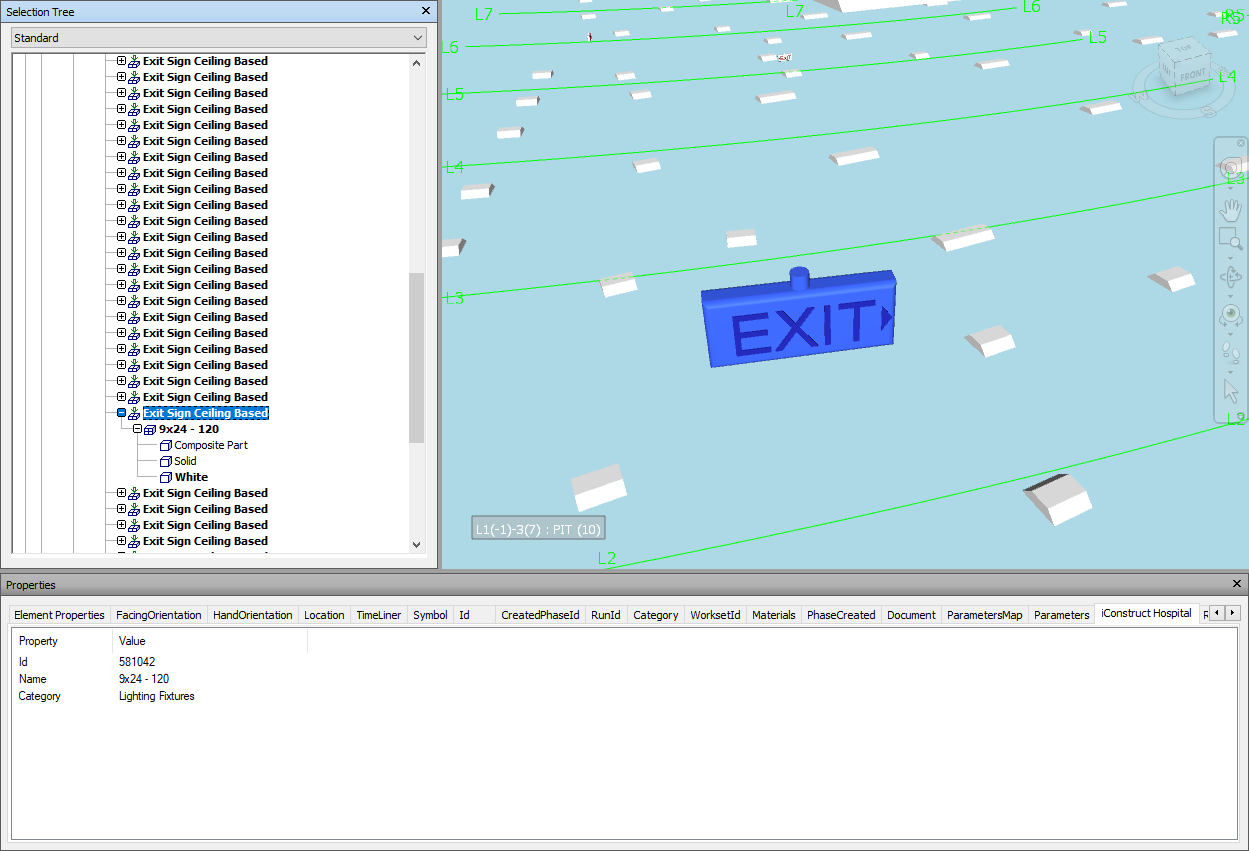
Select an item in the model that you wish to use the InfoBin tool on. In our example, we have selected a Lighting Fixtures (the Exit Sign). Make sure to select the element at the correct level, which contains the necessary/configured information.
STEP 2:
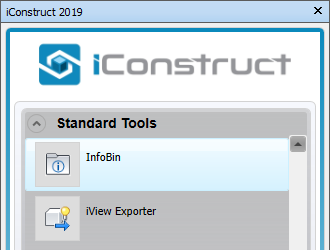
Go to Standard Tools in iConstruct menu and click InfoBin button.
STEP 3:
When you execute InfoBin tool on an item for the first time, the below message box will appear. Click Yes.

STEP 4:
A new empty folder will be created, named after the configured Property, located at the configured location and opened automatically. Add any object related files into the opened folder. In our example we have added a Lighting Fixtures related .PDF documentation.
Quick Overview:
Select an item ➤ Go to Standard Tools ➤ Click on InfoBin button