Configuration
The following steps will show you how to set up the Integrator configuration.
STEP 1:
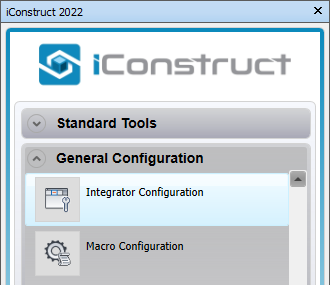
Go to General Configuration tab in the iConstruct menu and click Integrator Configuration button.
STEP 2:
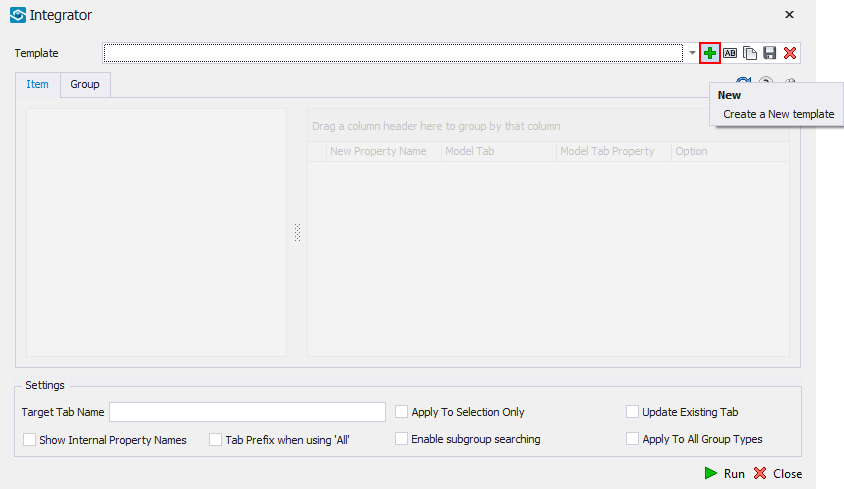
Create a New template and give it a name.
STEP 3:
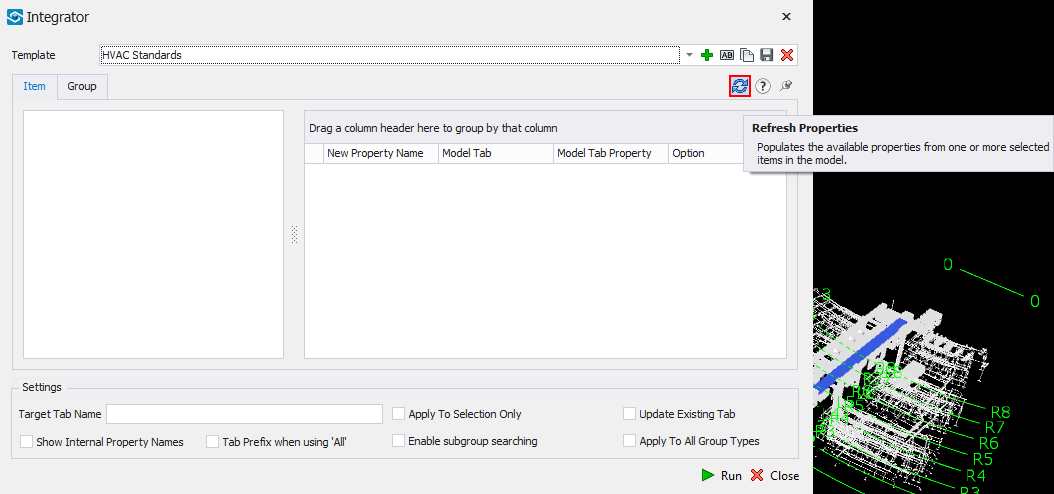
Select an item in the background and click on Refresh button.
STEP 4:
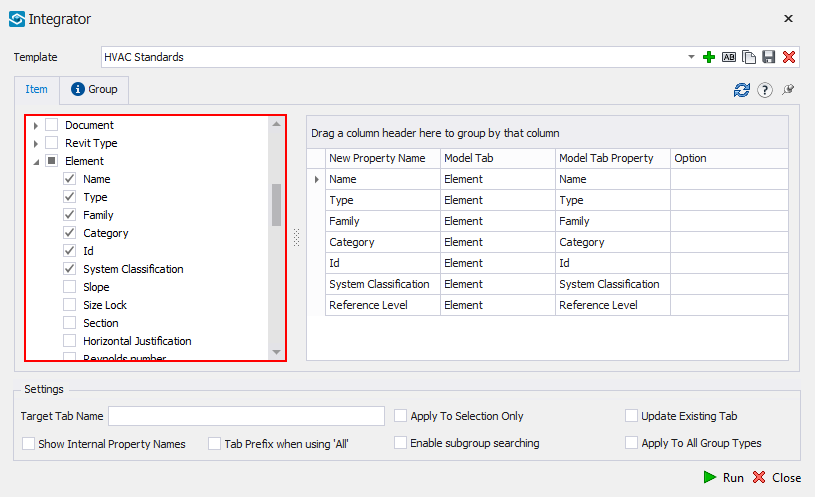
On the Item and/or Group tab, select the properties you want to pull to your own user defined tab.
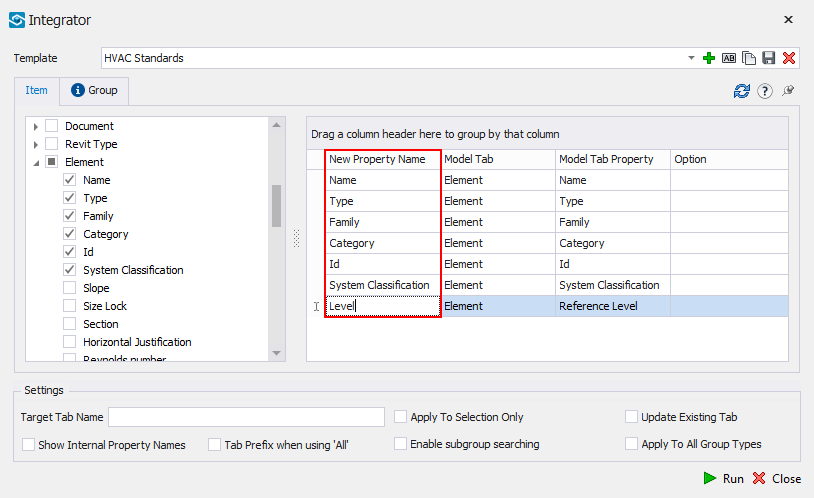
STEP 5:
If needed, you can edit the name that is given to the property inside of the custom user tab by editing the name under New Property Name column.
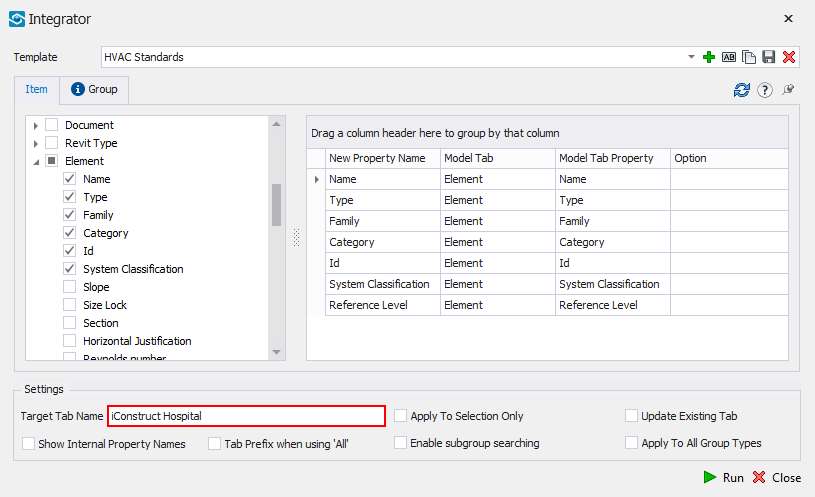
STEP 6:
Define Target Tab Name.
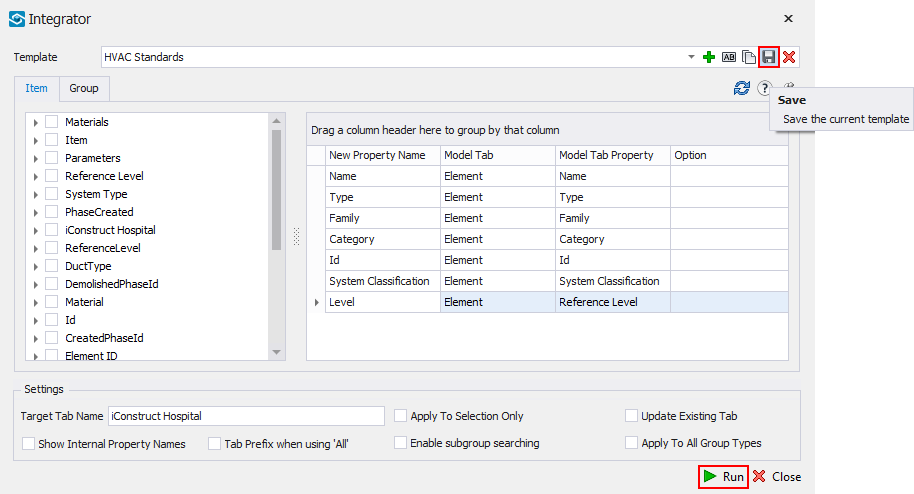
STEP 7:
Save a template. If you have the items selected you can click Run or close the dilaogue and run the tool later from saved templates.
Quick Overview:
Go to General Configuration tab ➤ Click Integrator Configuration ➤ Create New T ➤ Select an item in the background ➤ Refresh Properties ➤ Select Model Tab ➤ Select Property ➤ Save ➤ Run