Usage
The following steps will show you how to use Laser Point Creator tool.
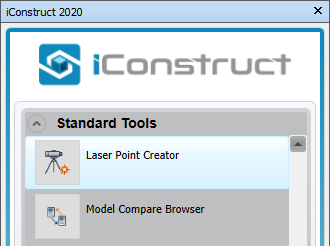
STEP 1:
Go to Standard Tools tab in the iConstruct menu and click Laser Point Creator.
STEP 2:
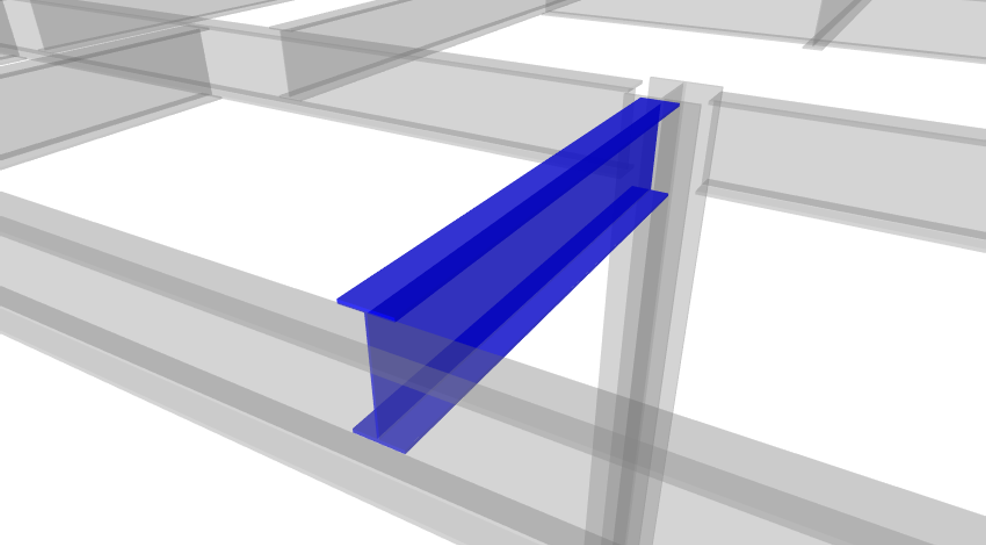
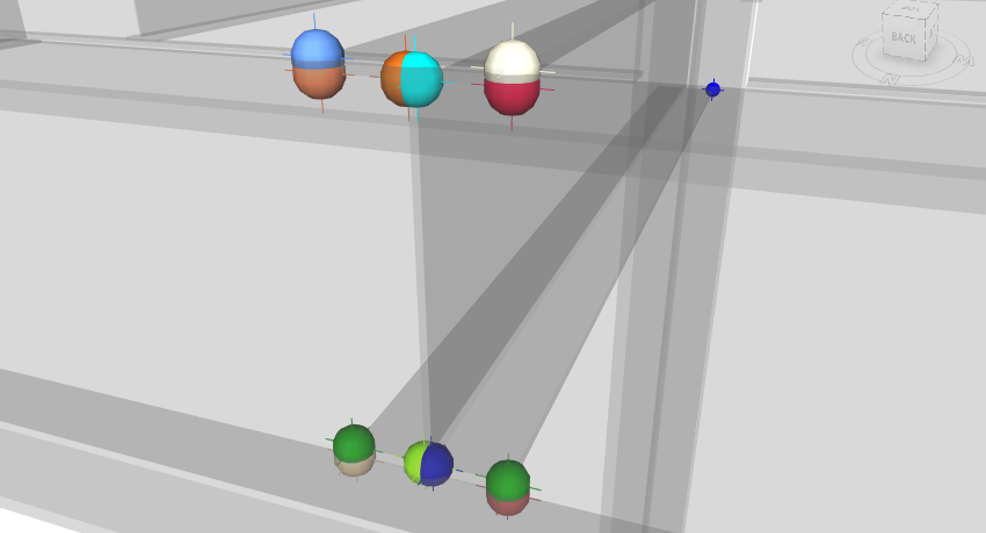
Select an item in the model to populate 3D point selection window. Check the Transparent Mode option to turn on the transparency in Navisworks.
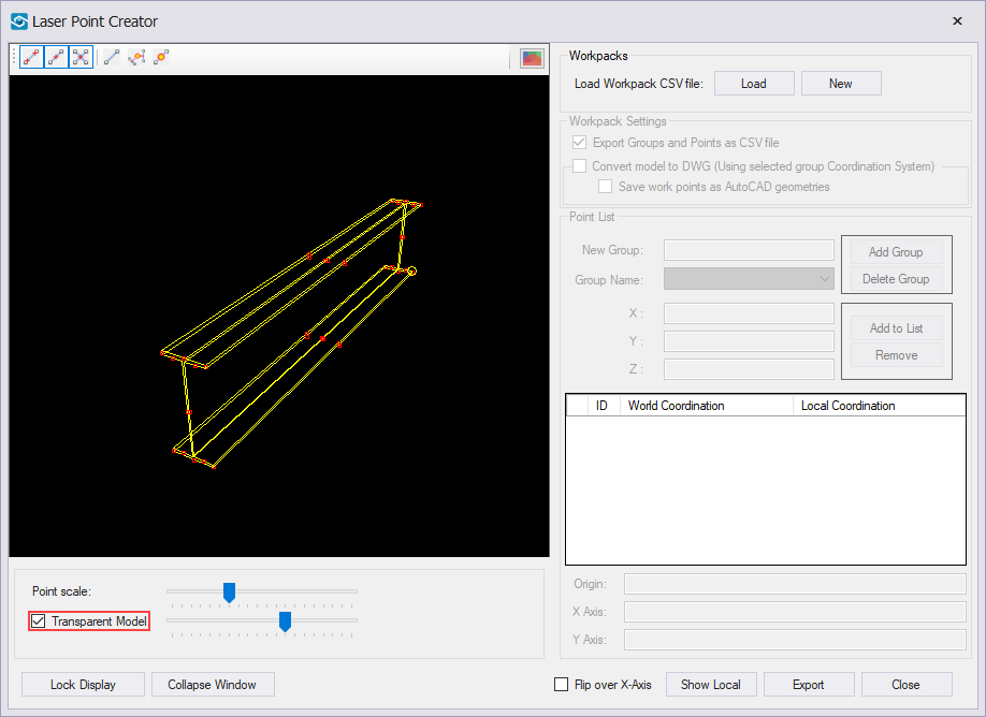
STEP 3:
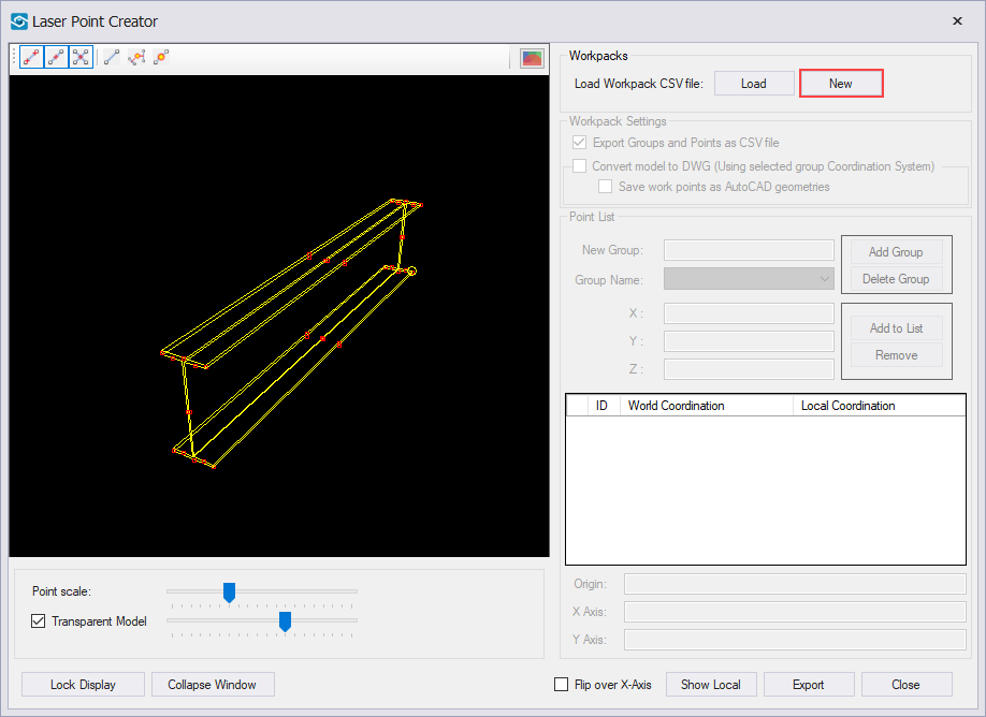
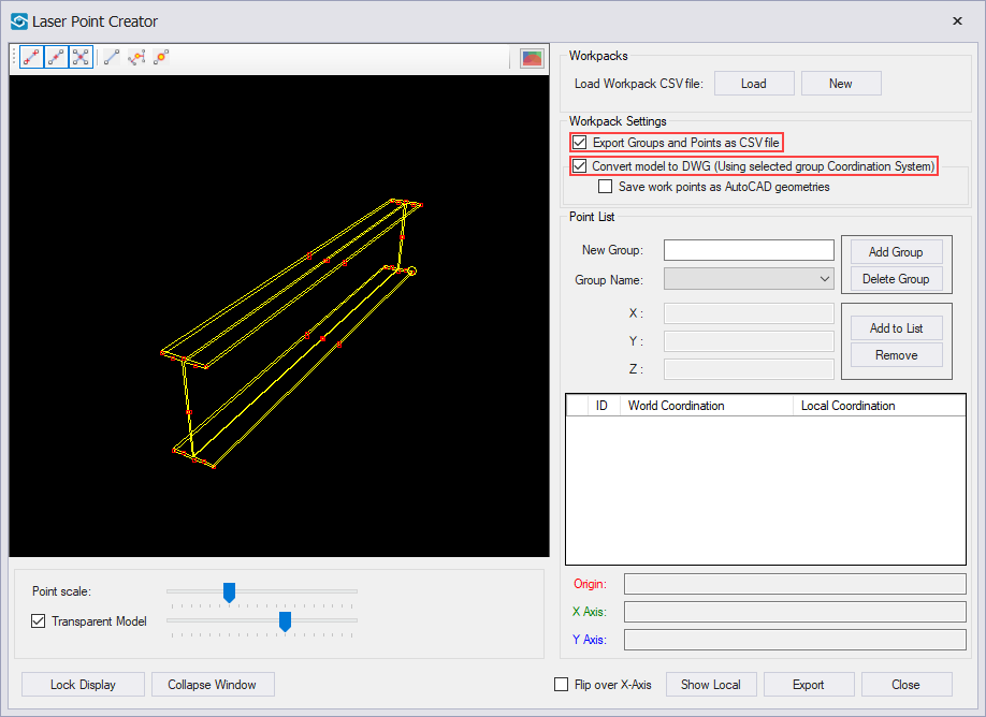
Click New to export workpack points into CSV file or you can click Load to bring the saved workpack file into the existing model.
STEP 4:
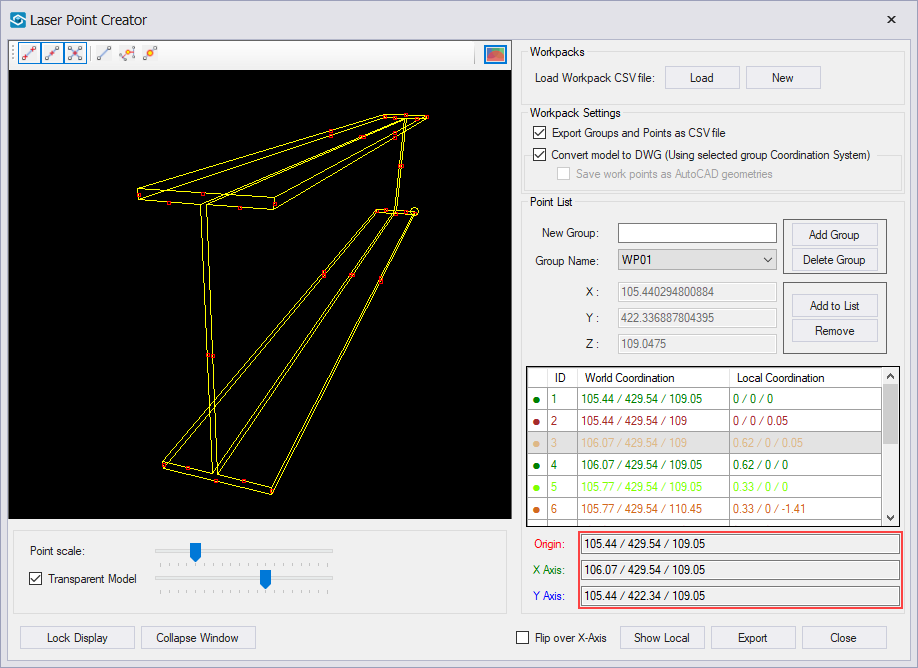
Define Workpack Settings.
STEP 5:
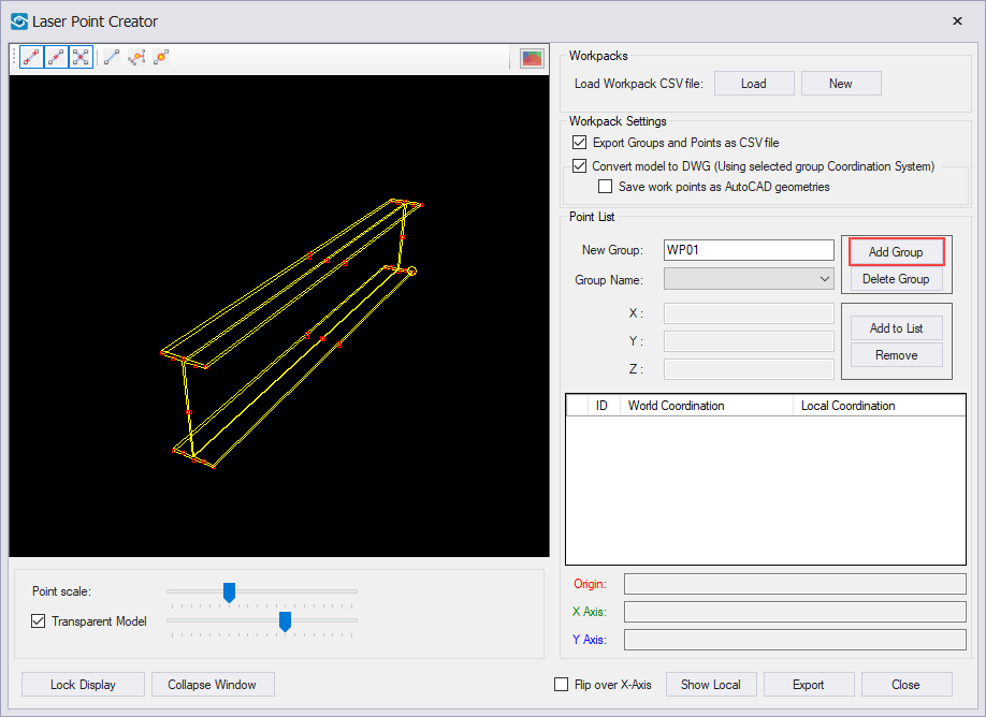
Define a New Group and click on Add Group button.
STEP 6:
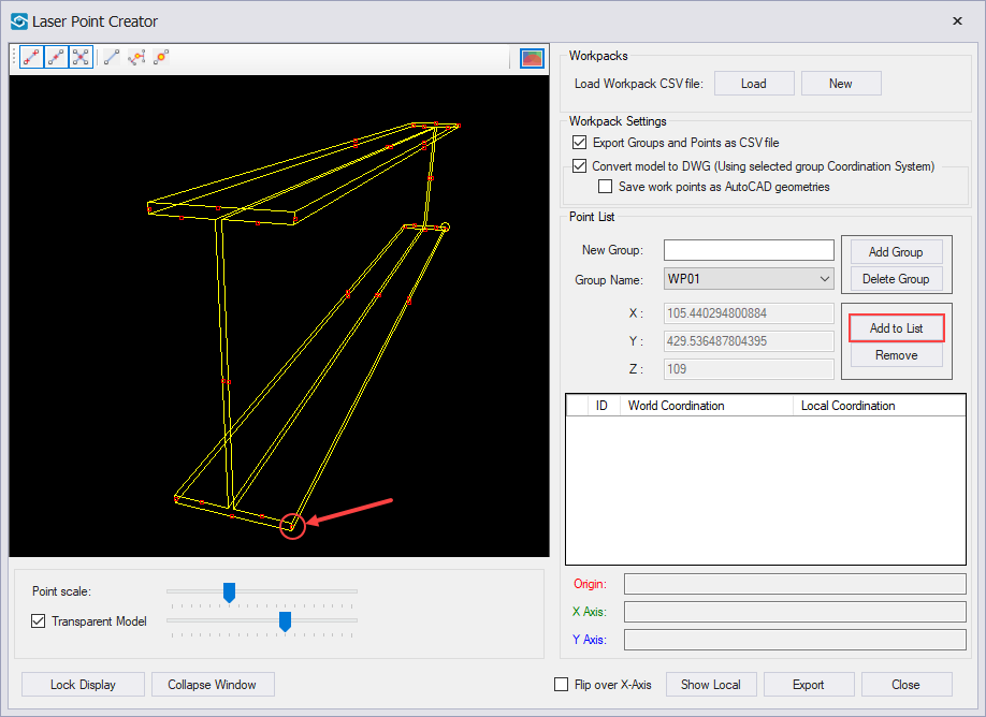
Select a point in the 3D point selection window and click the Add to List button.
STEP 7:
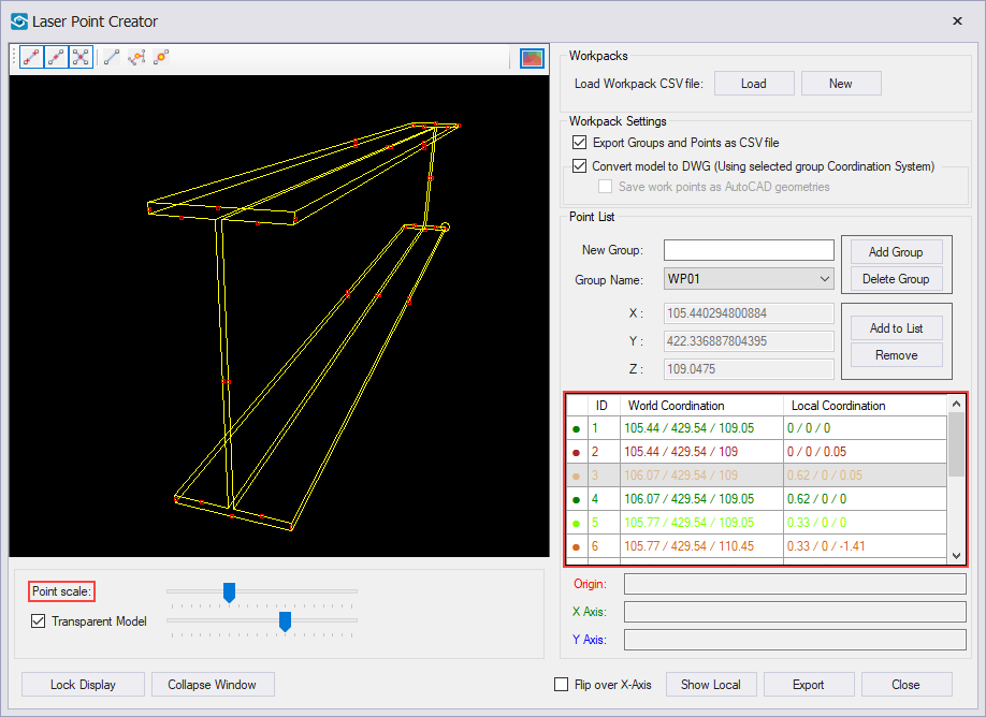
As the points are added to the point list, they also appear in Navisworks 3D view. Using the Point scale, you can adjust the point size in Navisworks 3D view.
STEP 8:
The DWG Export option works only if the destination coordinate system is specified. To do so, drag&drop the points from the point list into Origin, X Axis and Y Axis drop-box.
STEP 9:
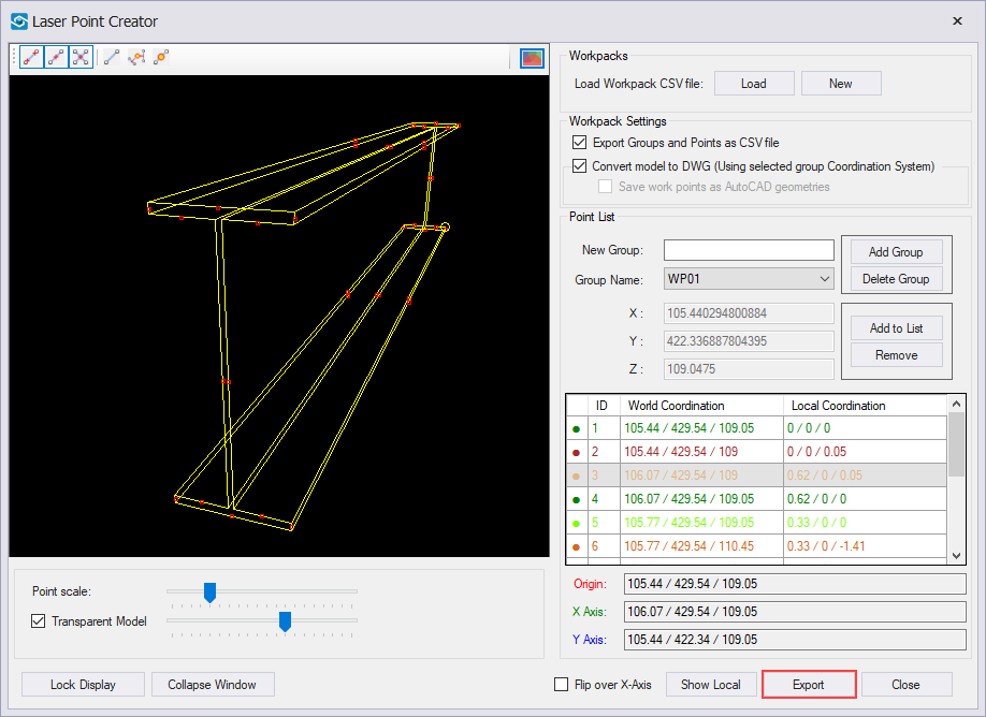
Click on the Export button and save the CSV file and/or the DWG file.
Quick Overview:
Go to Standard Tools ➤ Run Laser Point Creator ➤ Select an element ➤ Check the Transparent Mode ➤ Click New ➤ Define the Workpack Settings ➤ Select a point ➤ Click on Add to List ➤ Specify the destination coordinate system ➤ Click Export