Usage
The following steps will show you how to use the PhotoBin tool.
STEP 1:
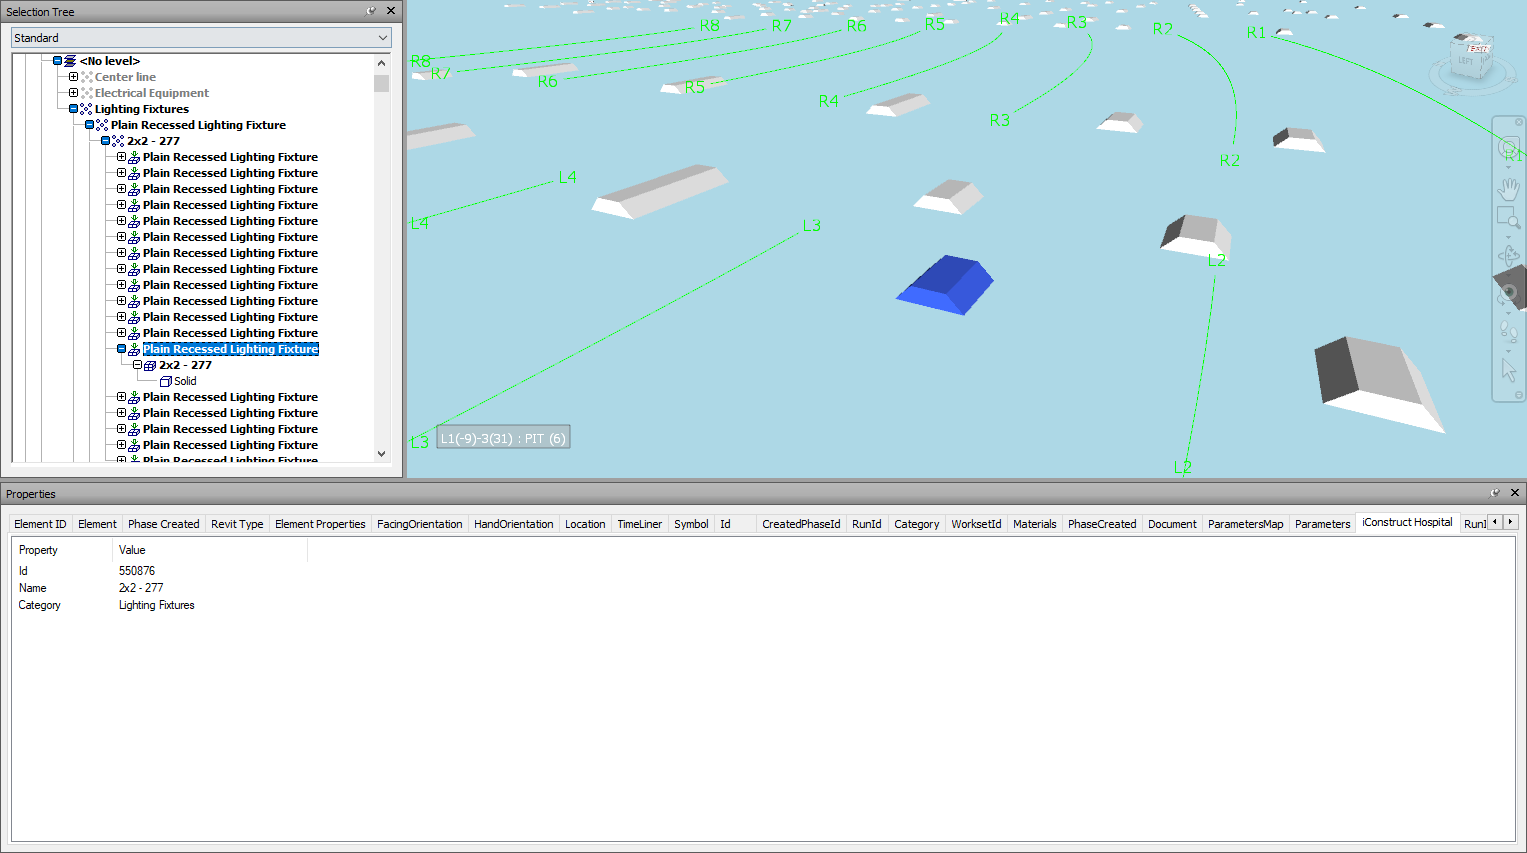
Select an item in the model that you wish to use the PhotoBin tool on. In our example, we have selected a Lighting Fixtures. Make sure to select the element at the correct level, which contains the necessary/configured information.
STEP 2:
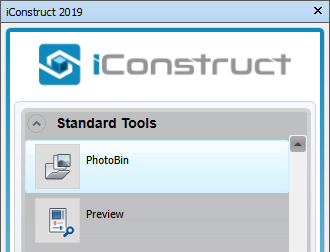
Go to Standard Tools in iConstruct menu and click PhotoBin button.
STEP 3:
When you execute PhotoBin tool on an item for the first time, the below message box will appear. Click Yes to create new folder.

STEP 4:
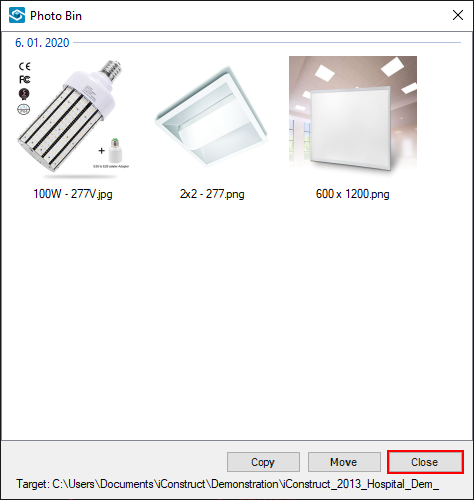
PhotoBin works in the same way as InfoBin with the difference being that instead of bringing up the windows explorer window, a photo transfer dialog appears. The dialog will display a thumbnail for all the photographs found in the photobin location. Photos can be moved or copied by selecting the images using left click and then clicking the Copy or Move button.

The image/s will be moved/copied to your InfoBin folder (if move was selected it will no longer appear in the images folder). The image will be saved in a folder named based on the nominated property of the selected component (Id Property in our example).

STEP 5:
Close the window to select another component and repeat the process. You can select multiple images and move them at the same time if preferred.
Quick Overview:
Select an item ➤ Go to Standard Tools ➤ Click on PhotoBin button ➤ Copy/Move ➤ Close