Reconstruct the Selection Tree
The following steps will show how to reconstruct Selection Tree view in Navisworks model.
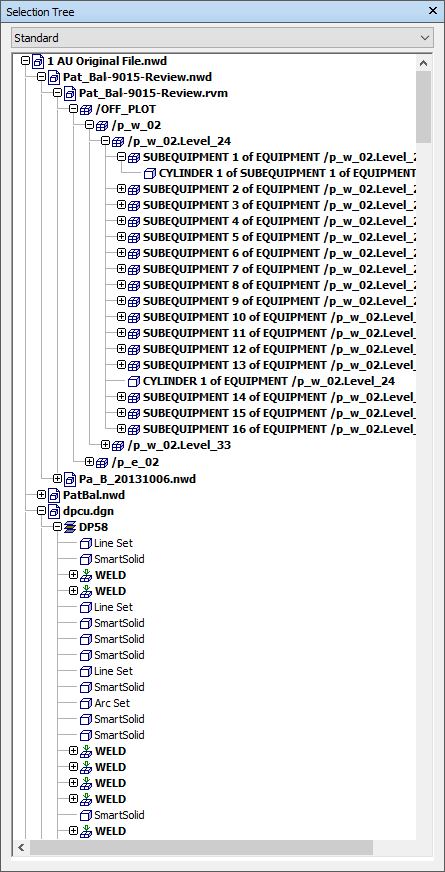
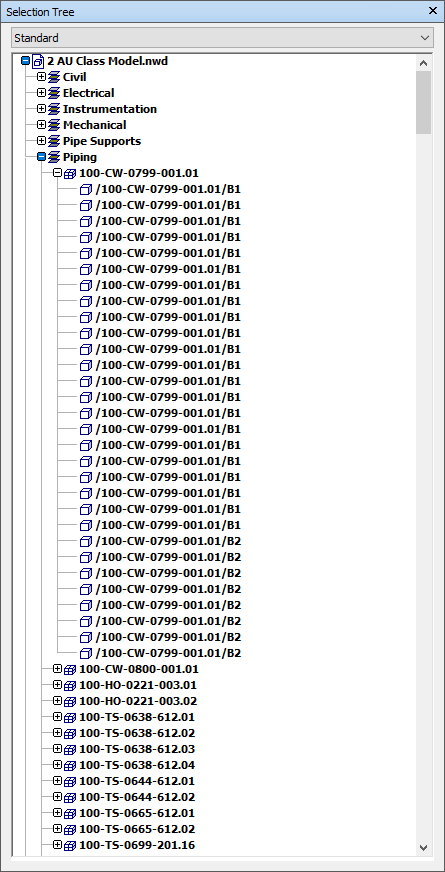
With ReConstruct tool we will export a new NWD file to reorganize and group a model’s hierarchy to optimize the model’s selection tree.
STEP 1:
The first step is to identify a property you want to use for grouping. Properties do not need to be on the same tab. In this example, we are using iConstruct Discipline, iConstruct Equipment Number and iConstruct Name property in the iConstruct tab.

STEP 2:
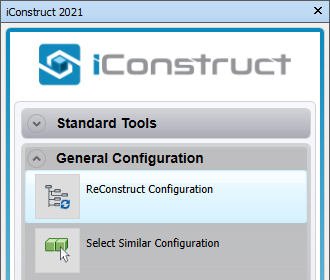
Go to General Configuration tab in the iConstruct panel and click on ReConstruct Configuration tool.
STEP 3:
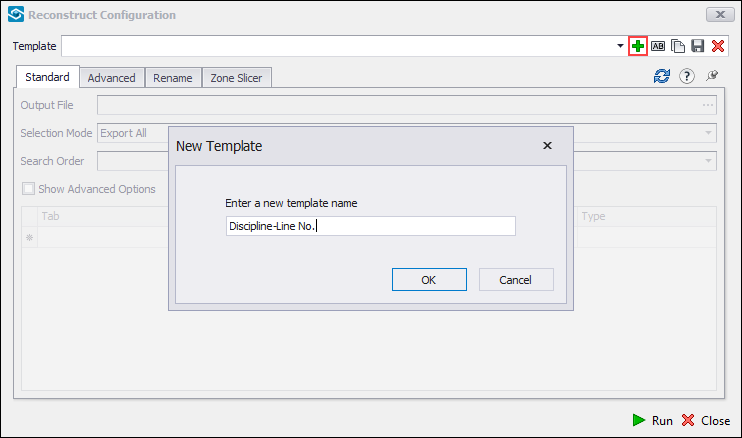
Click on New button and enter a template name. Click OK.
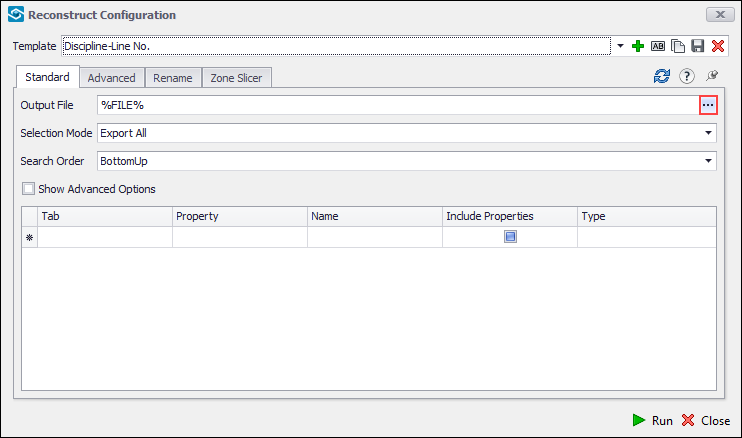
STEP 4:
Click on the ellipsis button and define a new Output File. You can leave this to the default %FILE%, which will set the Output File to the original models folder.
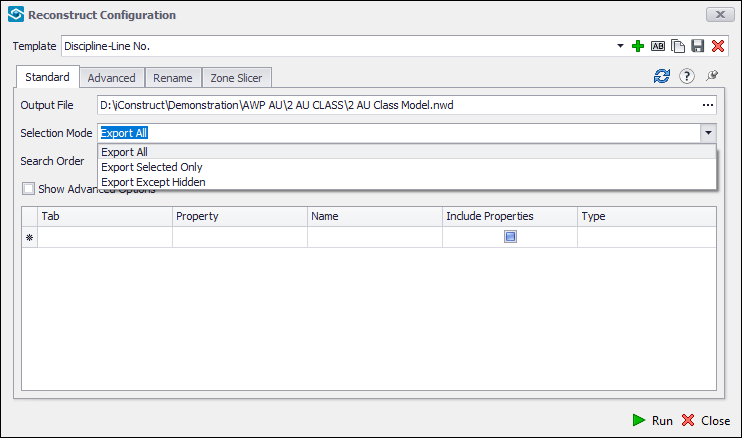
STEP 5:
You have three option with the Selection Mode. Choose how you want to export.
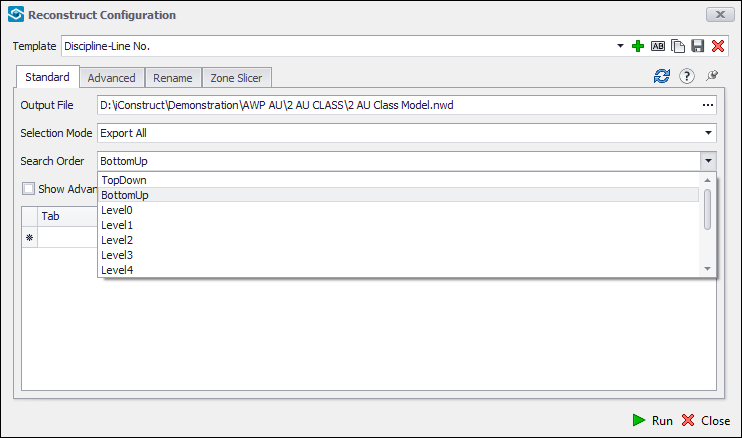
STEP 6:
Select the preferred Search Order. This essentially means in which search order or specific level the properties should be read from (BottomUp in our example).
STEP 7:
Select an item in the background and click on Refresh Properties button.
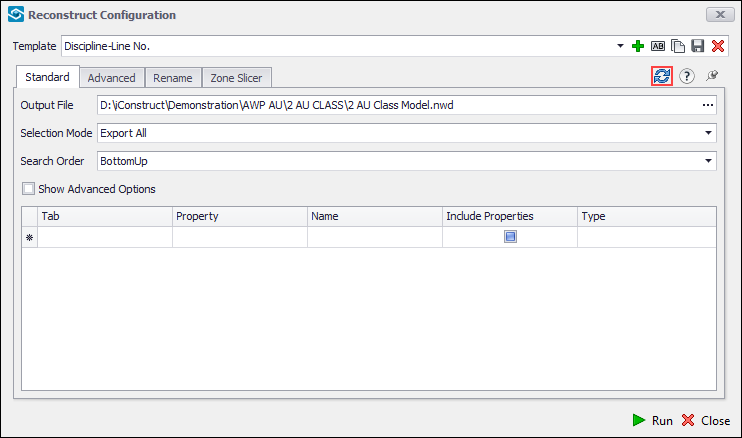
This loads all the Navisworks properties. Click OK.

STEP 8:
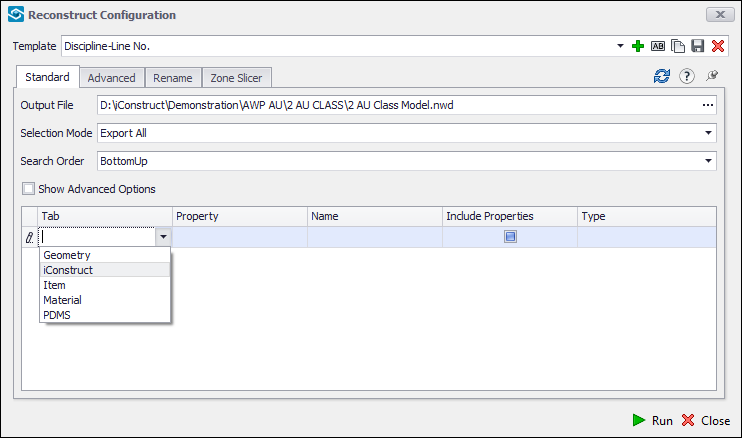
Select a Tab containing the property for sorting by the first level (iConstruct in our example).
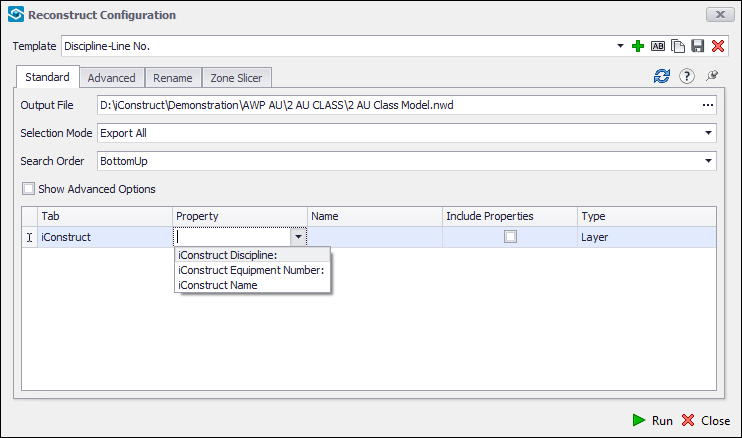
STEP 9:
Select a Property for sorting by the first level (iConstruct Discipline: in our example).
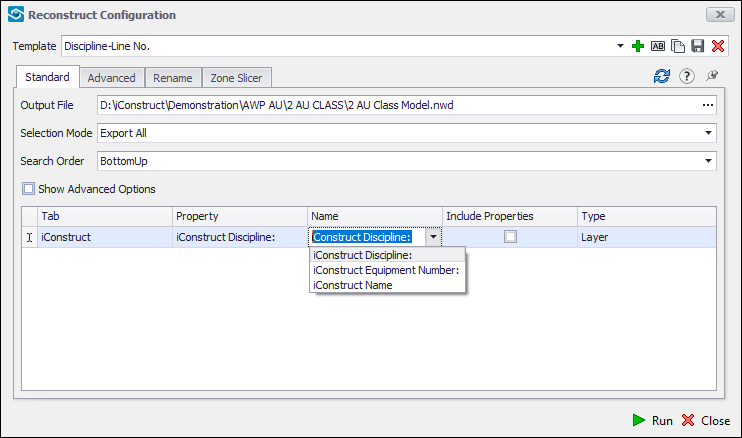
STEP 10:
You can change the name of the group, by default it's named after the grouping property. In this example, we will keep it as is.
STEP 11:
If you wish to save the properties from the belonging grouping level, make sure that Include Properties is checked (In our example, we will preserve them only from the last Item level).

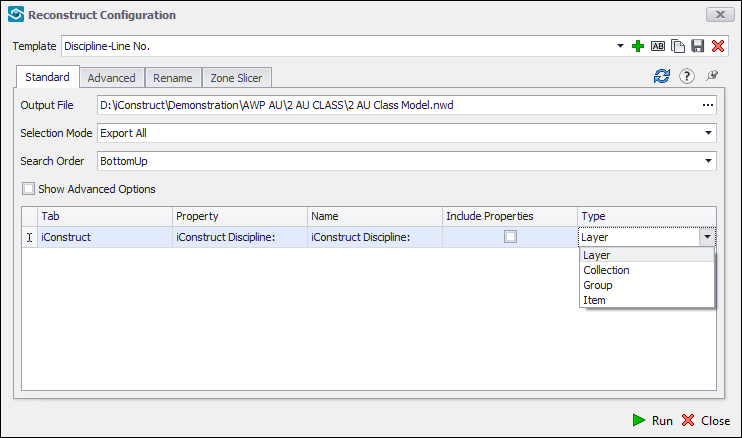
STEP 12:
Each level can be set to Collection or Group, but only first level can be set to Layer and only the last level can be set to Item (Default Layer in our example). Select the level from the Type drop-down.
STEP 13:
Repeat steps 8 through 12 for any number of further grouping levels. In our example, we are restructuring by the total of 3 levels. Note that in the last level (Item Type), we have checked the Include Properties checkbox, as desctibed in step 11.

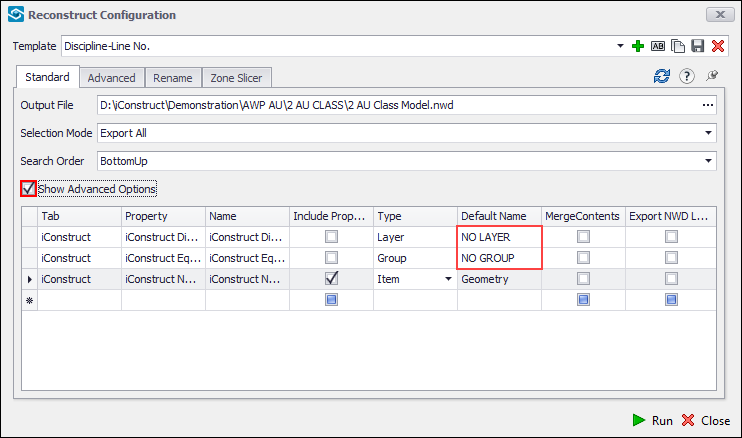
STEP 14:
Click on the Show Advanced Options checkbox to view additional option. Here you can change Default Name for the items with no Group and Layer Value. We will keep it default to NO LAYER/NO GROUP.
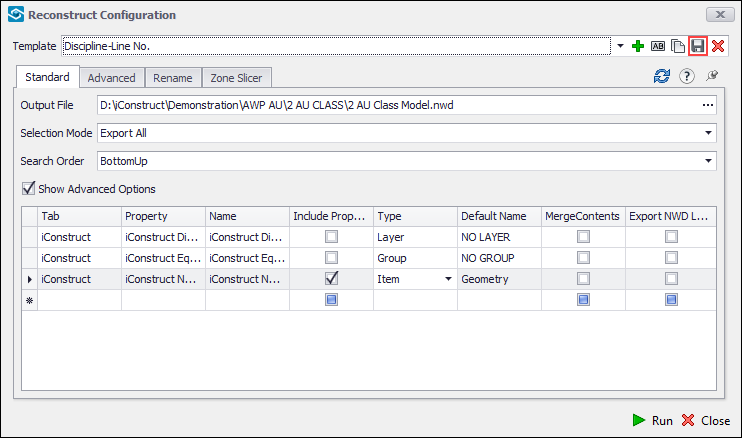
STEP 15:
Save the configuration and Run or Close.
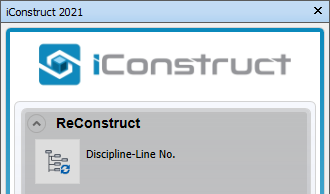
STEP 16:
We created a new template in ReConstruct tab in the iConstruct panel. Click Discipline-Line No. button (or however you named it) and wait for the Reconstruct to finish.
STEP 17:
Click OK when exported.

Quick Overview:
Go to iConstruct panel ➤ Go to General Configuration tab ➤ Run ReConstruct Configuration ➤ Define Template Name ➤ Refresh Properties ➤ Define Output File ➤ Select Selection Mode ➤ Define Search Order ➤ Define grouping for desired number of levels ➤ Save ➤ Run/Close