Append Data
The Append Data allows user to selectively append custom user data to the model with the ability to have pre-saved templates for simplicity and consistency. This command can be useful for adding custom data on the fly.
The following steps will show you how to append data to elements.
STEP 1:
Go to Standard Tools in the iConstruct menu and click Append Data button.
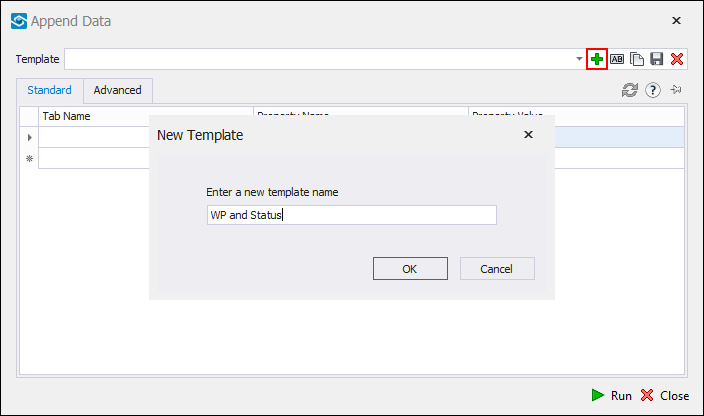
STEP 2:
Create a New template and give it a name.
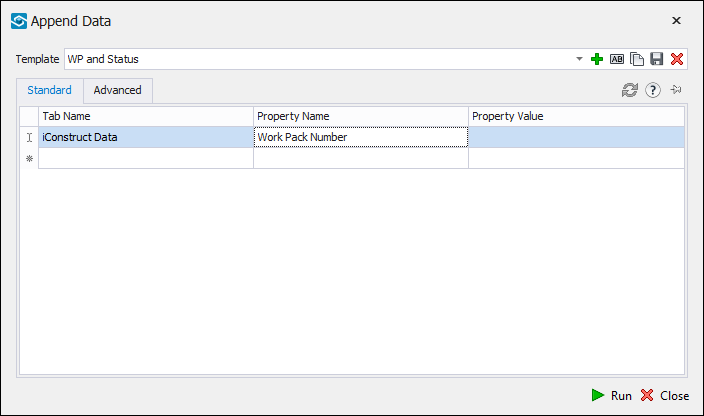
STEP 3:
Define Tab Name (iConstruct Data in our example).

STEP 4:
Name the property (For example: Work Pack Number).
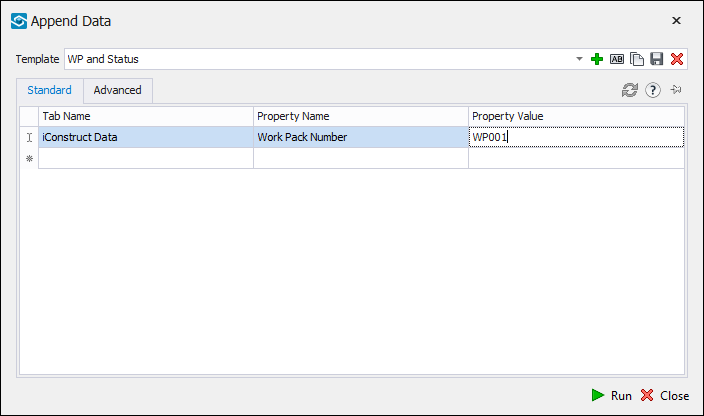
STEP 5:
Type in Property Value (WP001 in our case).
Note: You can add multiple properties if needed by repeating steps 2-4.
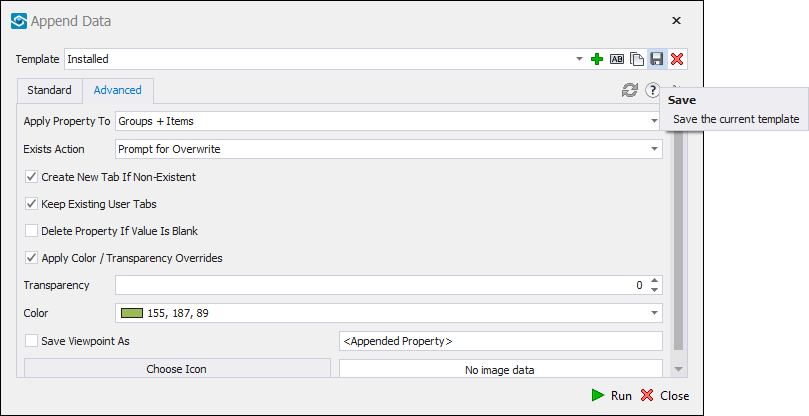
STEP 6:
Go to the Advanced tab and select if you want to append property to Groups, Items or both from the drop-down menu.
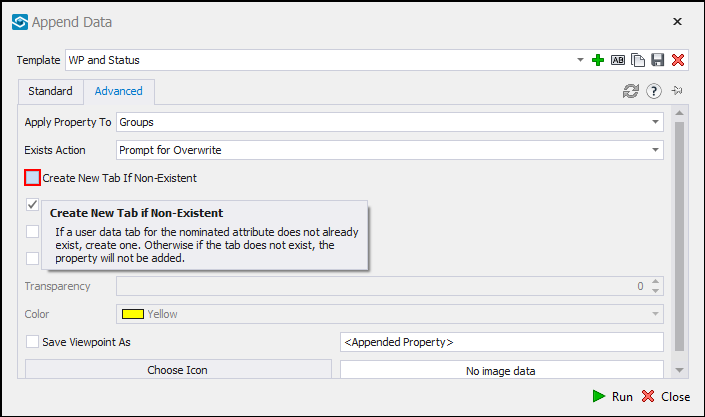
STEP 7:
Check Create New Tab if Non-Existent if necessary.

STEP 8:
Check Apply Colour / Transparency Overrides (optional) to define colour and transparency.
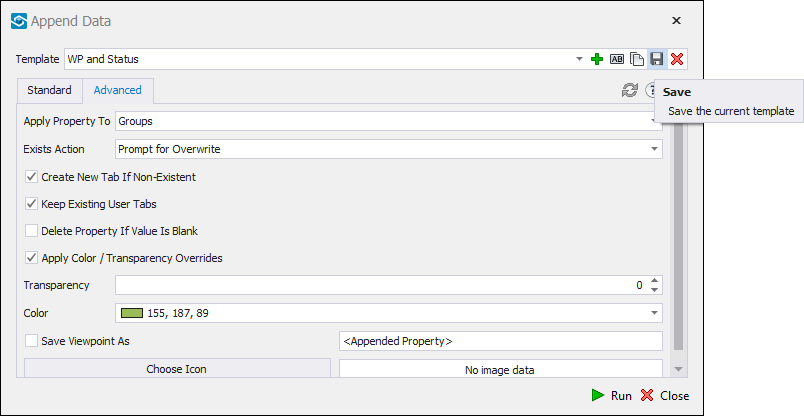
STEP 9:
Save a template. If you have the items selected you can click Run to append data or close the dilaogue and run the tool later from saved templates.
Quick Overview:
Go to iConstruct panel ➤ Click on Append Data ➤ Create New Template ➤ Define Tab Name ➤ Name the property ➤ Define Property Value ➤ Select Apply Property To ➤ Check Create New Tab if Non-Existent ➤ Apply Colour ➤ Save