BIMflow Server
Usage of the server is optional and designed for established bimflows. With dedicated BIMflow Server you can share your designed BIMflows with other users.
In this article:
System Requirements
BIMflow Server can run on any windows OS. To install iConstruct server the pre-requisite is to have Microsoft SQL Server available (any version, including Express). For information on downloading and installing Microsoft SQL Server Express please visit http://www.microsoft.com/express/sql/.
Installation
The setup should be Run as Administrator. Double click the setup.exe to launch setup.
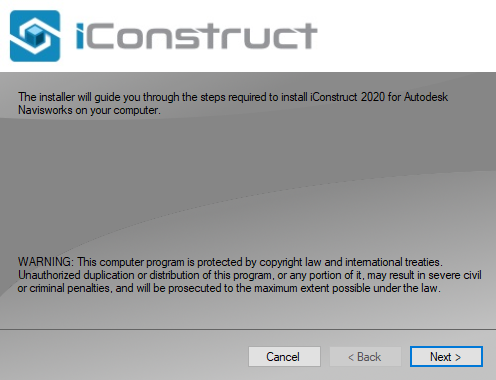
STEP 1:
The welcome dialog will appear, click Next. This will take you to the feature selection (below right).
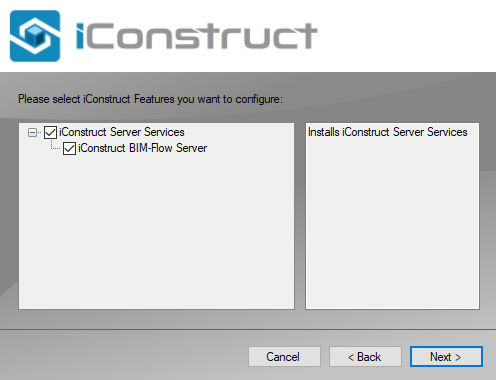
STEP 2:
Check the iConstruct Server Services and click Next.
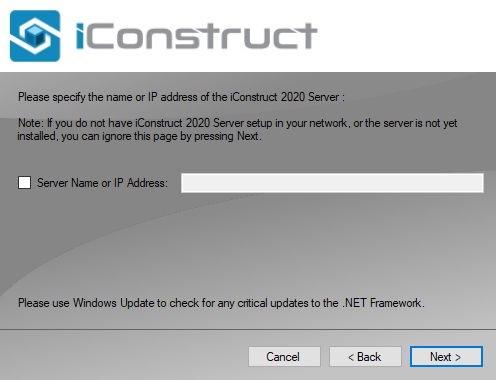
STEP 3:
Once the feature selection is complete, click Next. The installer will prompt for the name or IP address of an existing iConstruct BIMflow Server – since we are installing the server this can be left blank. Click Next and then Finish to start the installation process.
STEP 4:
During the installation you will be prompted for the location and login credentials of the SQL Server to use. Use the drop-down list of servers to select a server, or if the list is empty type the name and instance. In this case we are using the SQL Server Express installed on the local PC so will use the localhost address with the instance name SQLEXPRESS. We will also use the default database name iConstruct, but you can nominate a different name if desired or if more than one database is required.

In most cases the authentication type will be left as windows authentication, but if your database administrator requires you to use a certain login the authentication can be switched to SQL Server Authentication to give the option to type in the username and password.
STEP 5:
Once the details are filled in, click Install.

Note: If the server has already been installed to the SQL server, a warning message will appear letting the user know there is an existing database to avoid potential loss of data. Clicking yes will completely delete the existing data and create a new database, clicking no will cancel the installation. The installation can then be rerun with a different database name.
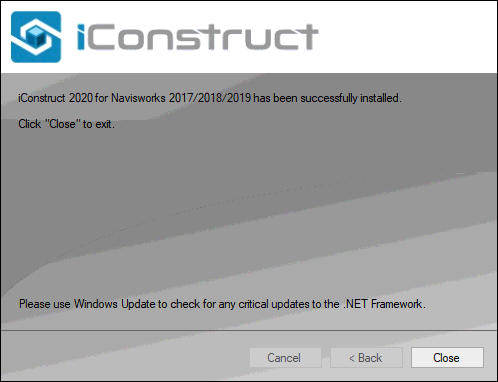
STEP 6:
Once complete, select Finish to close the installtion window.
Uninstallation
To uninstall BIMflow Server, run the setup program and select either Modify to just uninstall iConstruct BIMflow server, or Remove to uninstall all versions of iConstruct & servers from the computer. In this case we are only going to uninstall the server so leave on Modify and click Next.
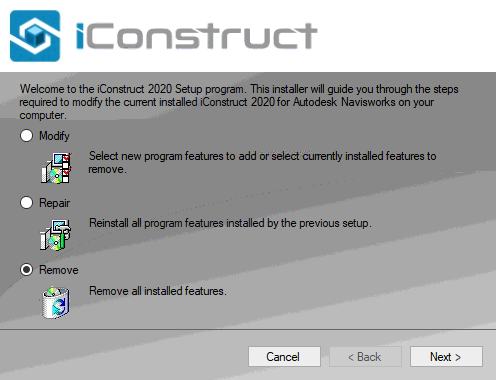
STEP 1:
Untick the feature(s) you wish to uninstall, and click Next.
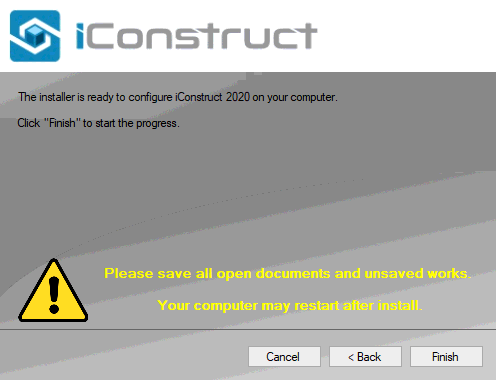
STEP 2:
Click Next to the following page, then Finish to perform the uninstallation.
Configuration
The following steps will show you how to configure BIMflow server in order to share your designed BIMflows with other users. The BIMflow can also be used in standalone mode if a server is not available.
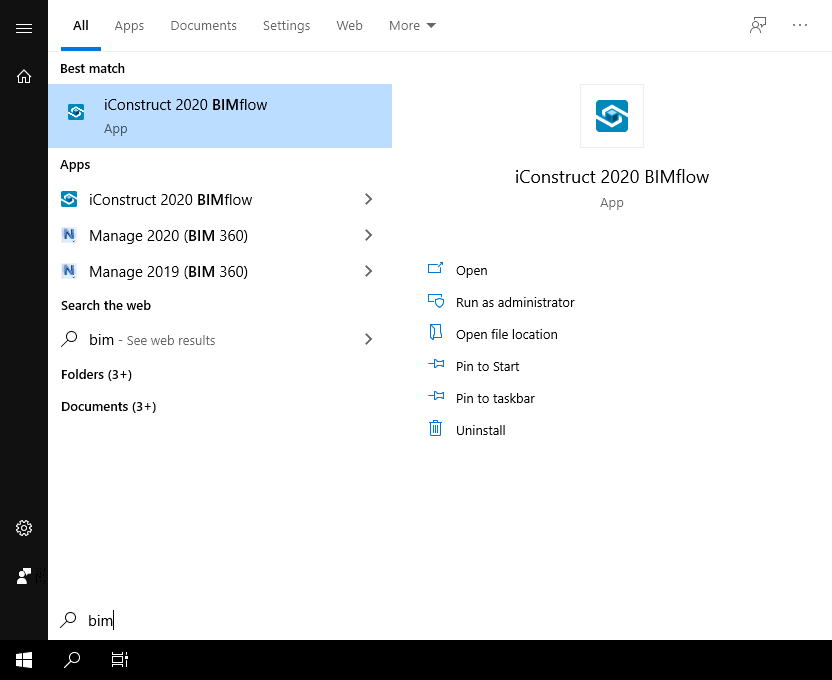
STEP 1:
Go to Windows Start Manu and find it in iConstruct folder. Open BIMflow application.
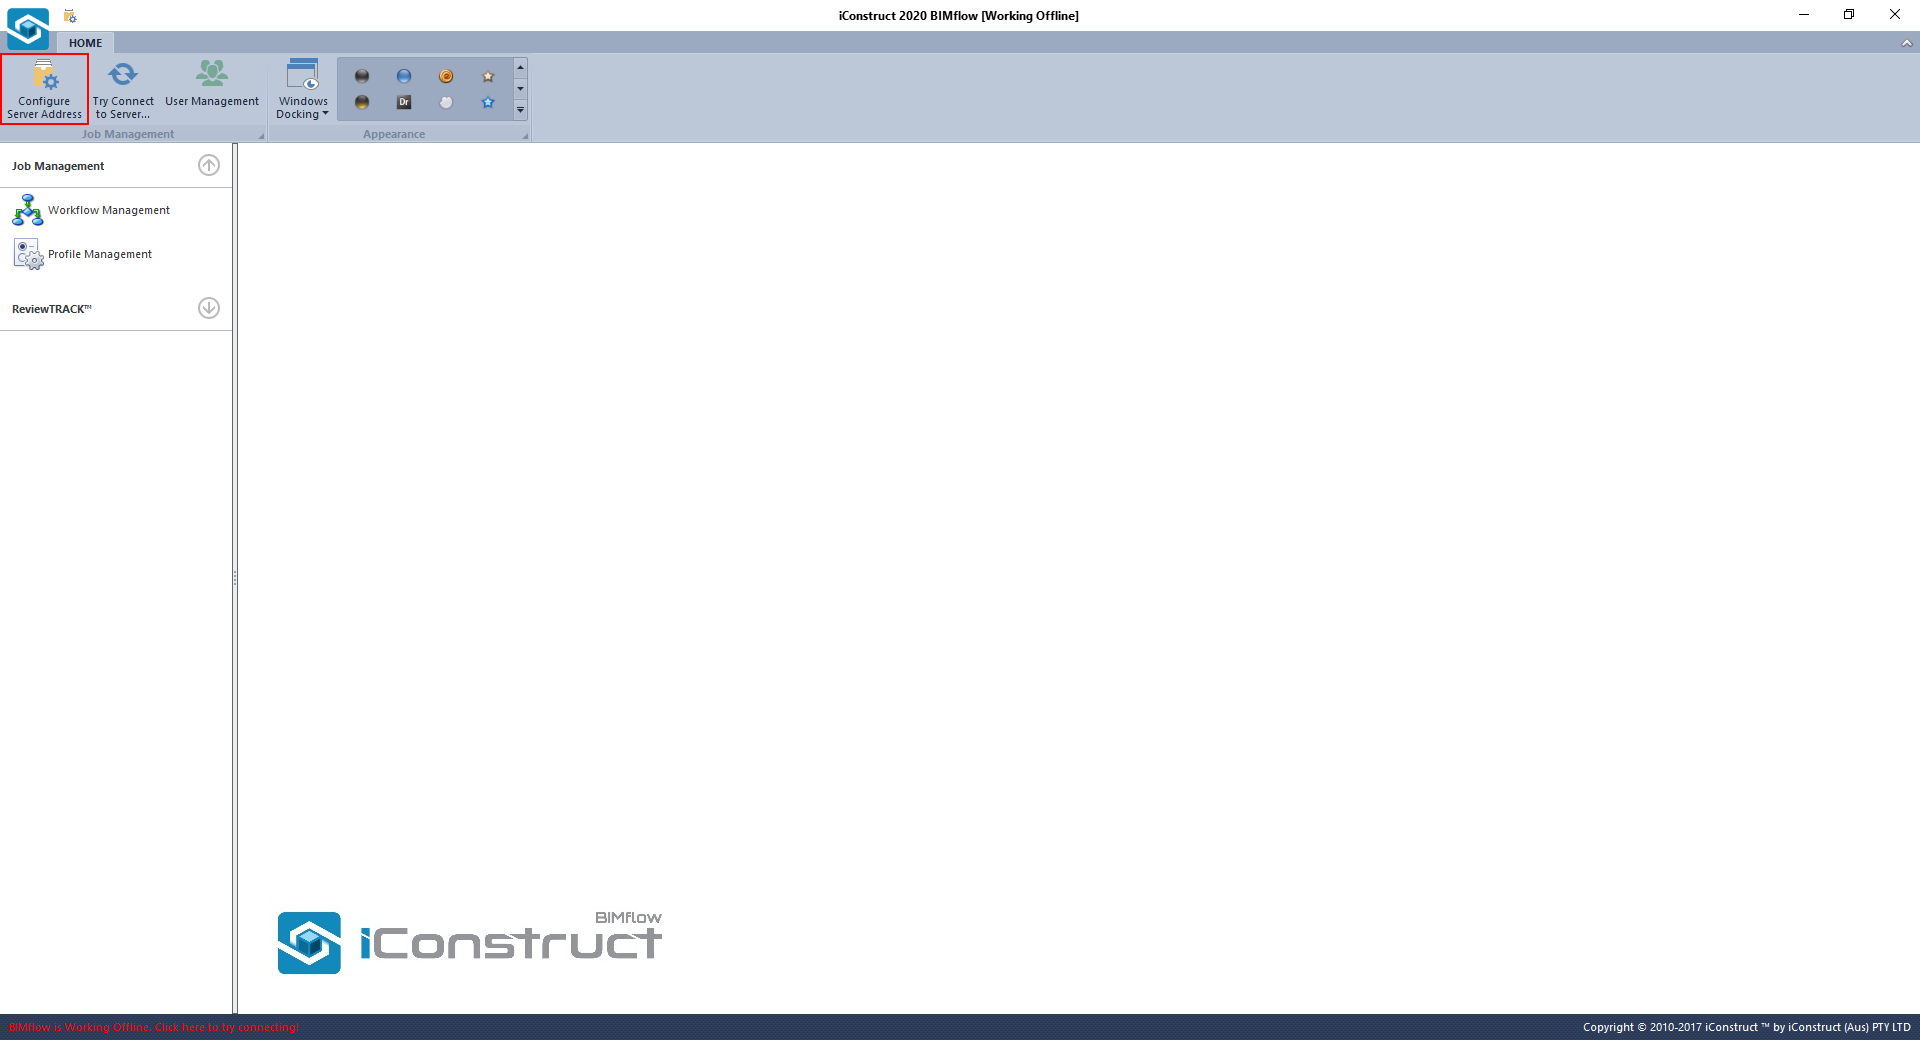
STEP 2:
Click Configure Server Address to define where the iConstruct BIMflow server is located.
STEP 3:
Type the details of the server in the Server Name or IP Address. In this case we are working on the computer hosting the server so will use the server name localhost. Click OK to connect.
