Coordination Workflow
This workflow will demonstrate the power of automating your BIM coordination in Navisworks using iConstruct's BIMflow. The following steps will show you how to create a BIMflow using several features like Audit, Color Code and others in order to automate coordination workflow.
Time Saved: 1 – 4 hours
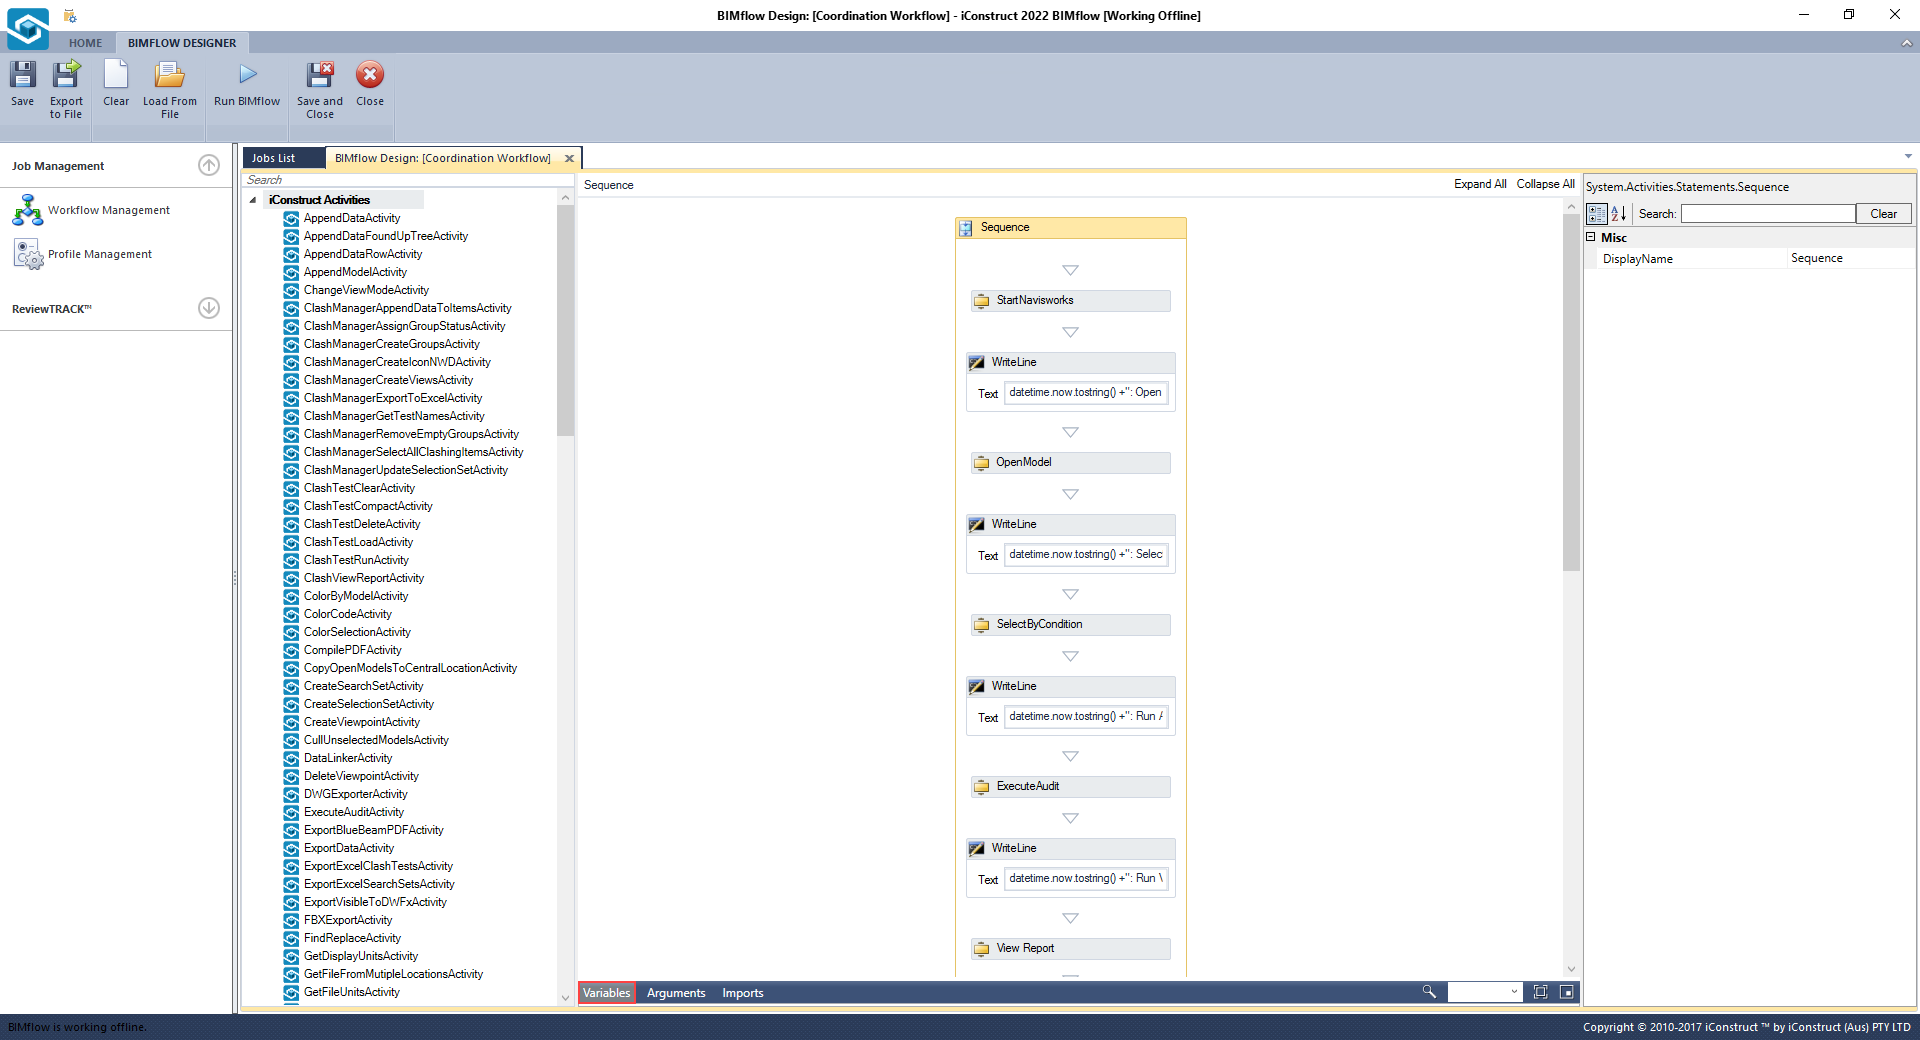
How the BIMflow works?
The BIMflow will run through a coordination workflow to apply Audit to the model to create Saved Viewpoints which will be exported to a systems report with defined values. The Colour Codes tool will be applied to the model for status visualisation.
STEP 1:
Create a New Job and Load XAML from File into your BIMflow.
STEP 2:
Select Variables at the bottom of BIMflow.
STEP 3:
Change the variable values to your own. Values are entered in the Default column.
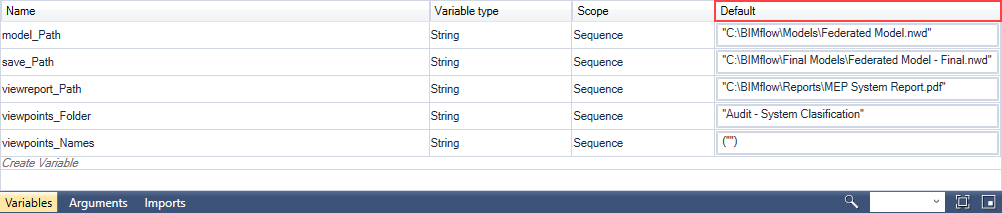
Variables
| Command | Example | Description |
|---|---|---|
| folder_Paths | "C:\Folder\Models" | This is the Path of the parent folder containing model. |
| save_Path | "C:\Folder\Models\Model Name.nwd" | This is the path of the location to save the model with the model name and model type. |
| viewreport_Path | "C:\Folder\Models\Report Name.pdf" | The name of the folder created by Audit tools in Navisworks Viewpoints must be the same here. |
| viewpoints_Folder | "Audit - System Classification" | The name of the folder created by Audit tools in Navisworks Viewpoints must be the same here. |
| viewpoints_Names | ("") or ("Exhaust Air,Return Air") | The brackets with inverted commas will label all the viewpoints in the report or you can type in the names of viewpoints you want separated by commas. |
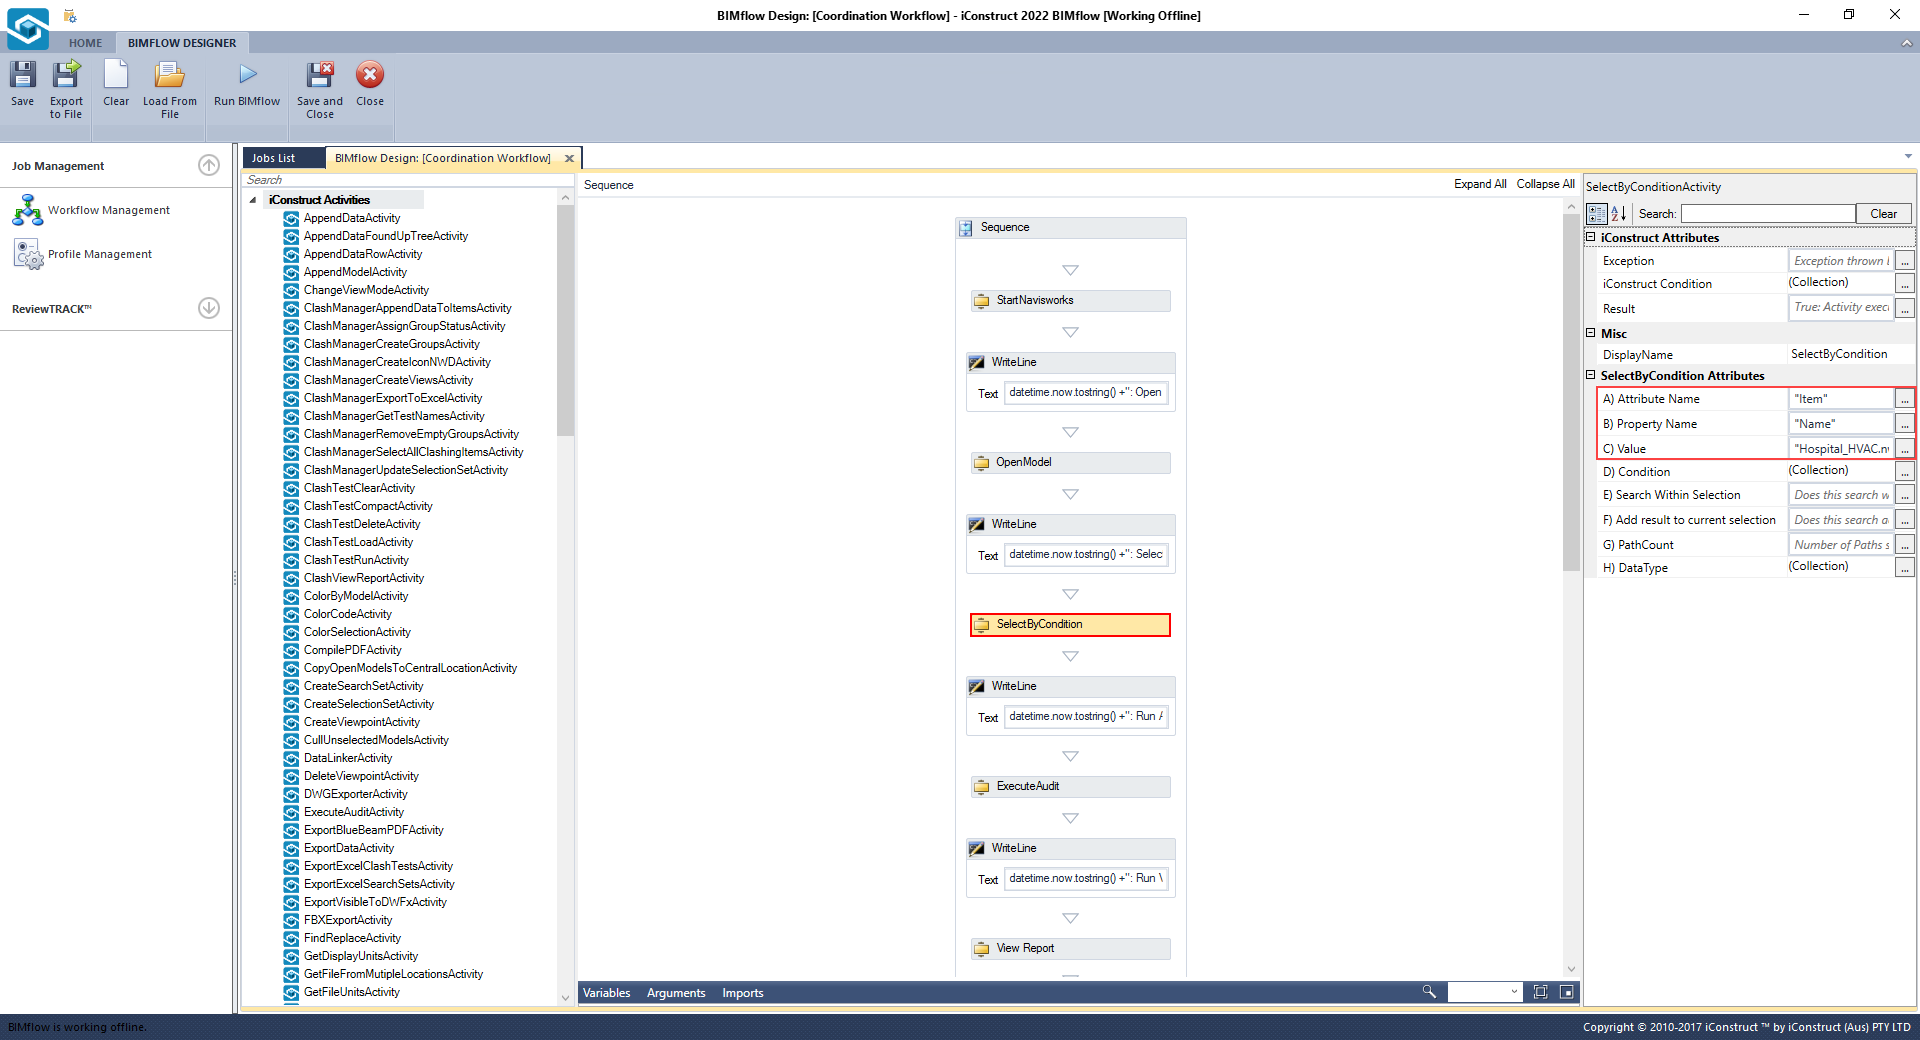
STEP 4:
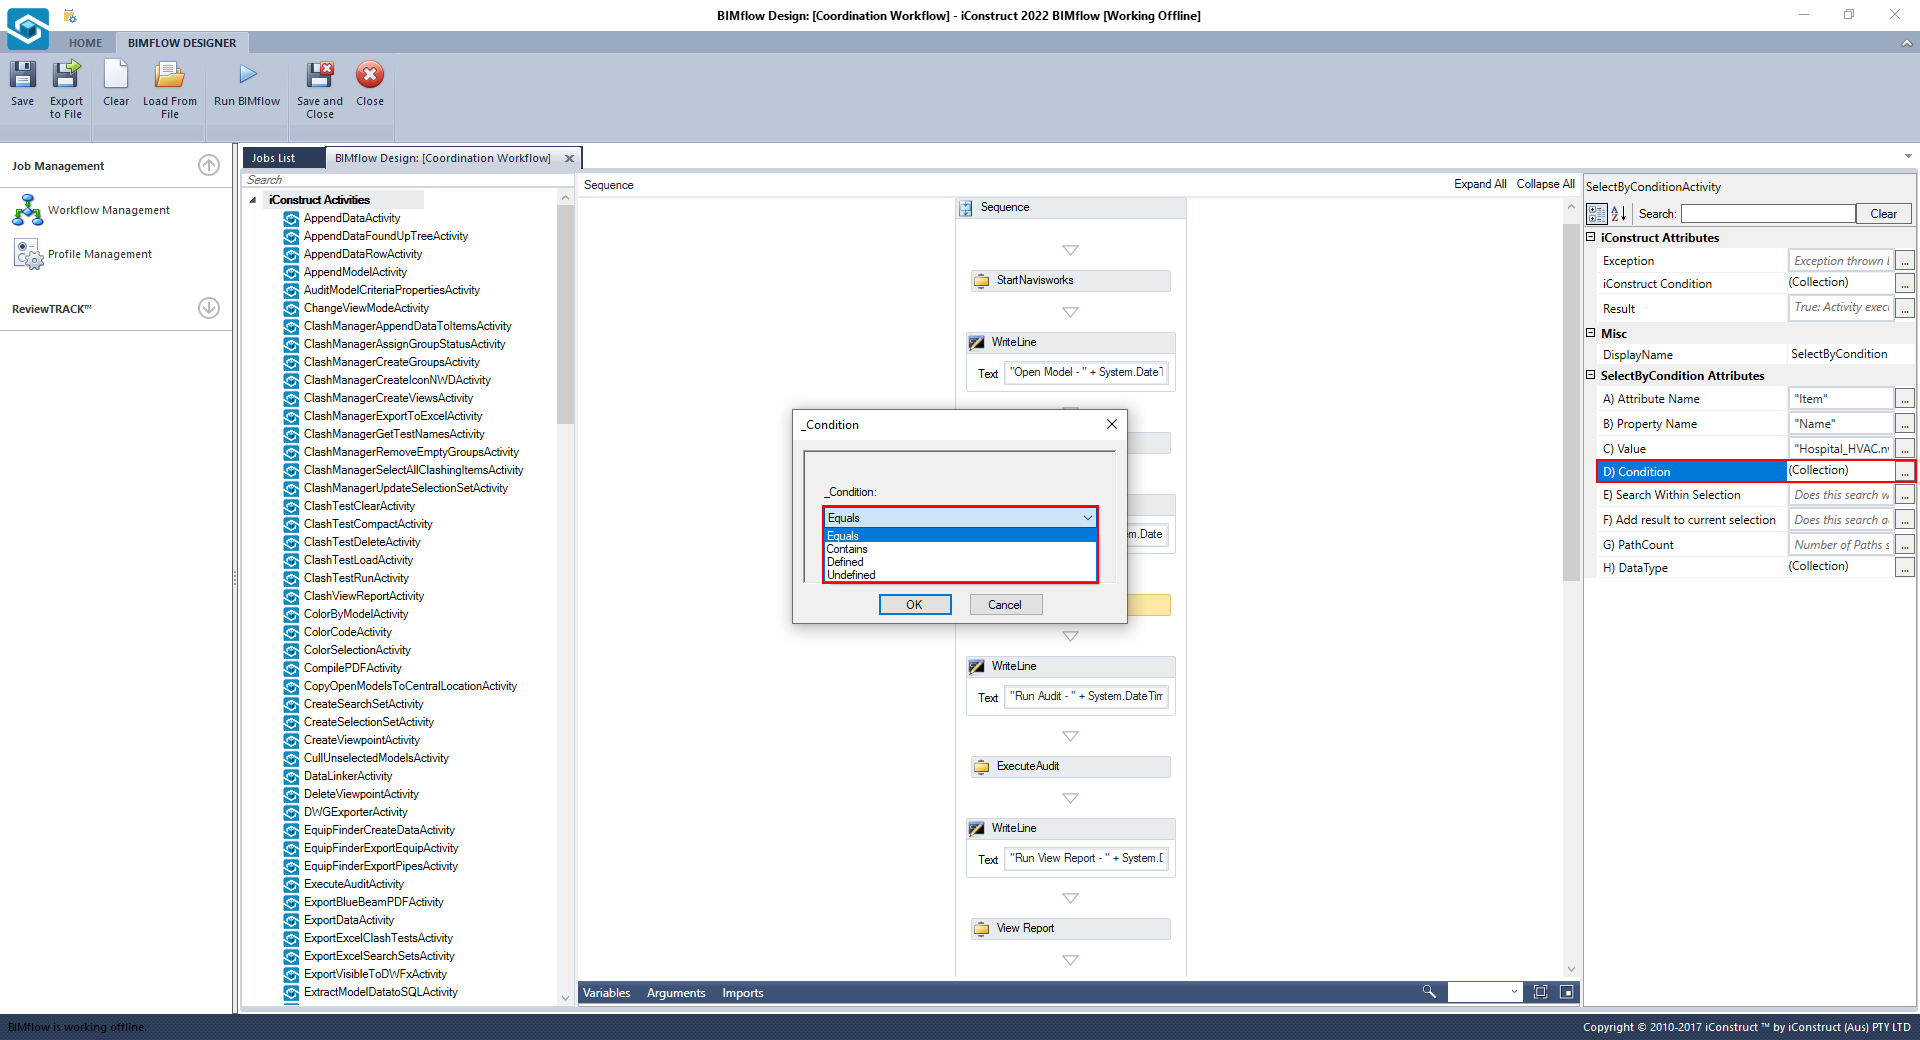
For Select by Condition activity, add the Tab, Property and Value of the Model you are going to apply the Audit to.
STEP 5:
Select the condition. Equals in our example.
STEP 6:
Select the Audit Template consumed through Profile Management.

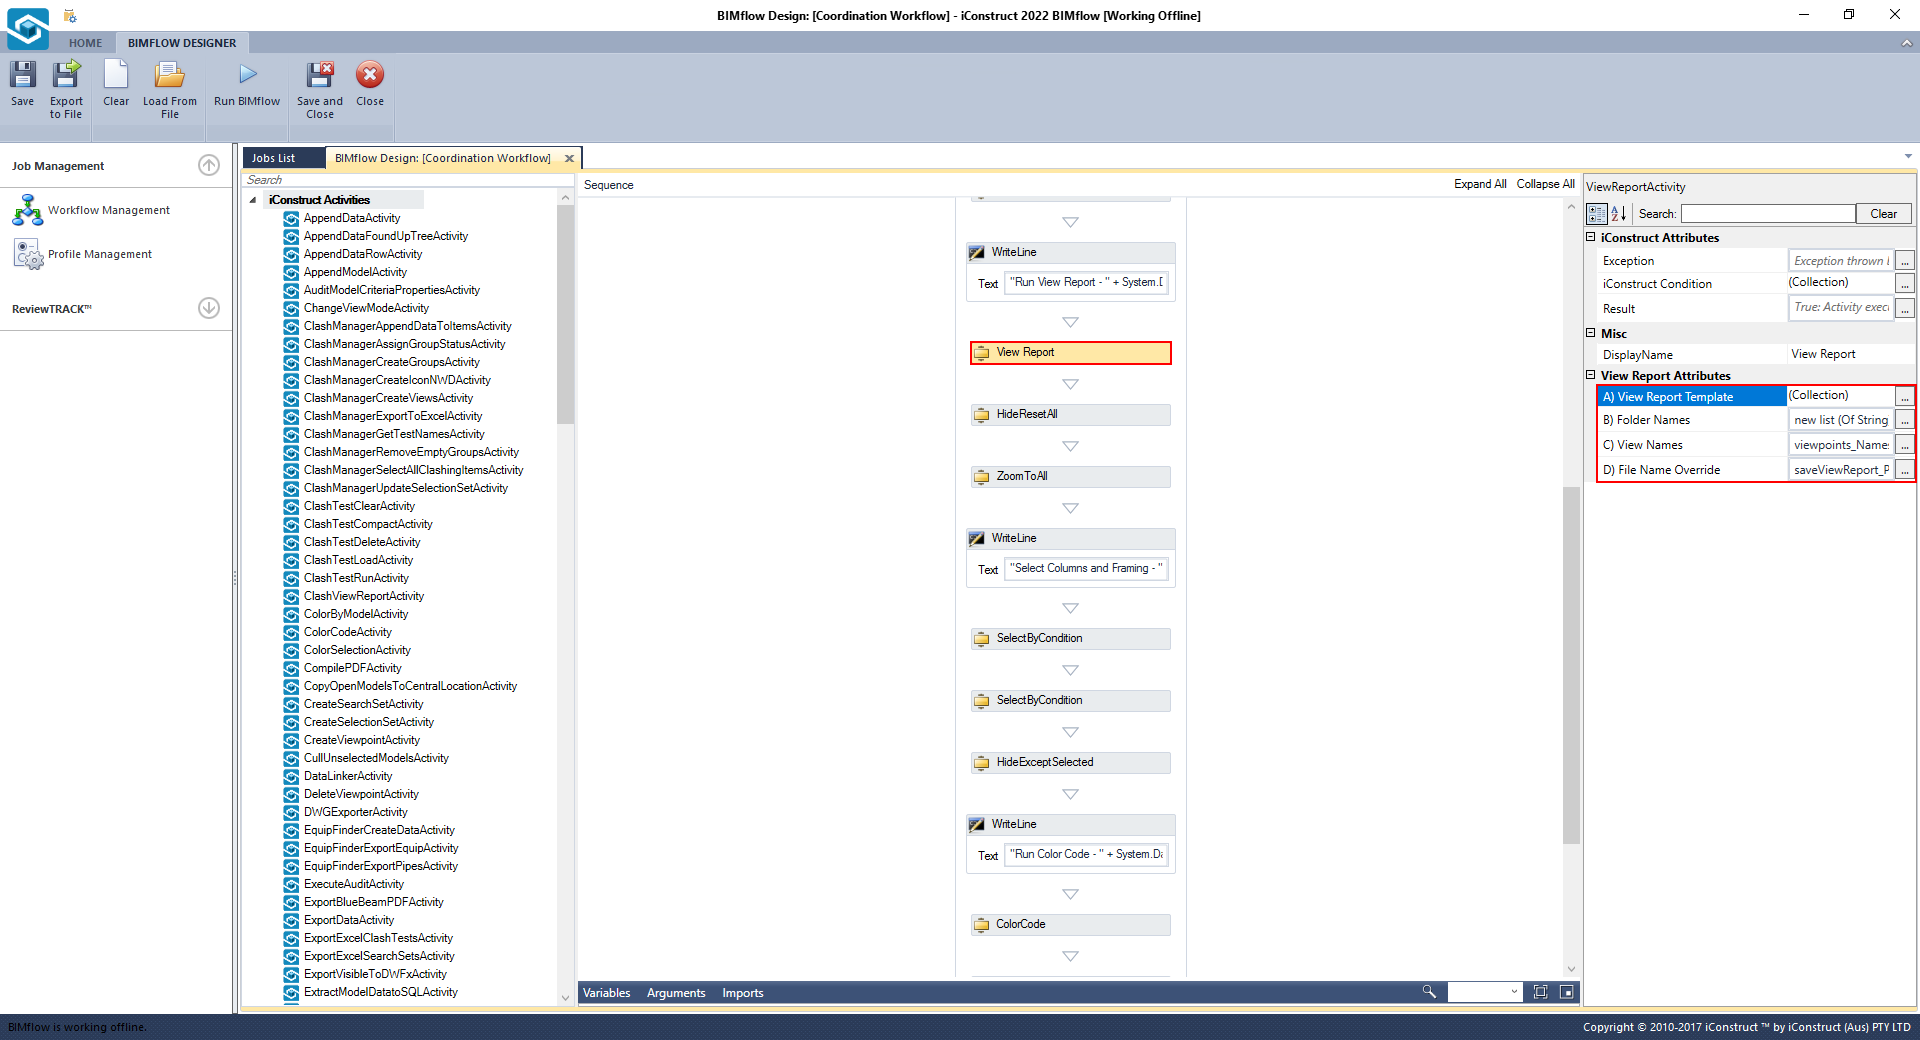
STEP 7:
To set up the View Report, align B, C and D attributes with the Variables and then select the View Report Template through Profile Management.
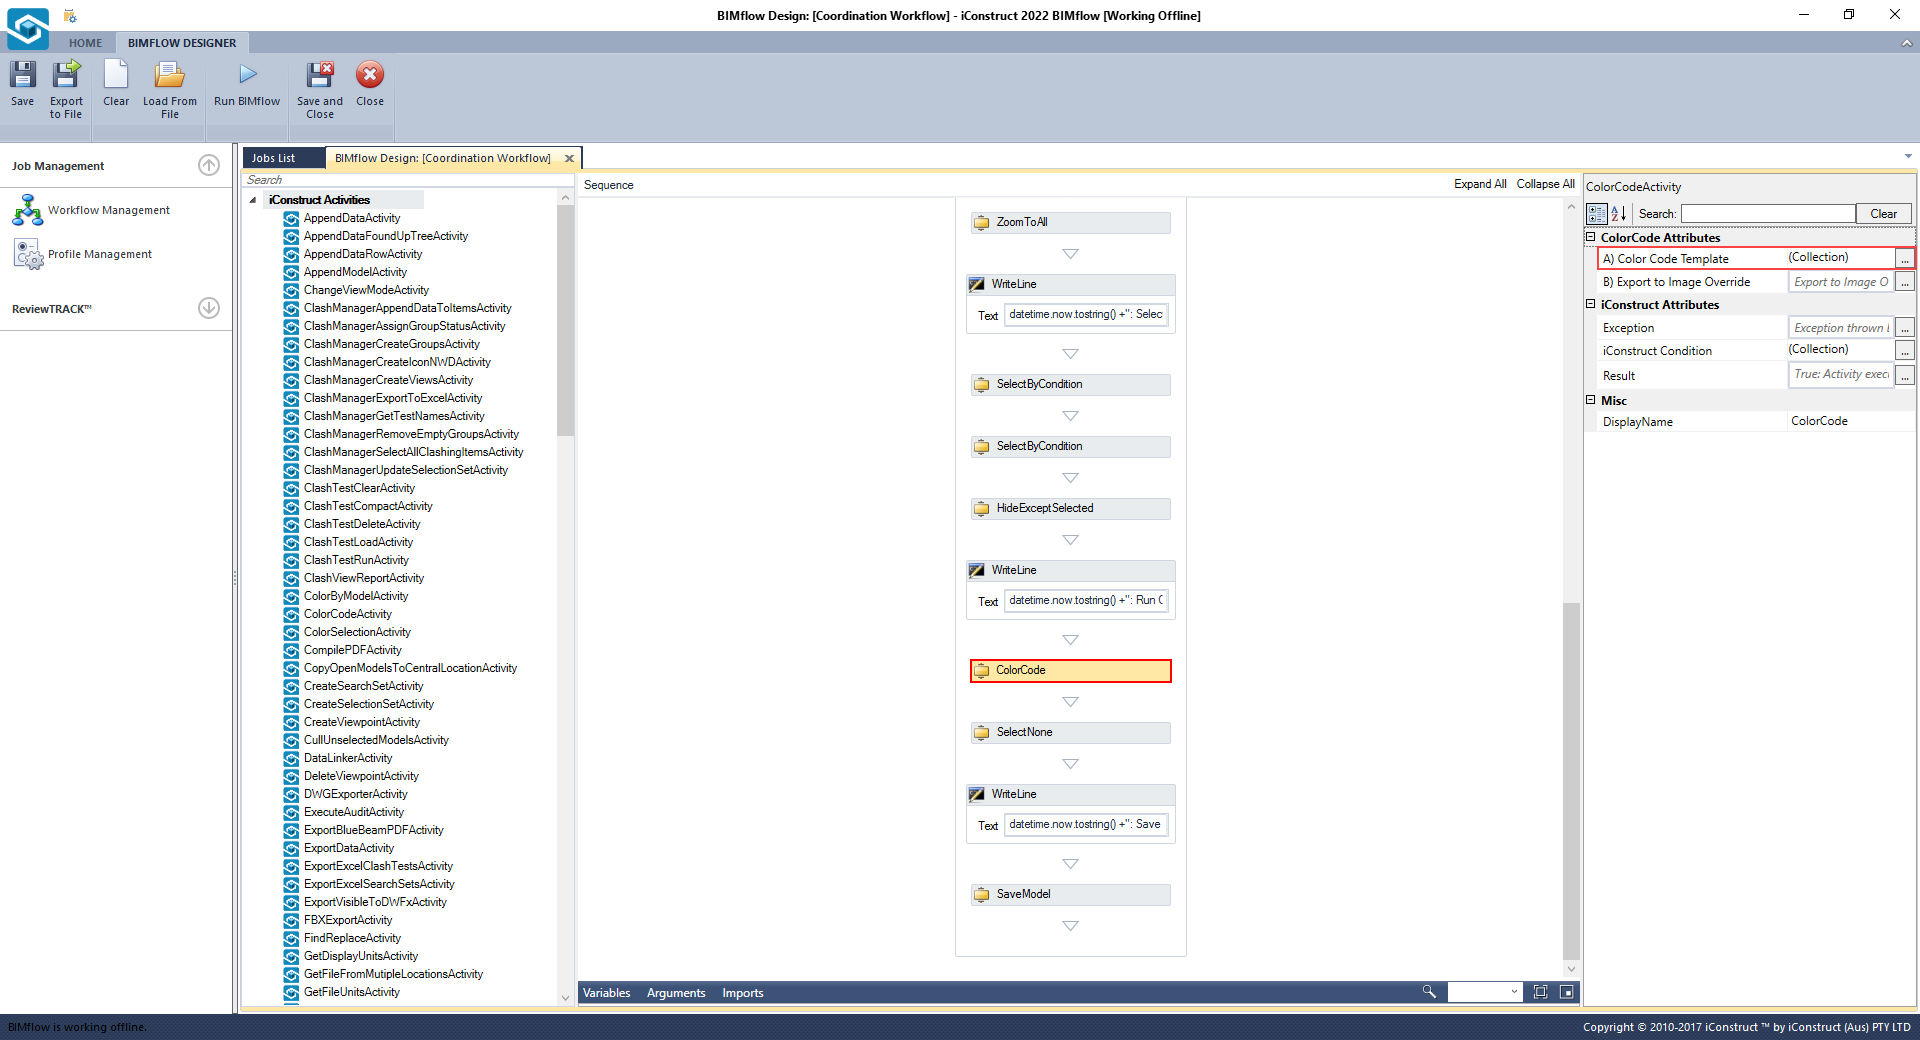
STEP 8:
Define the Color Code Template consumed through Profile Management.
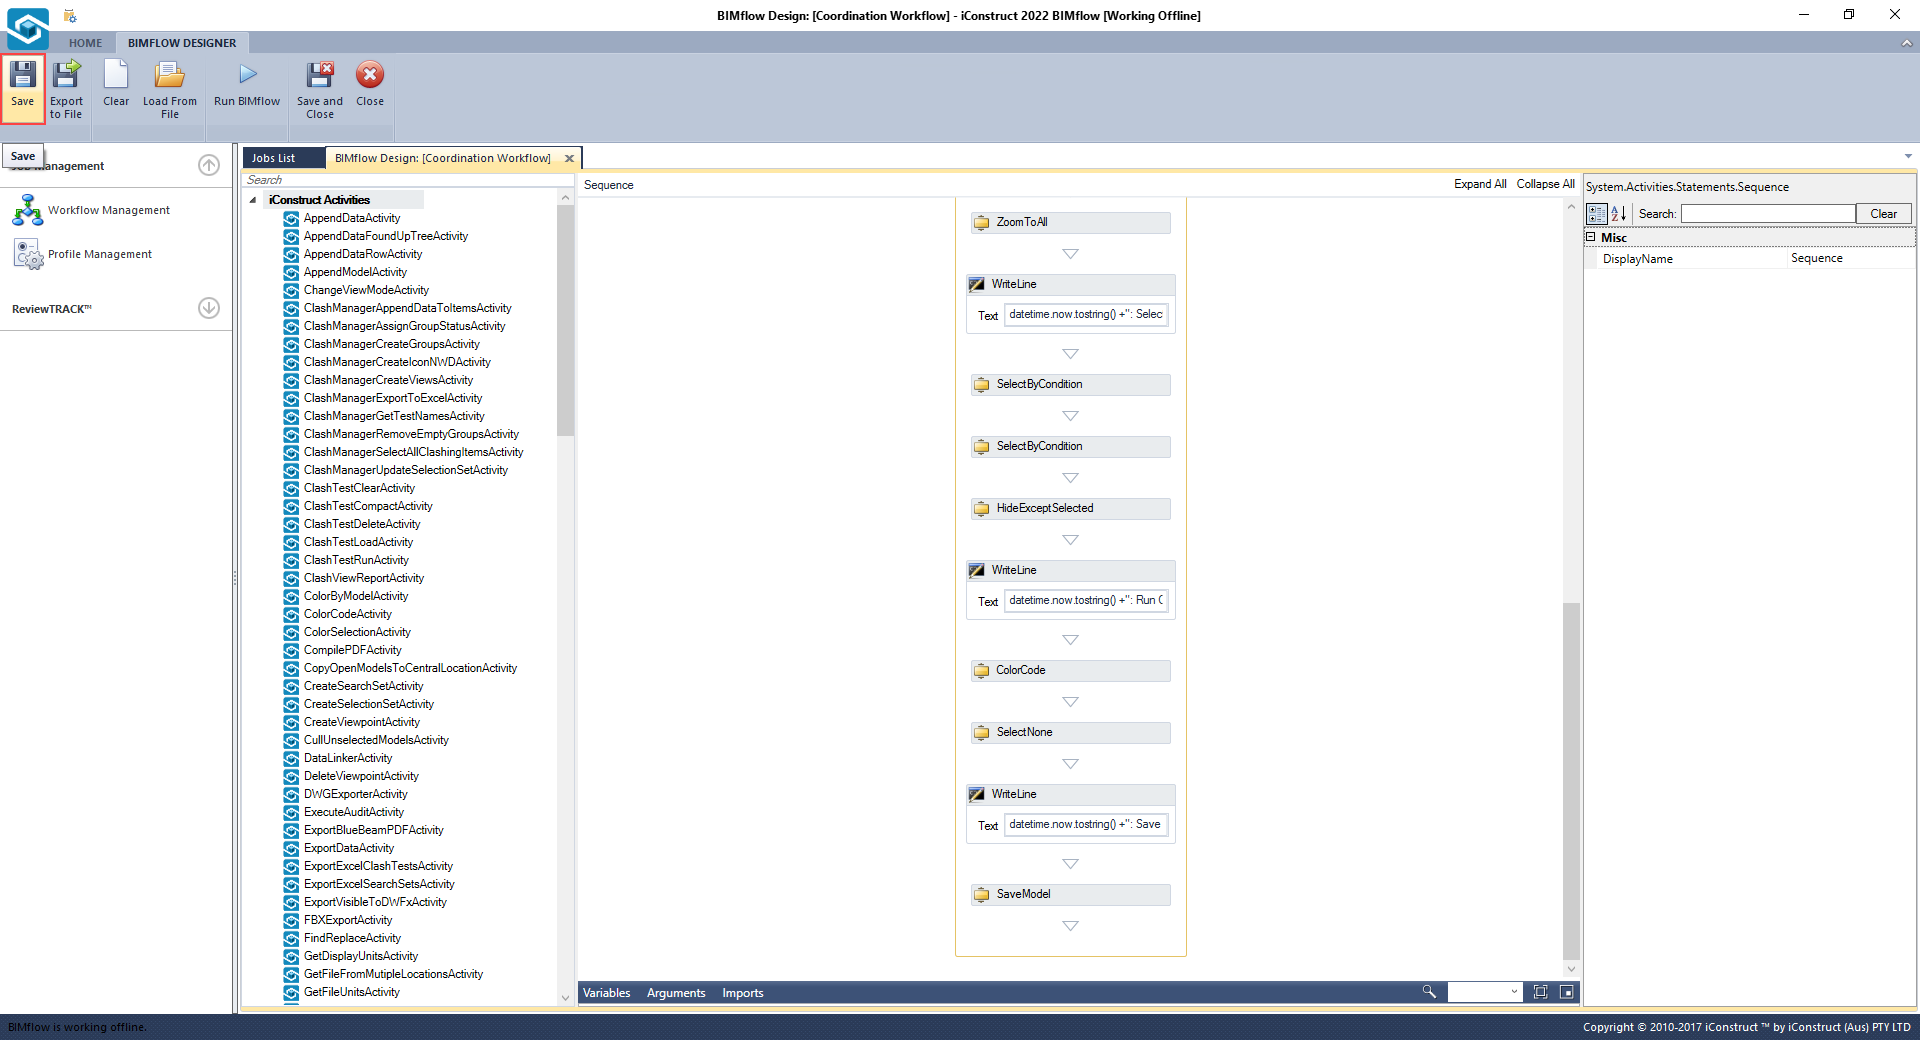
STEP 9:
Click Save when finished.
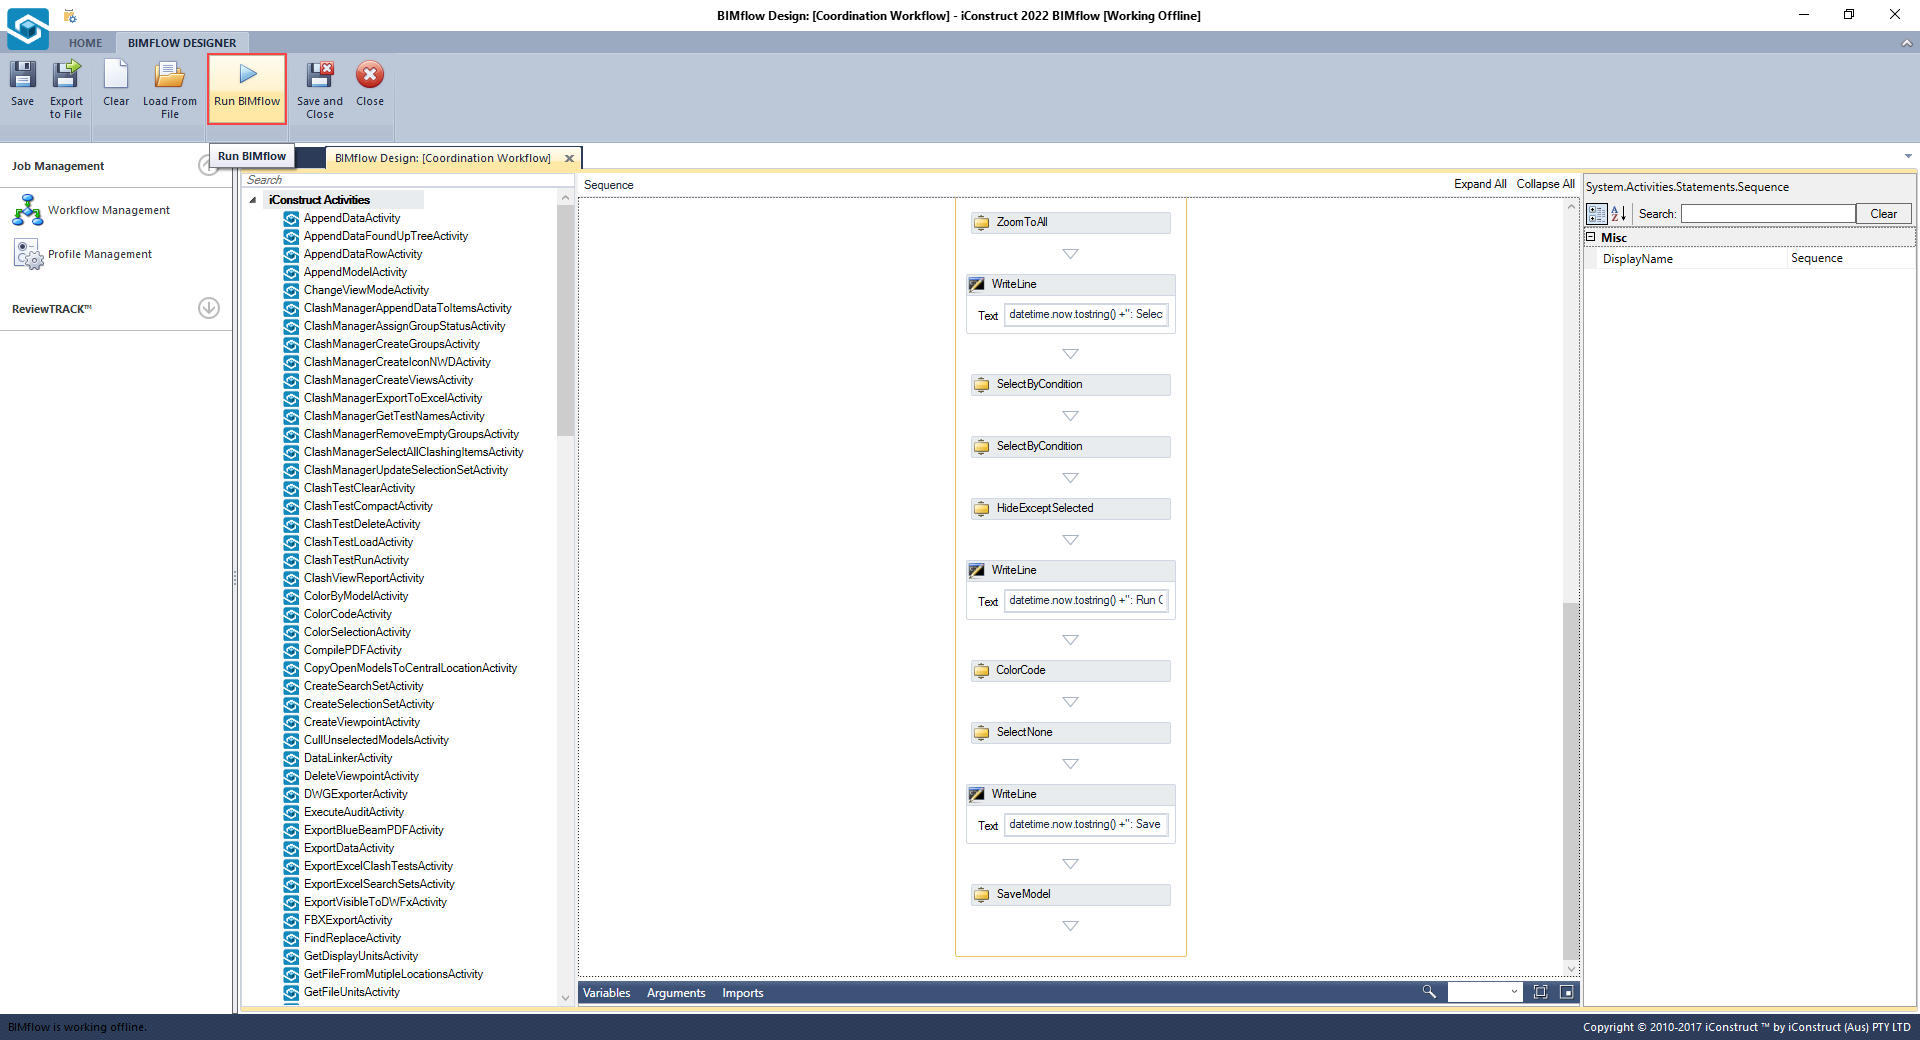
STEP 10:
To execute your BIMflow select Run BIMflow button from the ribbon.