Configuration
The following steps will show you how to set up the Model Compare Configuration.
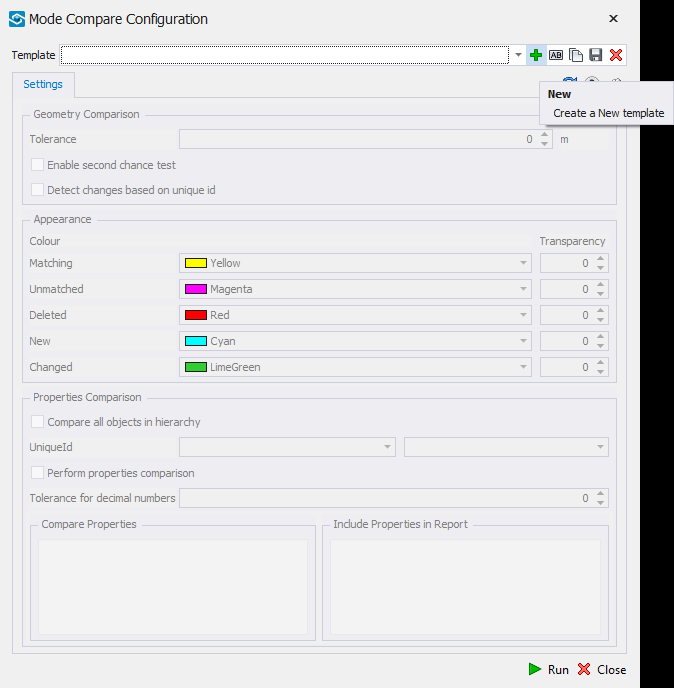
STEP 1:
Go to General Configuration tab in the iConstruct menu and click Model Compare Configuration button.

STEP 2:
Click on New button and define your Template Name.
STEP 3:
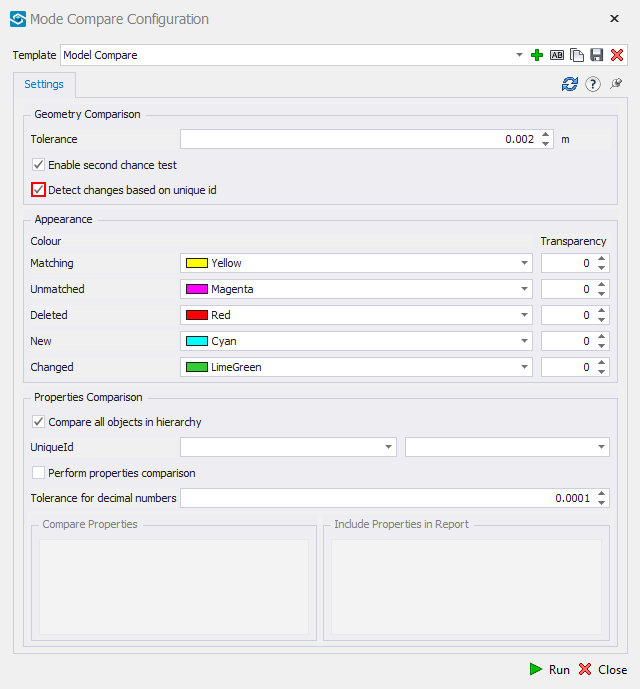
Adjust the Apperance of the results displayed in the model. The color of the objects can be set as well as transparency (0 = no transparency, 10 = hidden).
Matching: the object geometry is identical.
New: the items are in the second model, not the first.
Deleted: items in the first model which have no possible matches in the second.
Unmatched: items in the first model that have one or more possible matches (other items with the same centroid) but which after comparing have no exact matches.
Changed: if Detect Changes Based on Unique Id is ticked, objects from New, Deleted and Unmatched that share the UniqueId will be moved into this set.
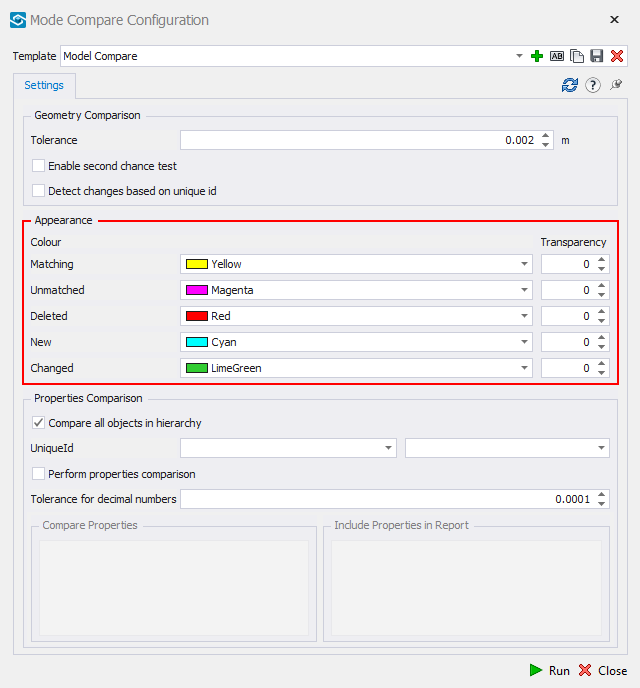
Geometry Comparison:
Geometry Comparison is only available when Perform properties comparison is disabled.
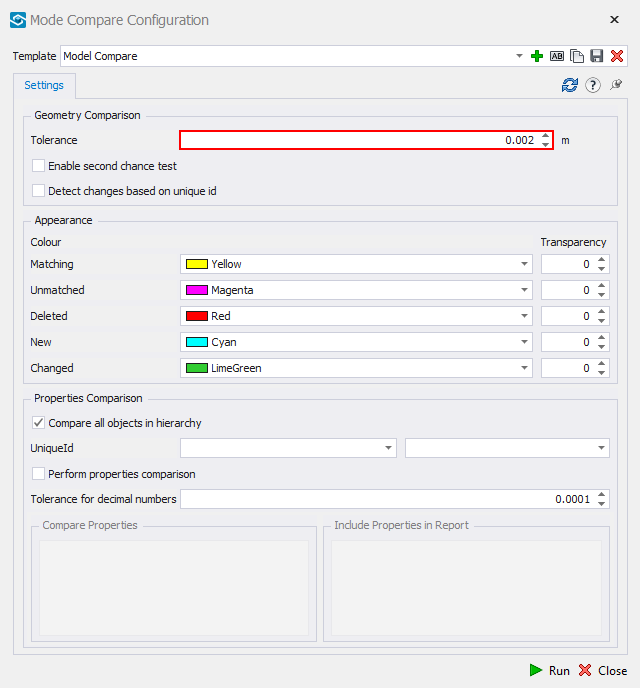
STEP 4:
Define the Tolerance you would like to use use when comparing 3D objects.
STEP 5:
If the quality of the models being tested is poor and many false negatives are appearing, check the Enable second chance test to run a second comparison algorithm against the objects that have not been matched by the first process. It can take significant time depending on the model complexity.
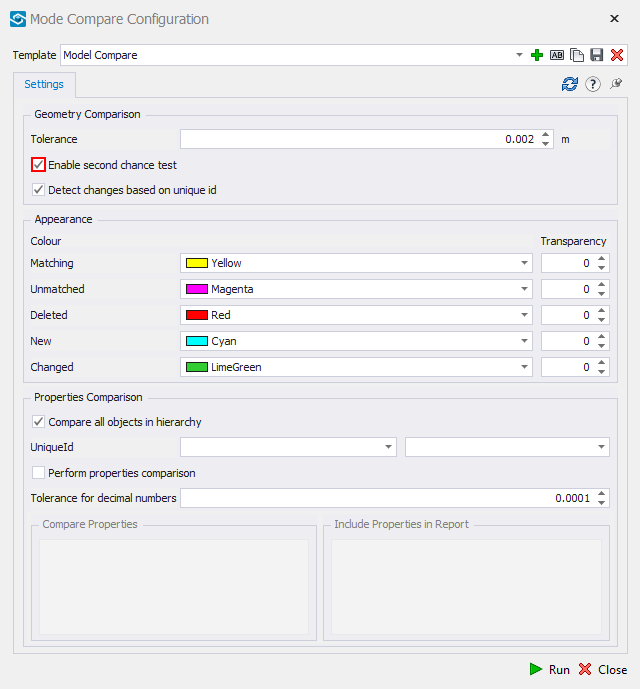
Note: If Enable second chance test is not used, it is mandatory to check Run Navisworks Comparison First, otherwise it is optional. If checked, it runs the Navisworks comparison tool (using existing settings) and can save time by considering Navisworks "Matched" results as matching and only processing remaining items.
Property Comparison:
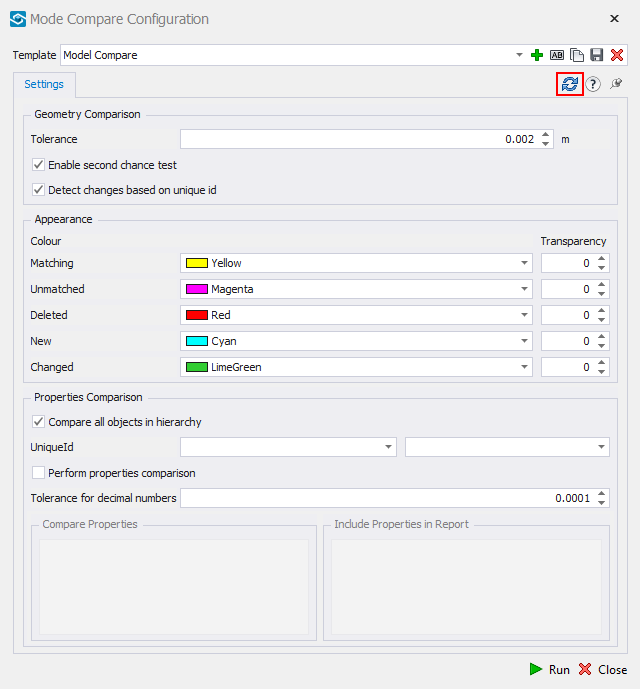
STEP 6:
Select an item in the background and click on Refresh Properties button. This loads all the Navisworks properties from the items.
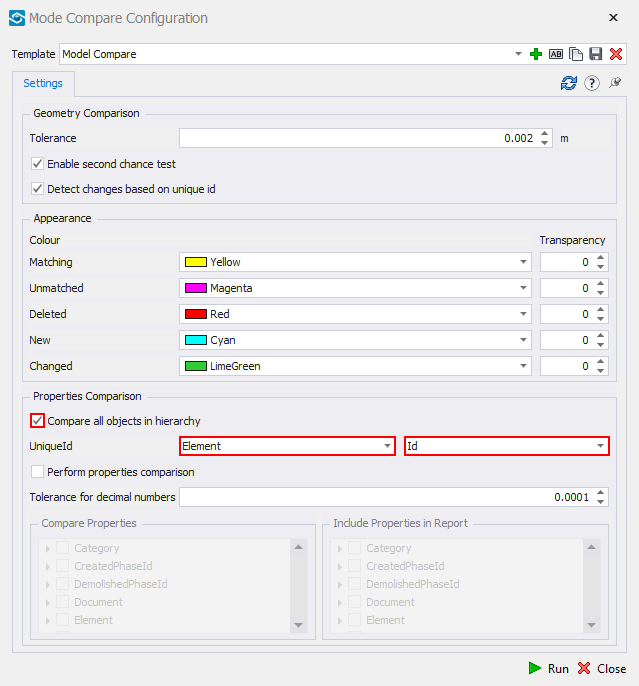
Optional: Compare All Objects in Hierarchy all properties selected for comparison that are in each level of Model A will be compared against the corresponding level in Model B.
STEP 7:
Select the attribute and property name from drop-down list (Element and Id in our example).
STEP 8:
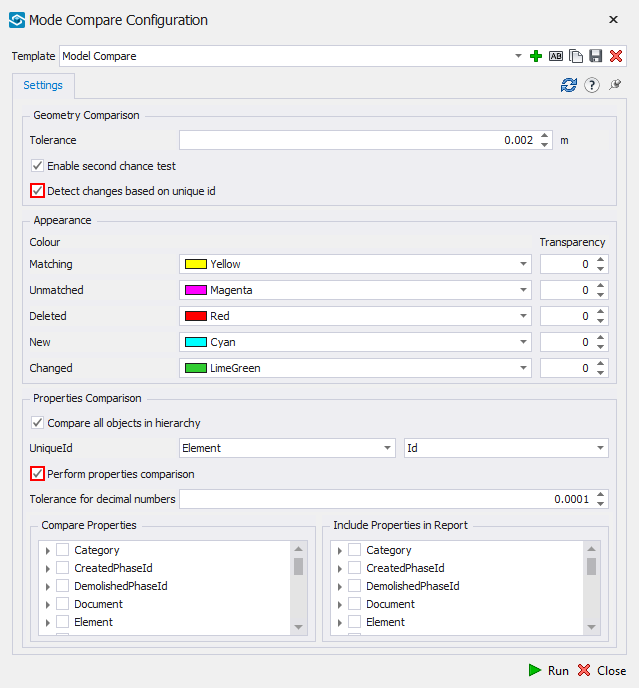
Check Detect Changes based on Unique Id and Perform properties comparison.
STEP 9:
Select which properties to compare – only the selected properties will be compared.
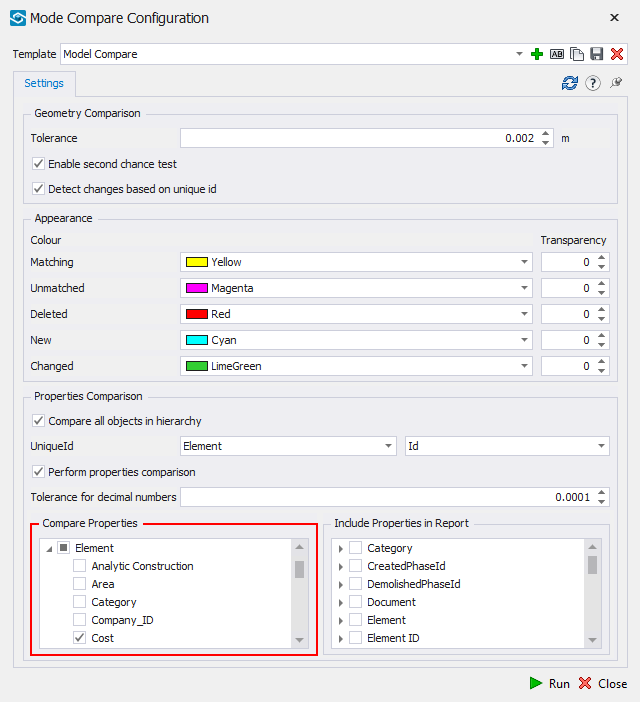
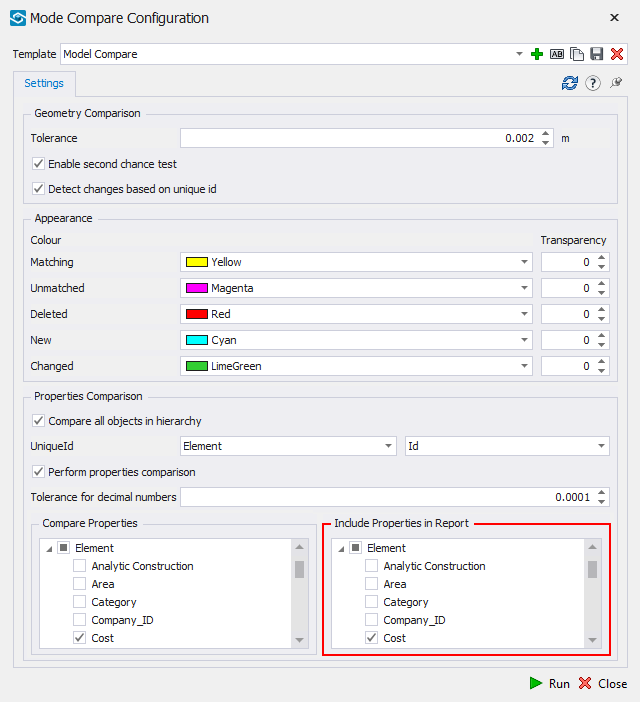
STEP 10:
Properties selected in previous step are not exported by default, they are only reported on. Therefore you need to select which properties to include in the final output.
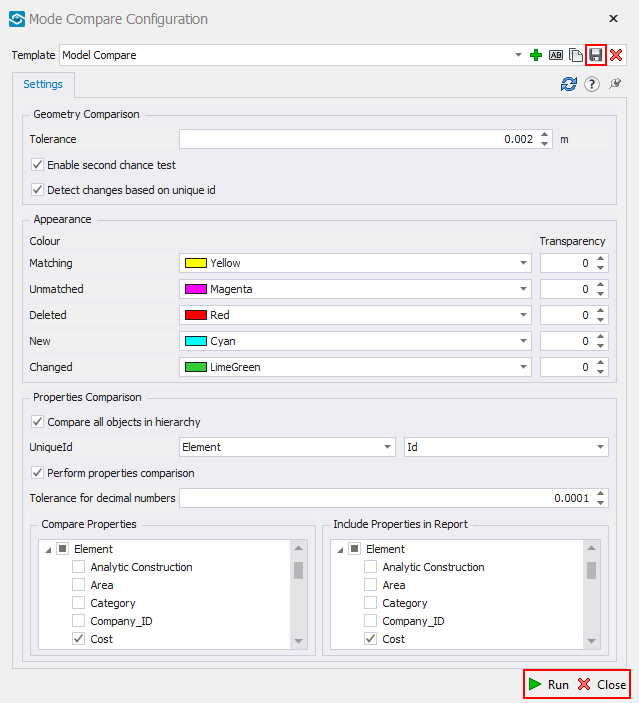
STEP 11:
Click on Save button and close the dialog box.
Quick Overview:
Go to General Configuration tab_ ➤ click Model Compare Configuration ➤ Click New and define Template Name ➤ Adjust Appearence ➤ Define the Tolerance ➤ Check the Enable second chance test ➤ Check Run Navisworks Comparison First ➤ Select an item in the background ➤ Click Refresh Properties ➤ Define attribute and property ➤ Check Detect Changes based on Unique Id ➤ Check/uncheck Compare All Objects in Hierarch ➤ Select Perform properties comparison ➤ Pick properties to compare ➤ Select properties to include in Report ➤ Click Save ➤ Close