Clash Spheres
The following steps will show you how to Draw, Delete and Export Clash Spheres.
STEP 1:
Create/update Clash Test in Clash Detective. Go to Standard Tools in iConstruct panel and run the Clash Manager tool.
![]()
STEP 2:
Select your test from the drop-down menu.
![]()
STEP 3:
Click on the clash test (or a specific group) in the table and select Draw Clash Spheres in the Clash Icons submenu. 
![]()
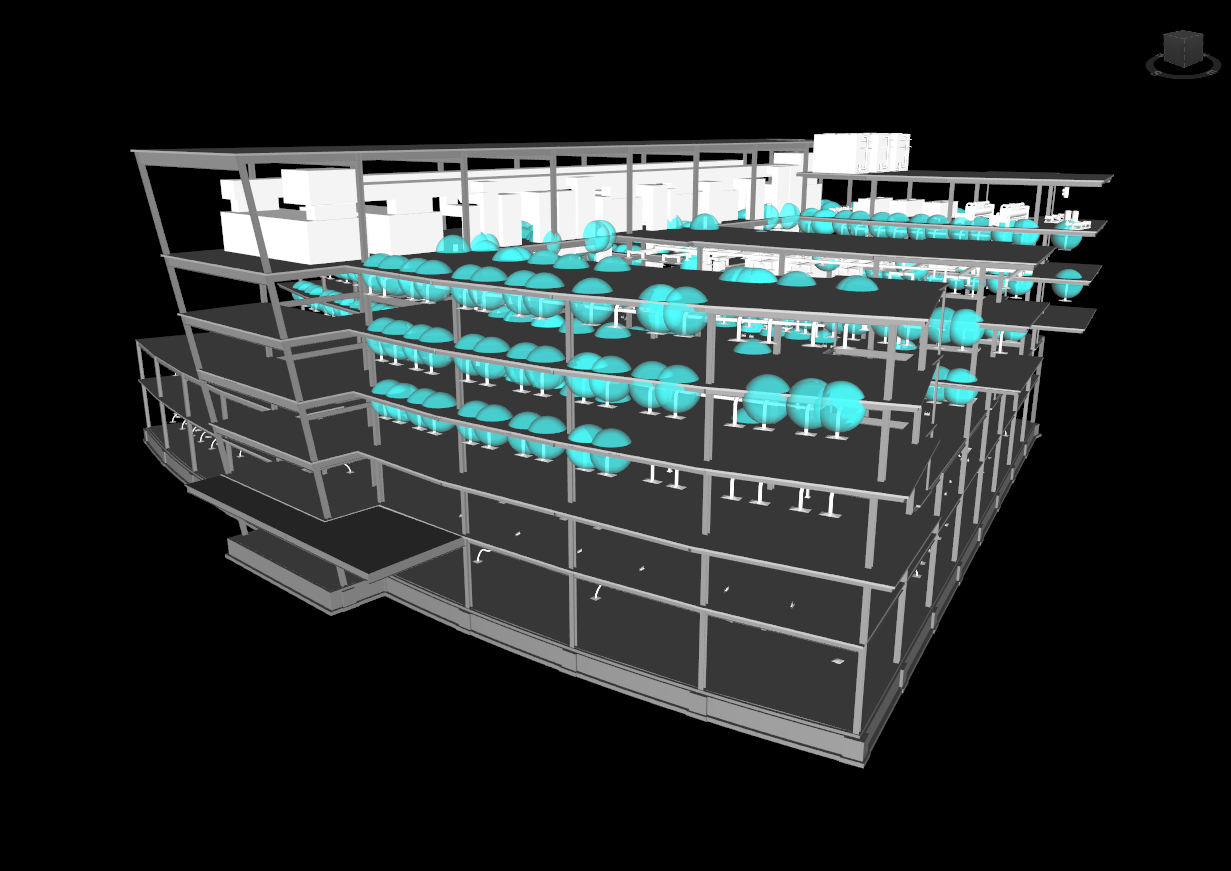
STEP 4:
Click Close to add a Sphere to the selected Group. Clash Spheres are added around selected Group and visible in the model. Selecting an entire Clash Test adds Spheres to all Clashes, or Groups, in the designated Test.

Note:
Clash Sphere radius can be adjusted in the Clash Manager settings. Click on the Options button in the ribbon and go to Advanced tab to adjust the Sphere radius. Confirm setting with OK.
![]()
![]()
STEP 5:
To Export Clash Spheres click on the Export Clash Sphere in the Clash Icons submenu. Define path and name of new file and click Save.
![]()
![]()
STEP 6:
Clash Spheres can be deleted by clicking on Delete Clash Sphere in the Clash Icons submenu.
![]()
Quick Overview:
Run Clash Test in Clash Detective ➤ Go to iConstruct panel ➤ Run Clash Manager tool ➤ Select your Test or Group ➤ Select Draw Clash Spheres from drop-down ➤ Click Close