Priority Grouping
The following steps will show you how automatically assign clashes to the appropriate contractor depending on the priority (depending on what should move first).
STEP 1:
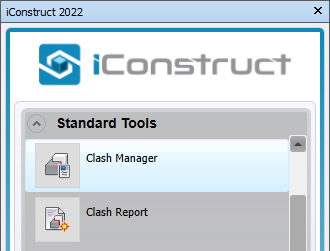
Go to iConstruct panel and run Clash Manager tool.
STEP 2:
Click the Options icon in the dialogue. 

STEP 3:
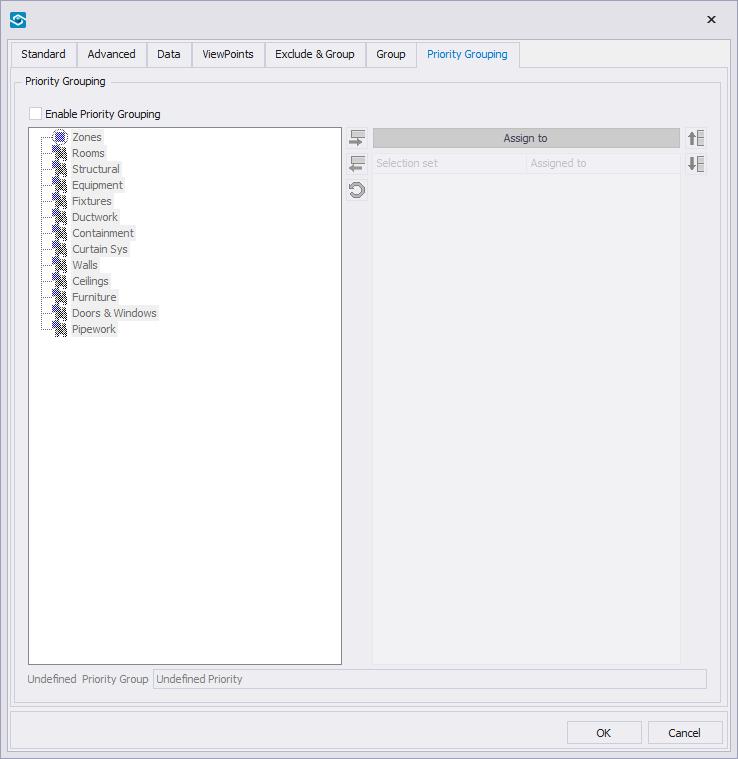
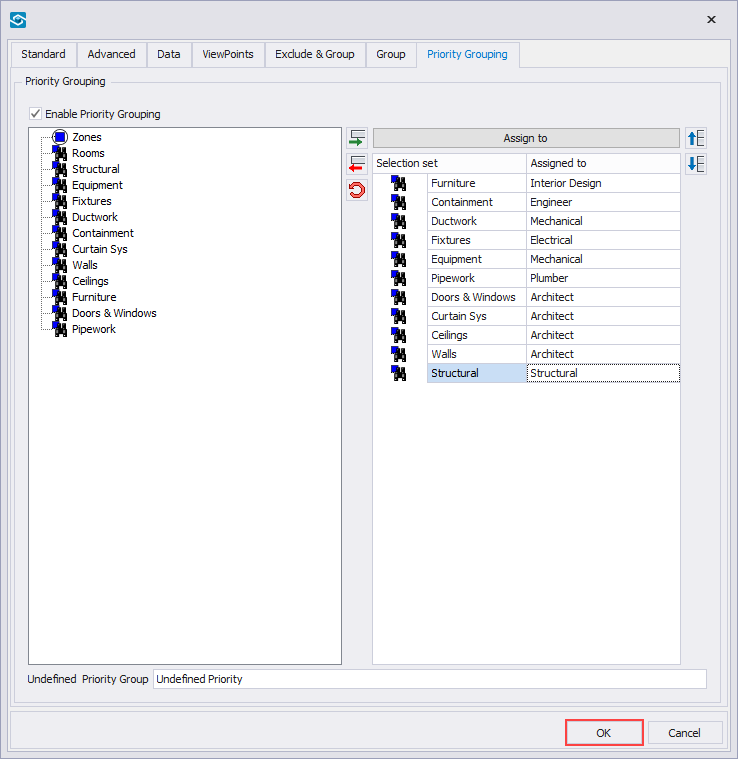
Go to Priority Grouping tab.
STEP 4:
Check Enable Priority Grouping.
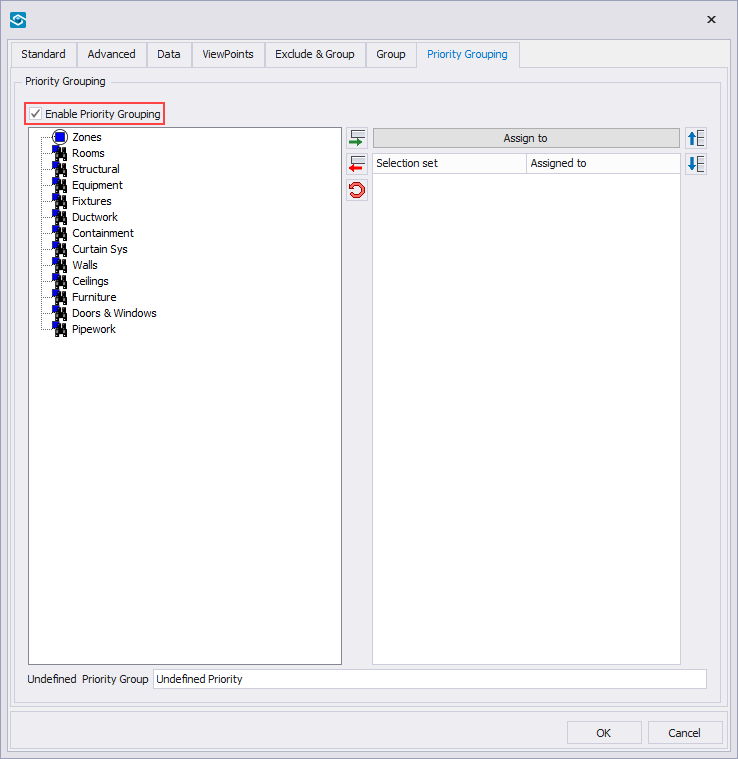
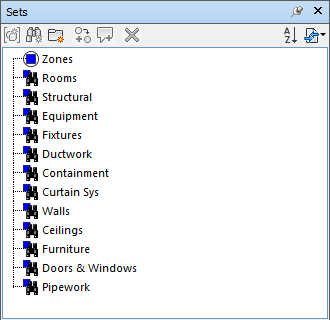
NOTE: To be able to set up the order for the Priority Grouping, you need to have Search Sets or Selection Sets already set up.
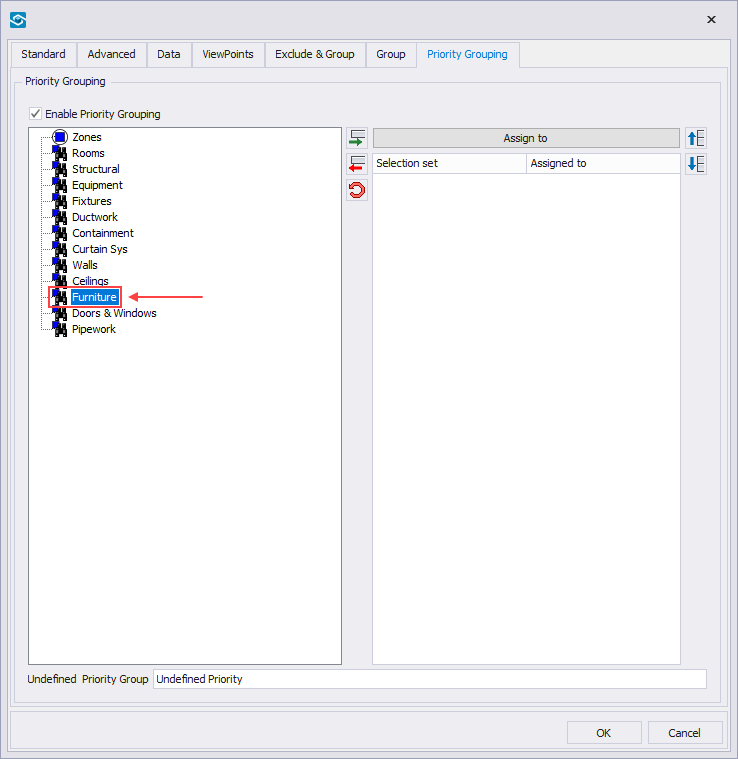
STEP 5:
Select the Search Set or Selection Set of the objects who should move first (Furniture in our example).
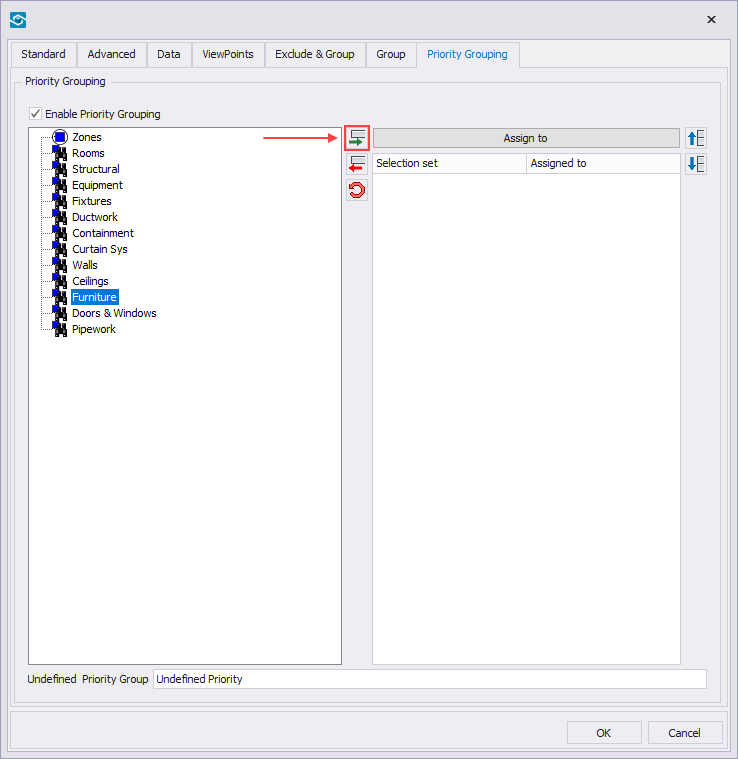
STEP 6:
Click the highlighted icon in the dialogue to move the selected Search Set or Selection Set to the highest Priority Grouping level.
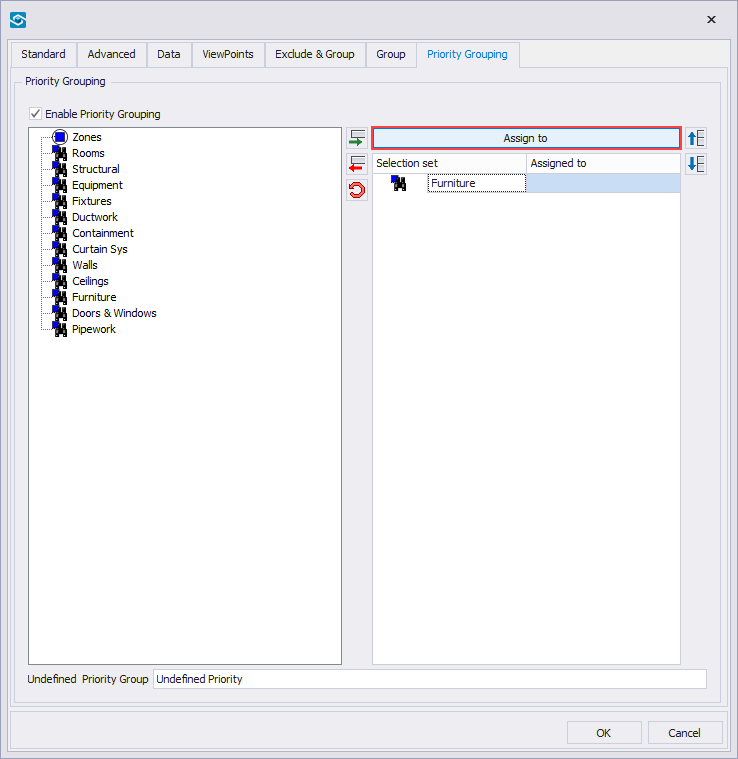
STEP 7:
Click the highlighted Assign to icon in the dialogue.
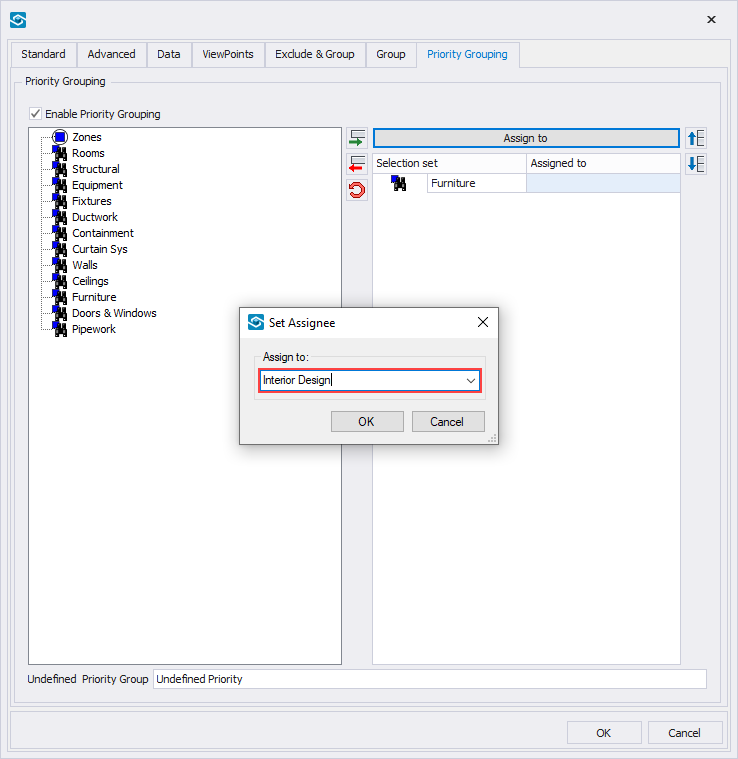
STEP 8:
Specify a name to whom the clashing objects should be assigned to (Interior Designer in our example) and click OK.
STEP 9:
Continue adding additional Priority Grouping levels as shown in Step 5 - Step 9. Once done, click OK to confirm the configuration.
STEP 10:
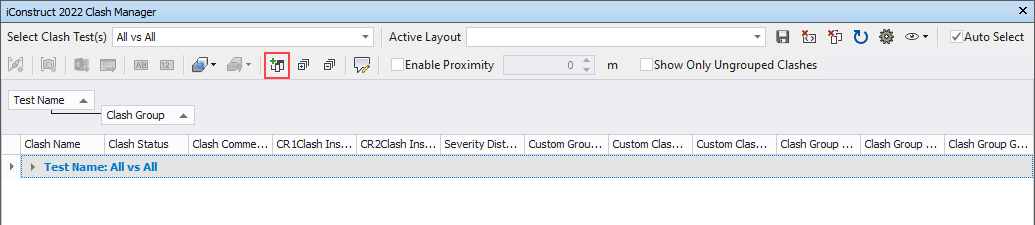
Select your test from the drop-down menu.

STEP 11:
Open the Column Chooser tool in the Clash Manager dialogue.
STEP 12:
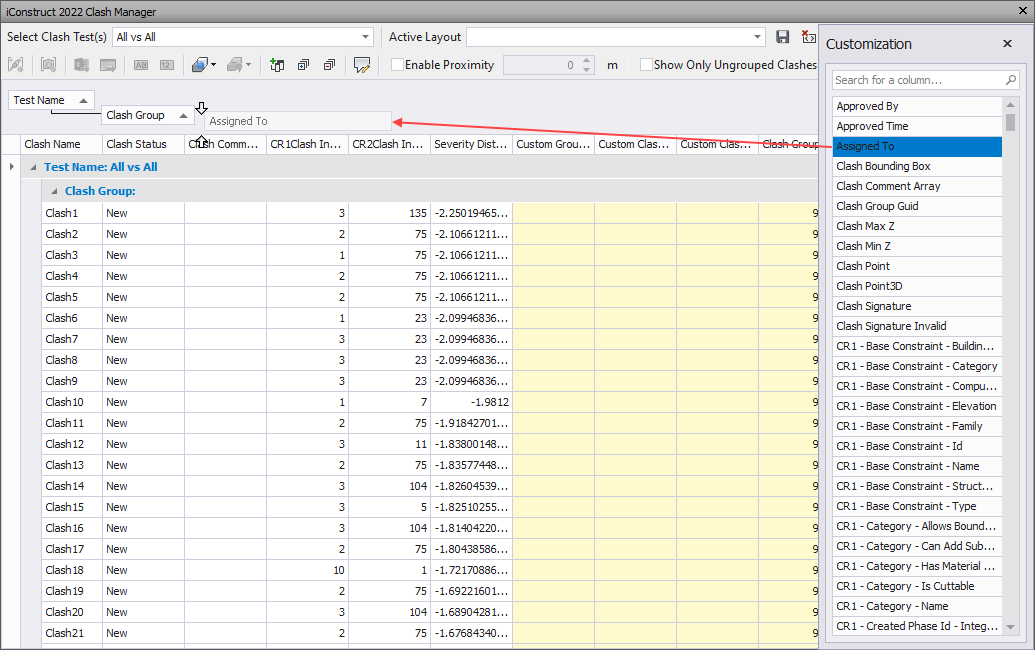
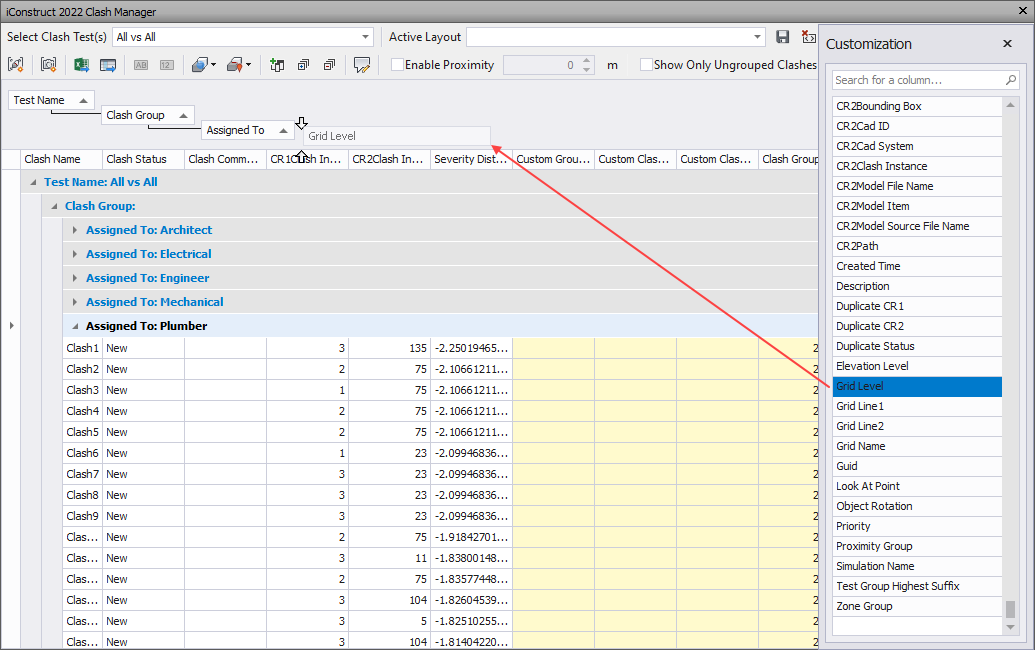
Drag and drop Assigned To property from Column Chooser to the tree structure in Clash Manager dialogue and re-group the clashes. You can add additional grouping properties e.g. the Grid Level as in our example.
STEP 13:
Once your grouping layout is set, click on Save icon in the Clash Manager ribbon, give your Layout a name and Save. 
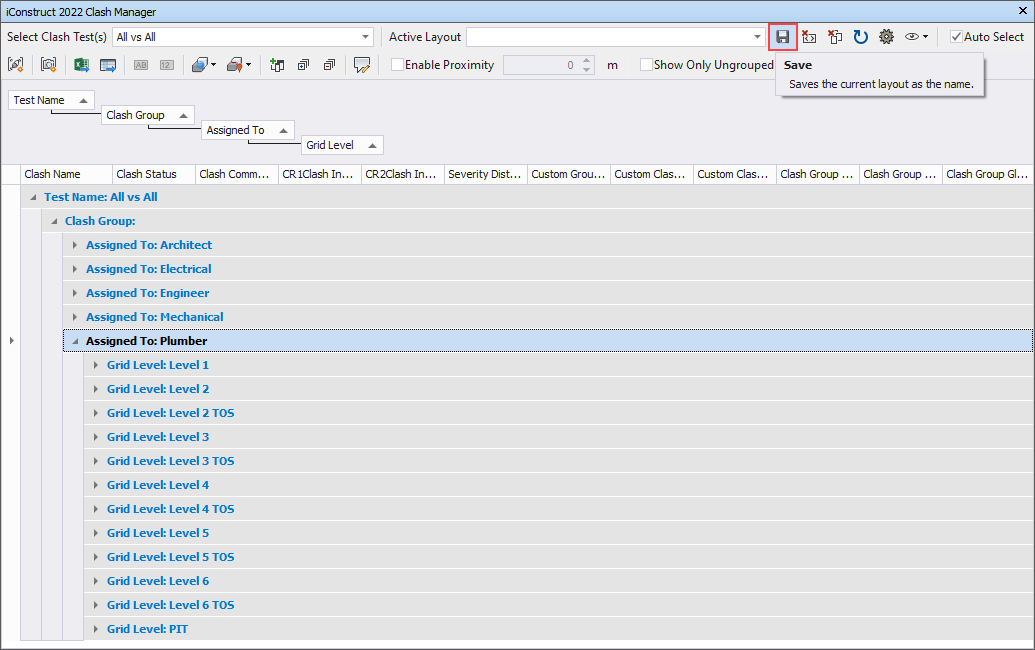
NOTE: Saved layouts can later be reused with other clash tests and models as well as used in BIMflow. You can switch between different pre-saved layouts from the drop-down menu. To switch between Layouts, at least two are required.
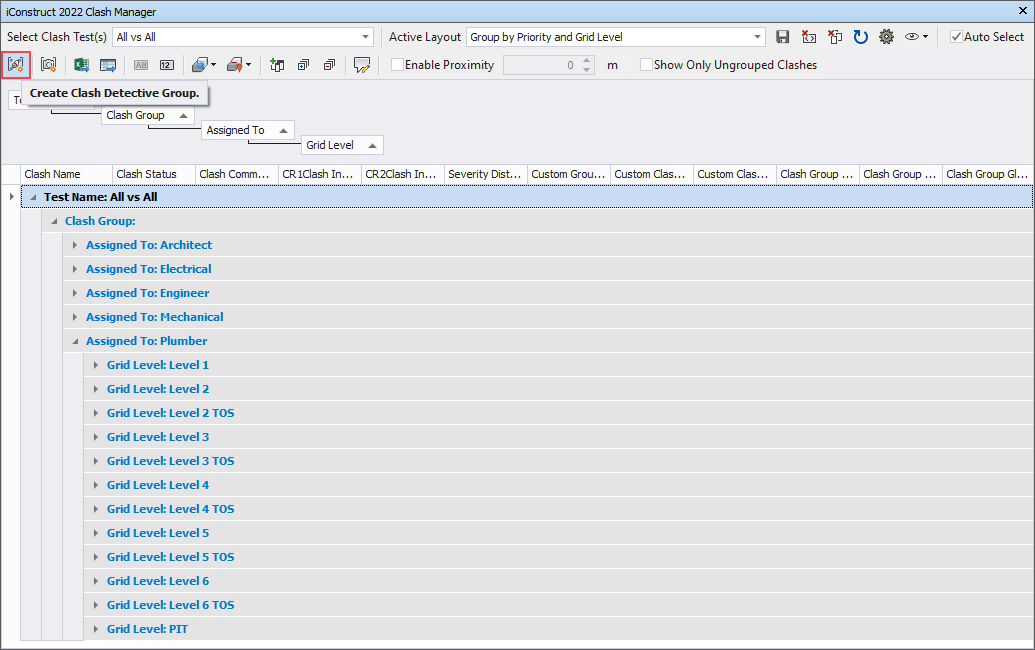
STEP 15:
To push defined grouping back into Clash Detective select desired grouping level (Test Name: All vs All in our example) and click on the Create Clash Detective Group icon in the ribbon. 
STEP 16:
In addition, you can create Clash Viewpoints saved into the desired folder structure with iConstruct Clash - Click for more details
Quick Overview:
Go to iConstruct panel ➤ Run Clash Manager tool ➤ Click Option icon ➤ Go to Priority Grouping tab and enable it ➤ Set the desired Priority Grouping levels ➤ Click OK ➤ Run Column Chooser ➤ Drag&Drop Assign To property ➤ Save the Layout ➤ Select Clash Groups ➤ Create Clash Detective Groups